Integrating Birdeye with Rocket Matter

Rocket Matter is a cloud-based legal case management and billing software used by both small and medium-sized law firms. It offers various features including billing management, tracking, payments, calendar etc. Integrating Rocket Matter with Birdeye will automate the process of sending out review requests to clients on a daily basis.
Once Rocket Matter is integrated with Birdeye, Birdeye will pull client information from Rocket Matter once daily from the matters that were closed/completed on the previous day. BirdEye collects the first name, last name, email address and phone number of your clients and automatically sends them review requests based on the preferences set within the Birdeye dashboard.
Birdeye allows you to fetch data from your CRM using a predefined trigger. Here is the supported trigger for Rocket Matter:
| Trigger Name | Trigger Description |
|---|---|
| RocketMatter Closed or Completed Matter Trigger | This trigger is used to fetch customer data based on closed or completed matters. |
To set up the initial part of the integration with Birdeye, please reach out to the Birdeye technical support team @ 1-800-561-3357 Ext. 3 or email them at - support@birdeye.com. On the initial integration call, you have the ability to define the status of the matters for which you want the review requests to be sent. You can choose to send review requests for either closed/completed matters or both.
After the initial integration is set up by the Birdeye technical support team, you can log in to your Birdeye account to complete the rest of the integration process. To complete the process, click on the 'Settings' tab located on the left navigation rail of your Birdeye dashboard. On the bottom of the page, click on the 'Authorize Rocket Matter ' button under the CRM integrations header.
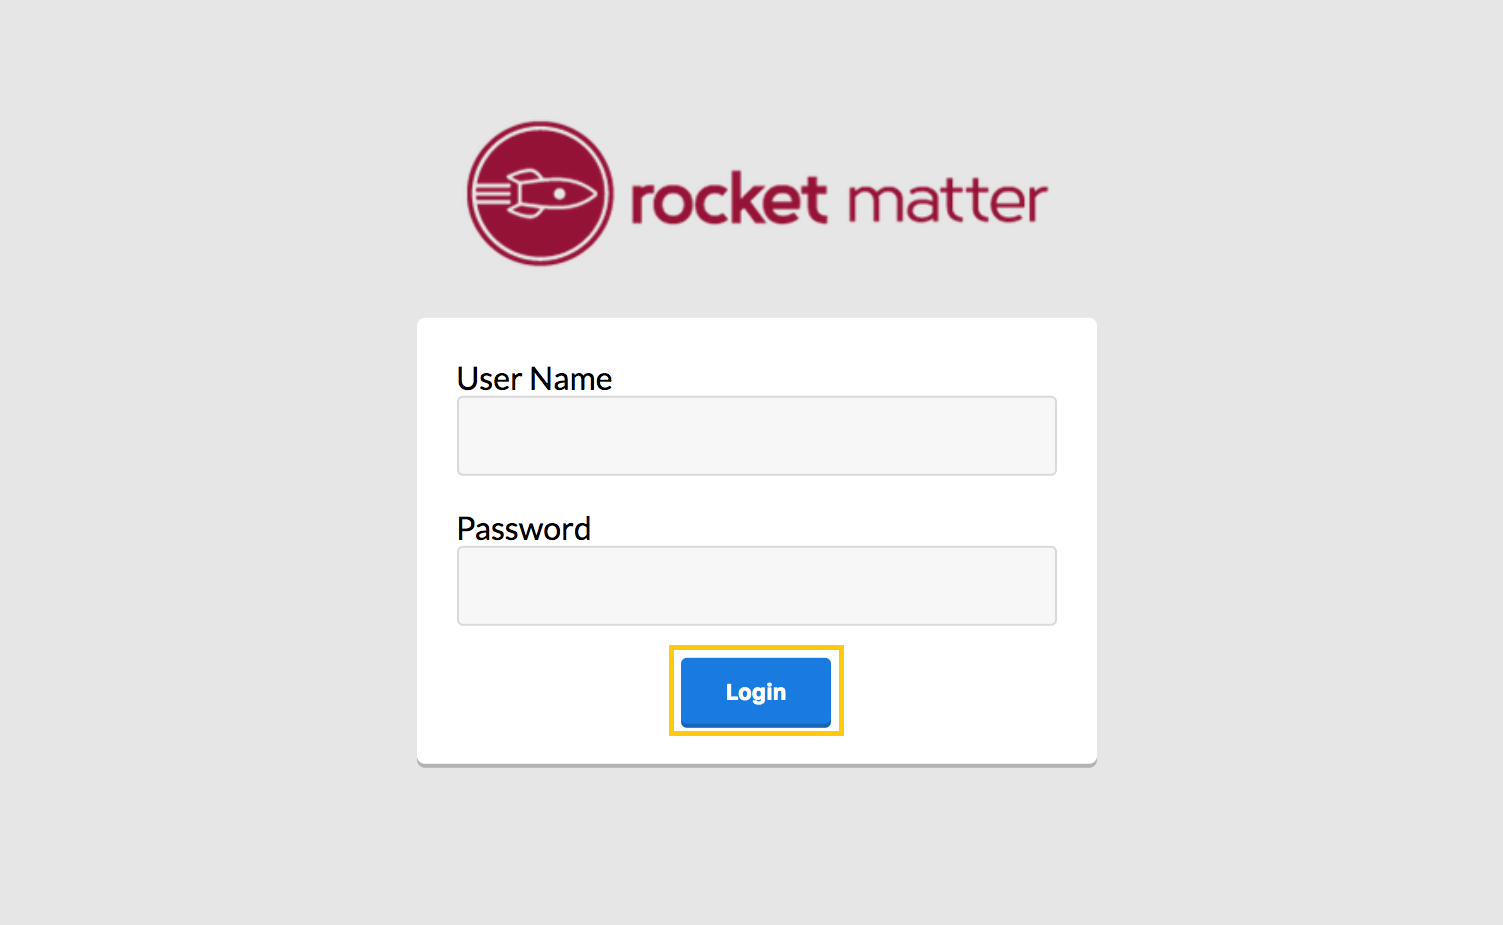
After you click on the authorization button, you will be redirected to the Rocket Matter website. Enter the User Name and Password associated with your Rocket Matter account and click on the 'Login' button.
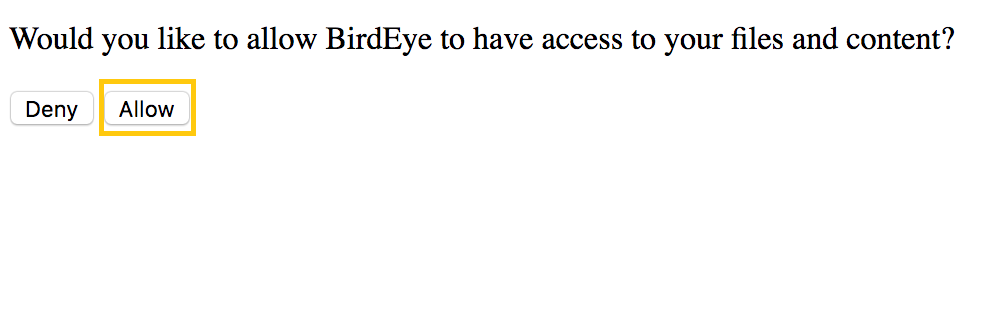
Once you have logged in to your Rocket Matter account, click on the 'Allow' button to give Birdeye permission to access your data.
After you have authorized Birdeye, you will see the 'Successfully authorized' message next to Rocket Matter under the 'Setup' tab.
Birdeye also gives you the ability to select the matters for which you don't want to send the review request to your clients. You can do this in two ways:
- By creating a custom field within your Rocket Matter account
- By creating a custom field within a matter
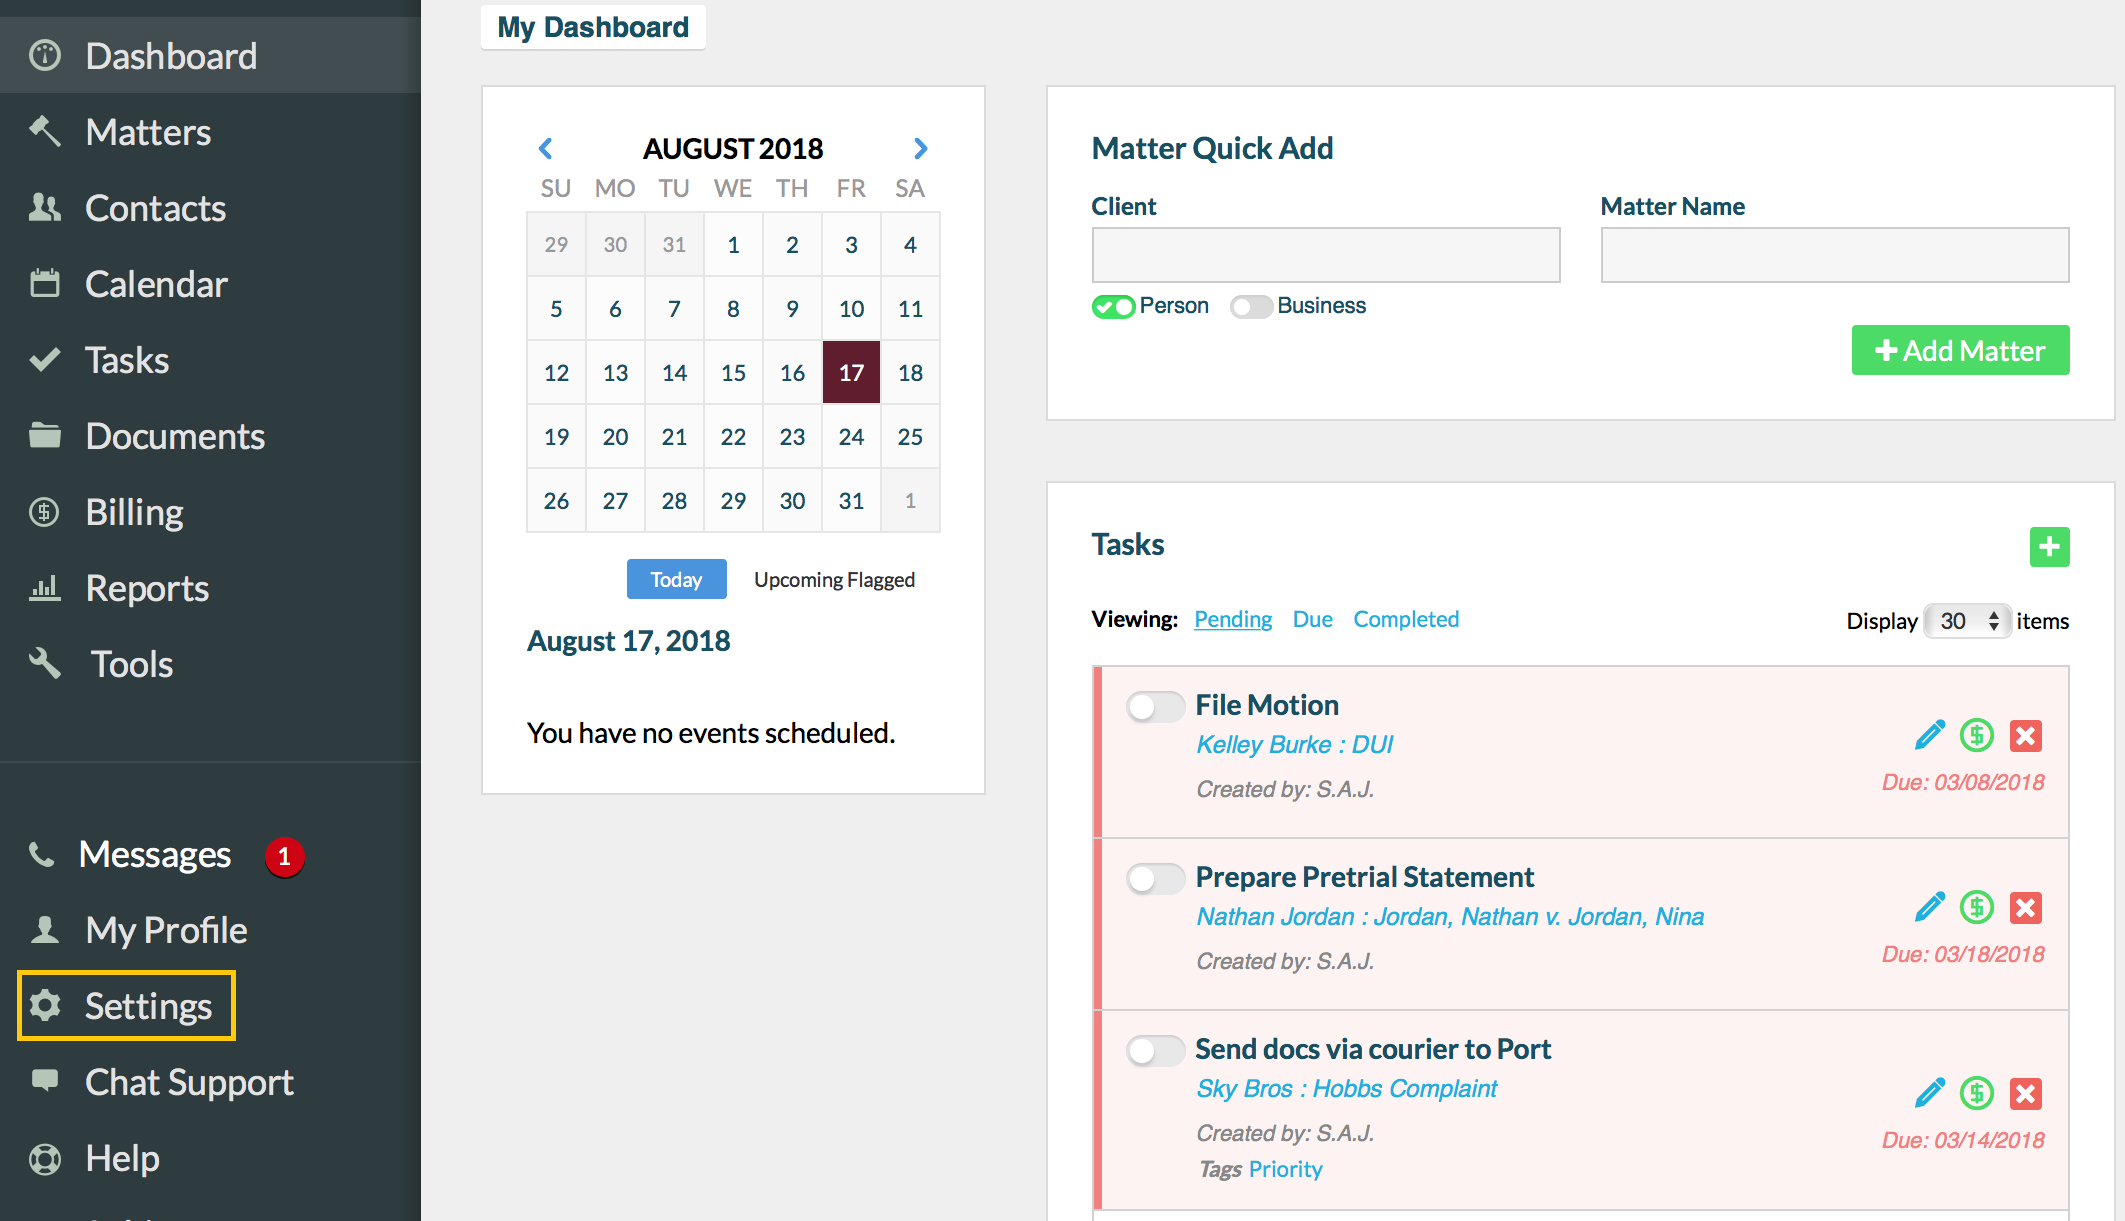
To create a custom field within your Rocket Matter account, click on the 'Settings' tab on the left navigation rail.
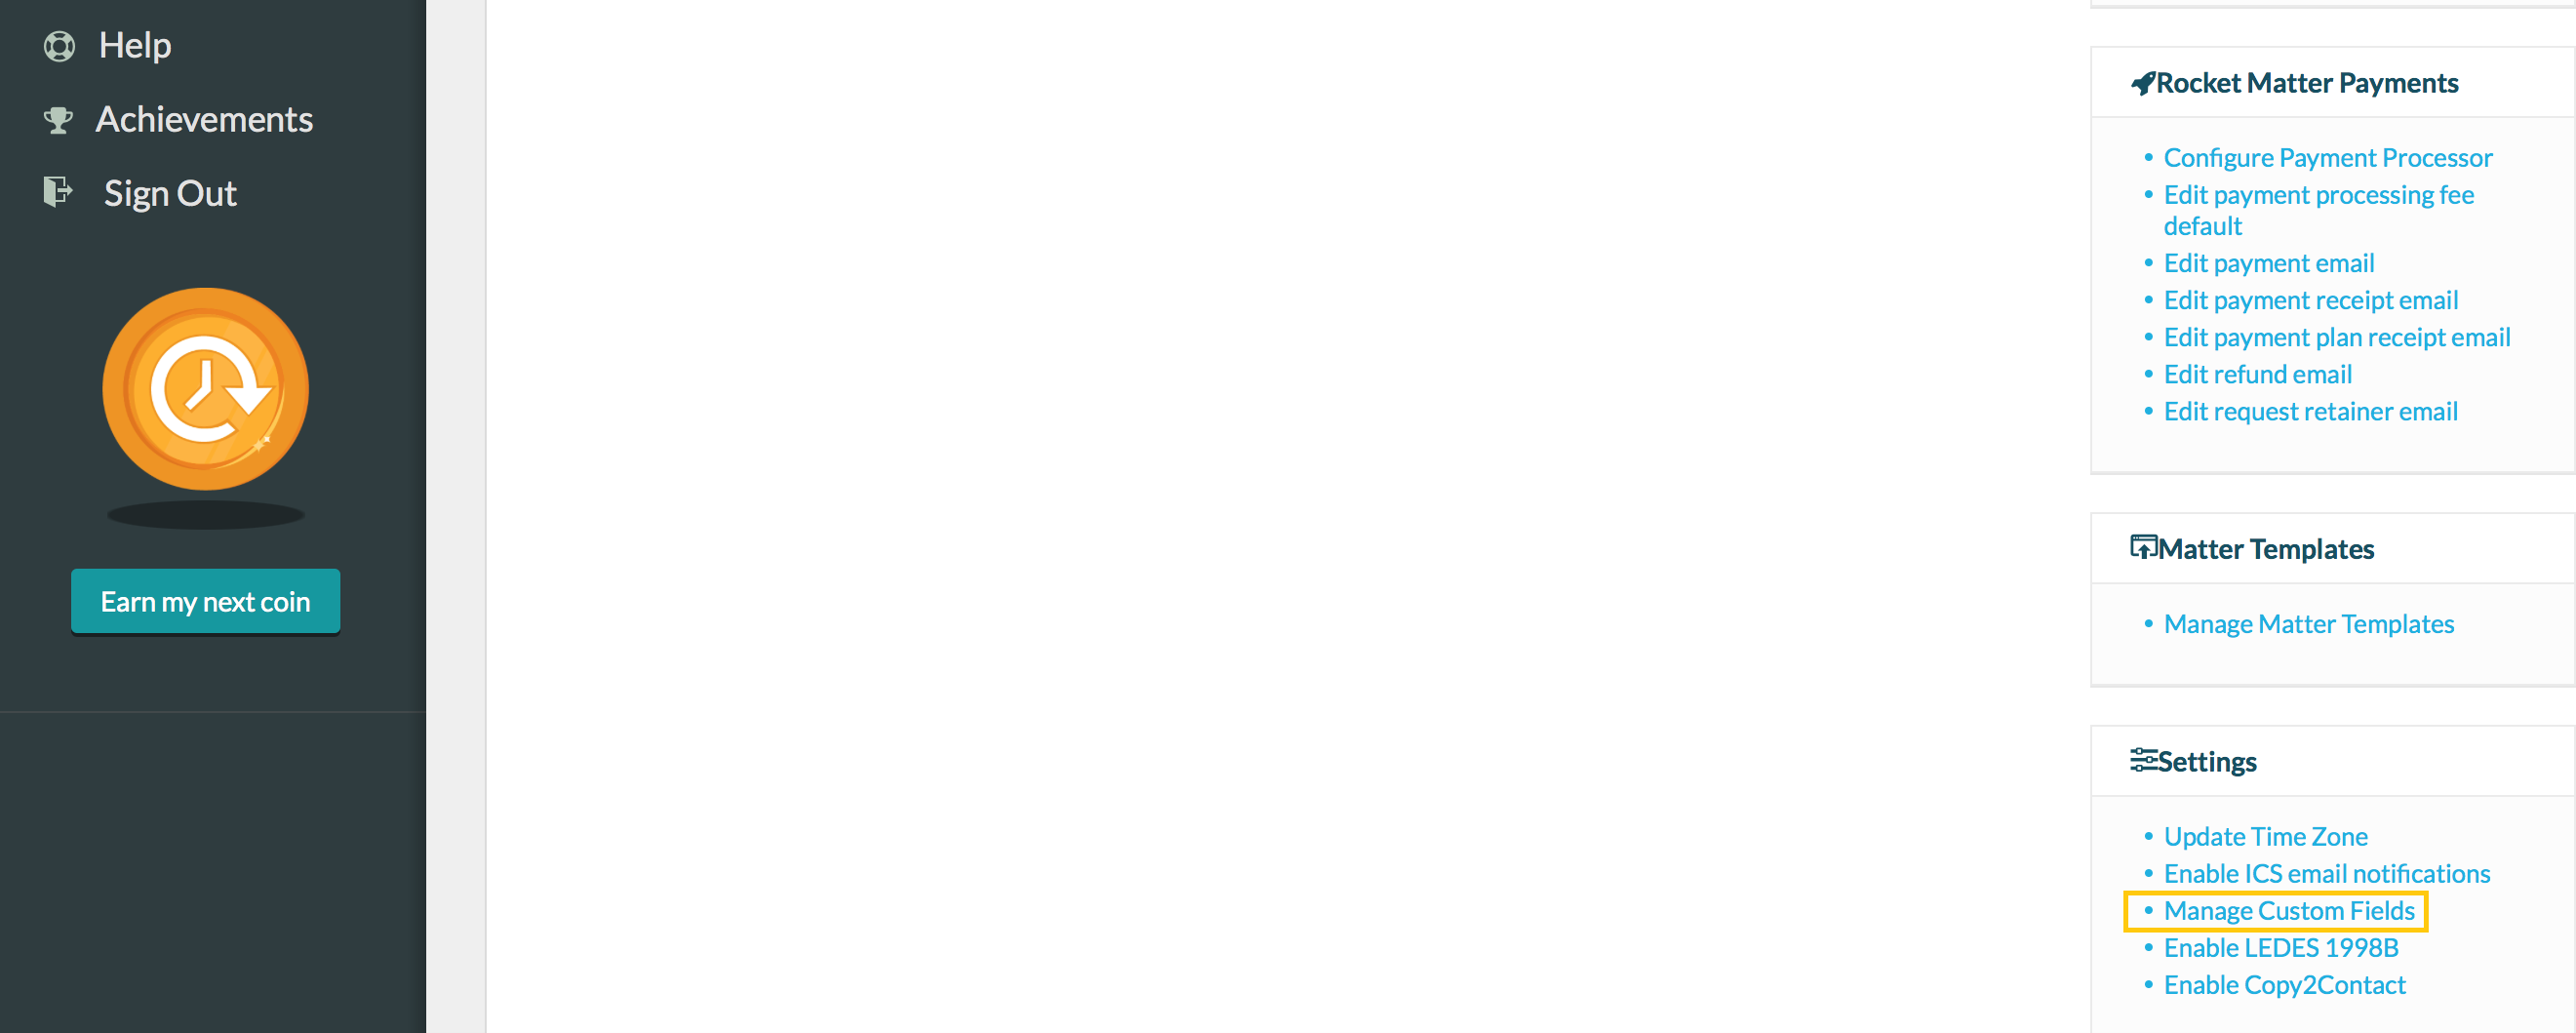
Once on the 'Settings' page, click on the 'Manage Custom Fields' button on the bottom right.
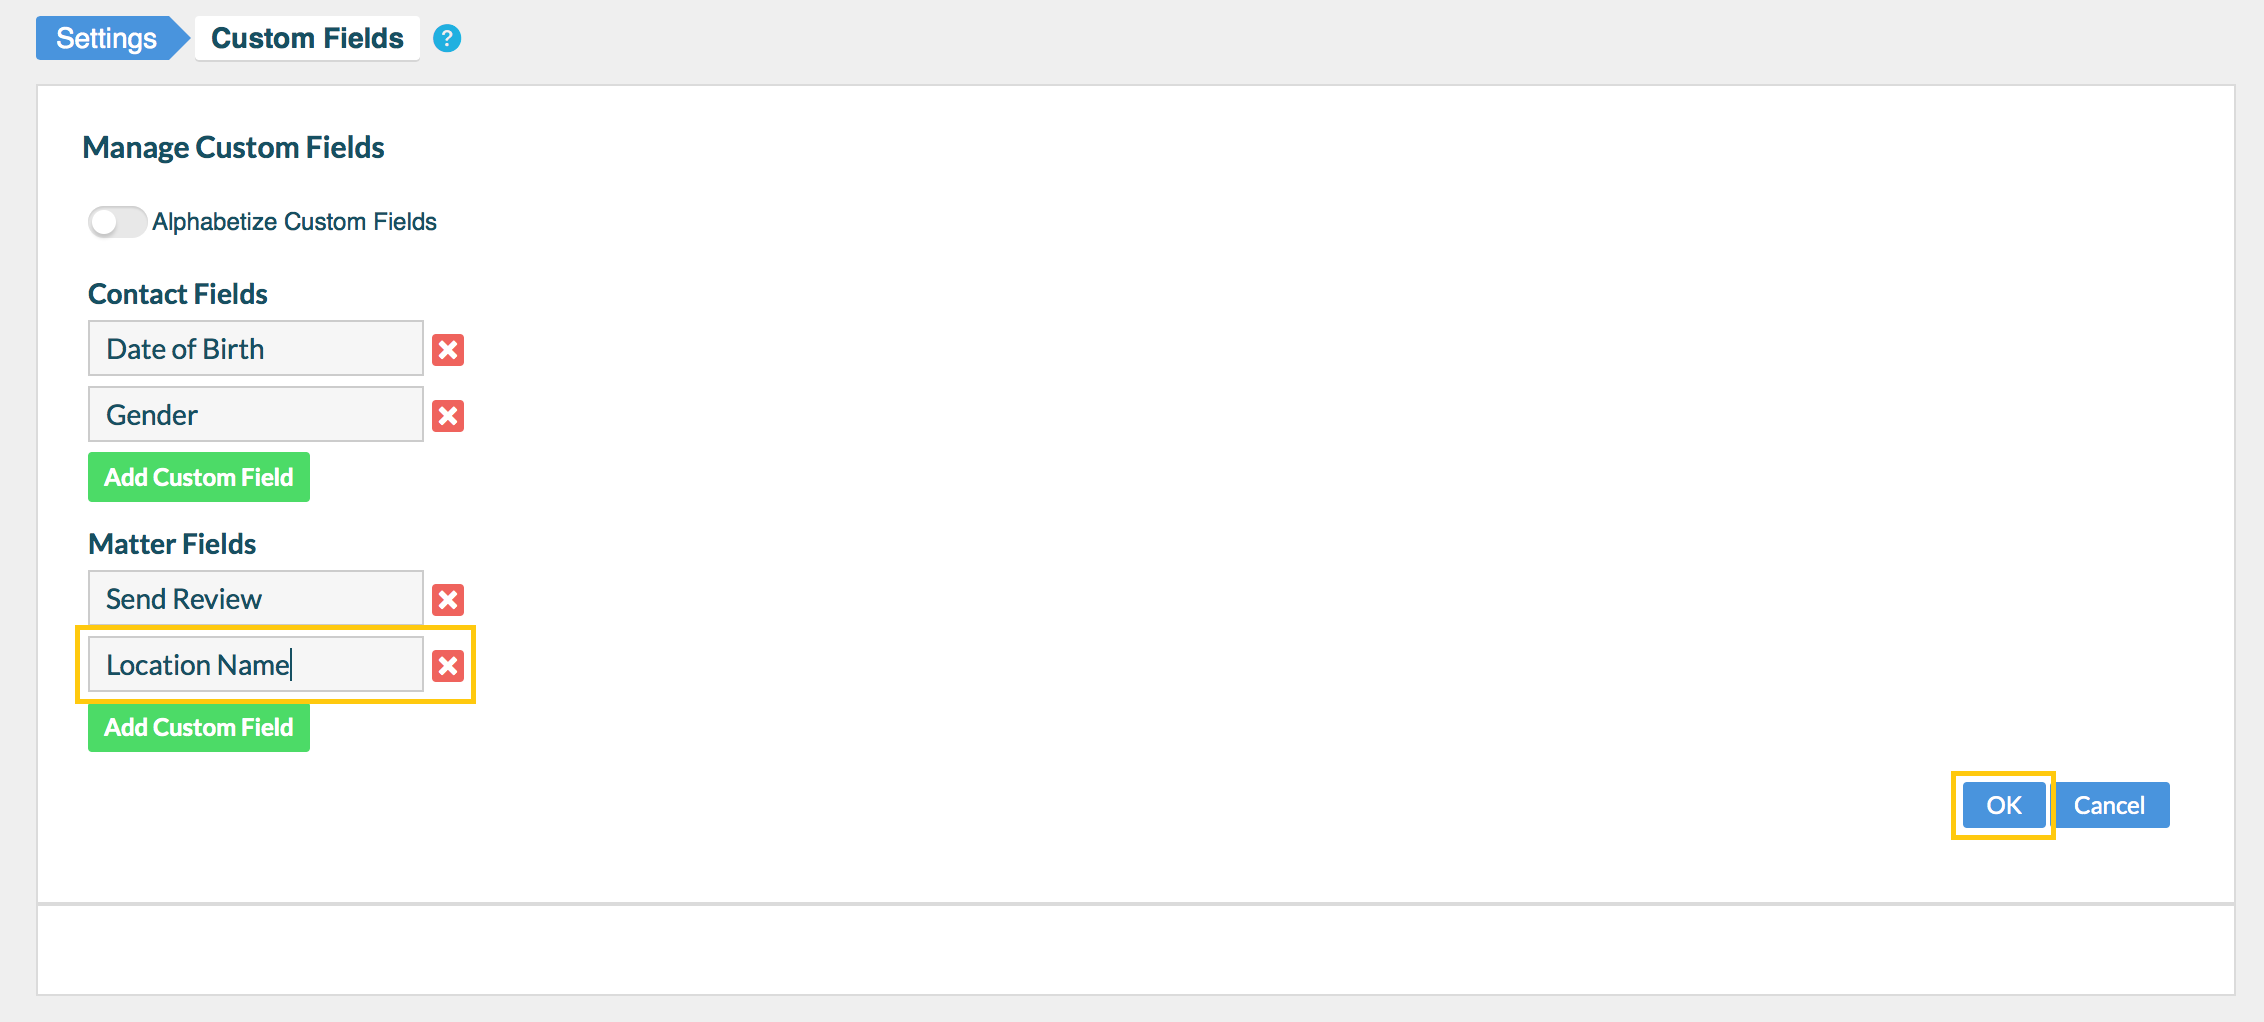
On the new page, click on the 'Add Custom Field' button under the 'Matter Fields' header.
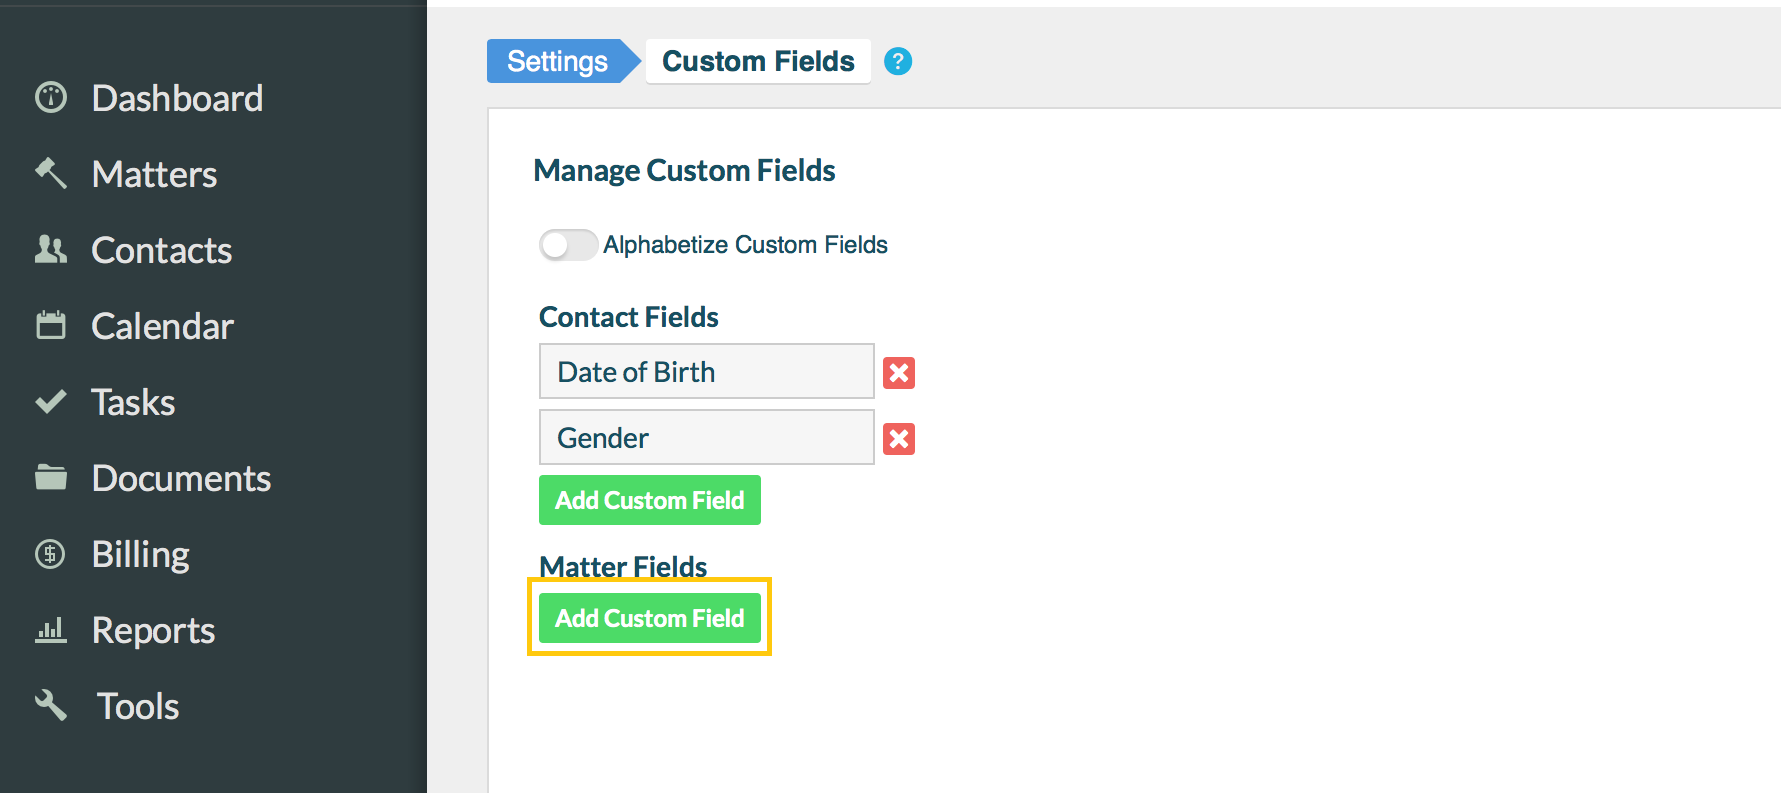
Now, enter 'Send Review' in the custom field text box and click on the 'OK' button on the bottom right.

After the custom field is created, you will see a 'Send Review' option for all the matters created using your Rocket Matter account. If you don't wish to send a review request for a matter, click on the 'Edit Values' button on the top right.
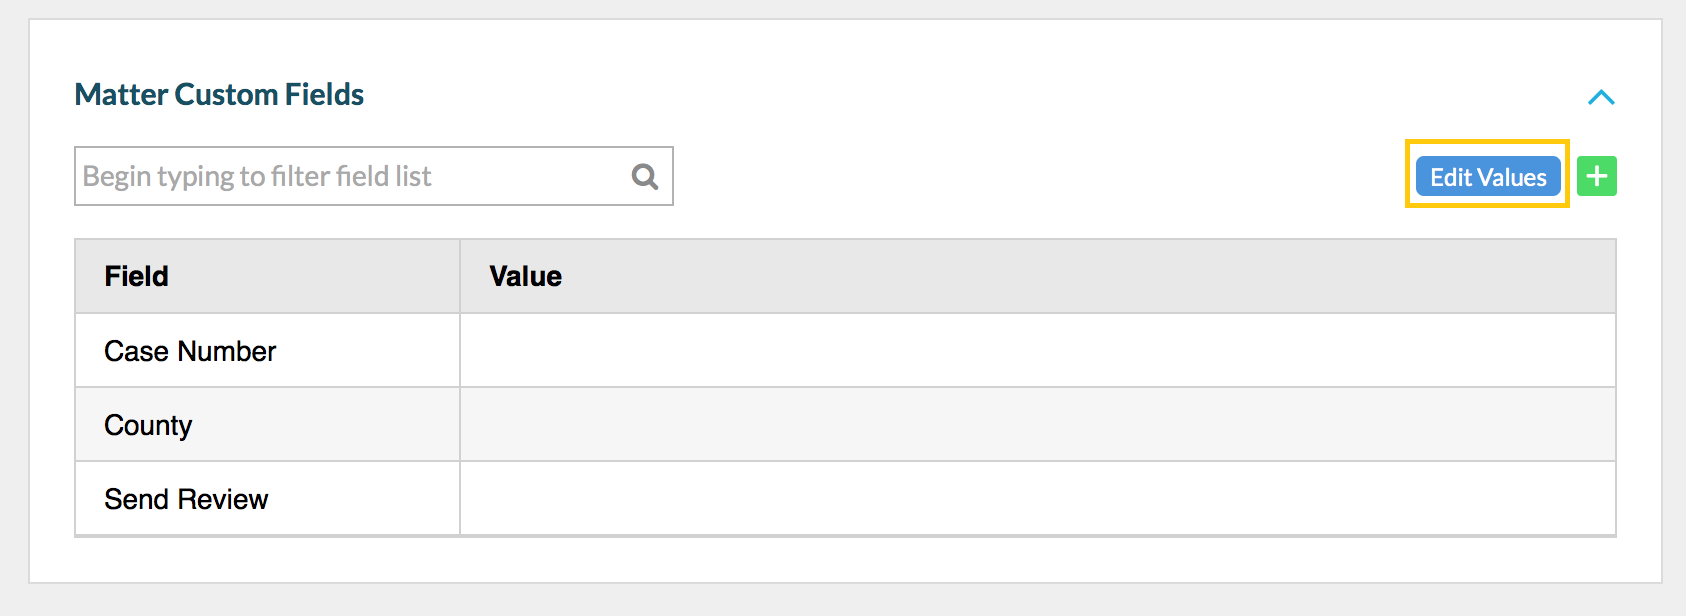
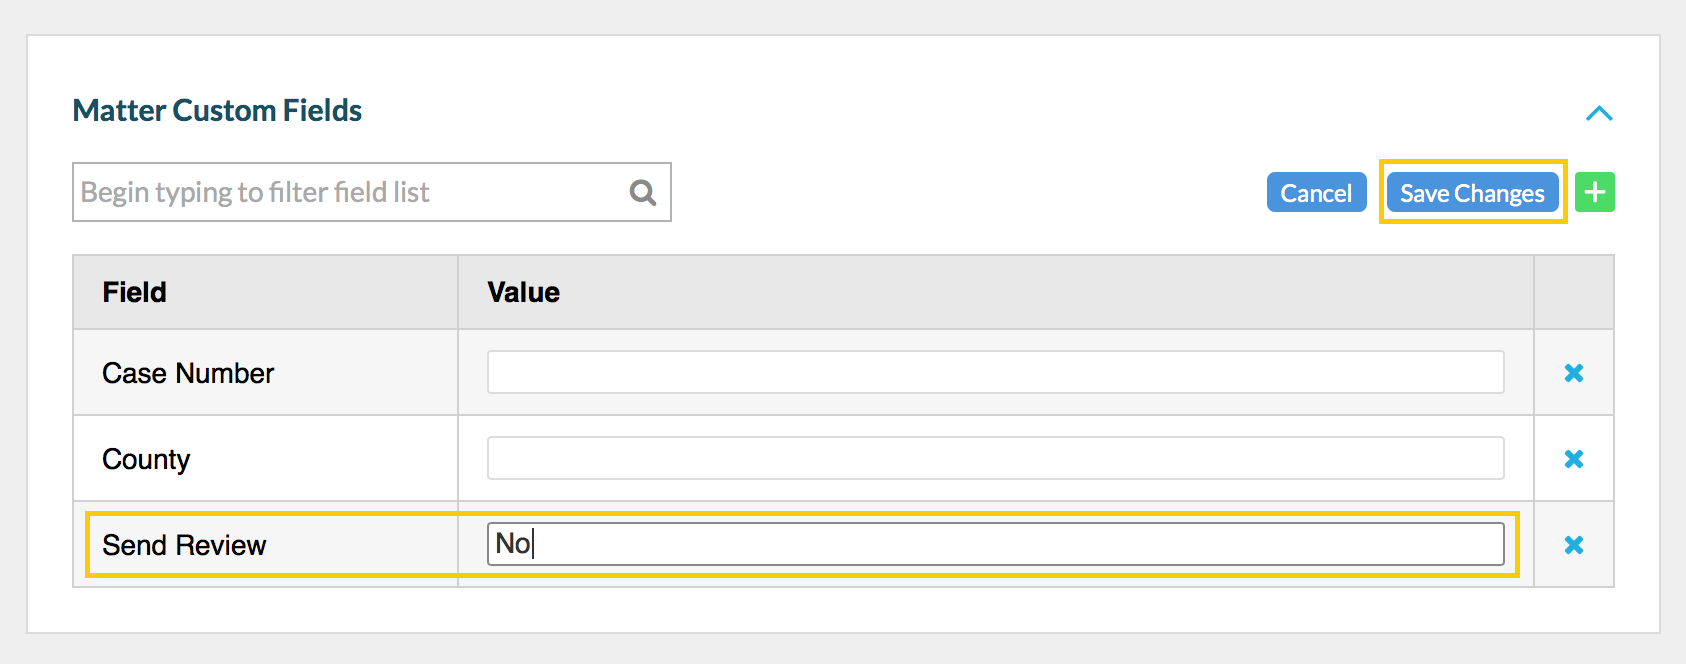
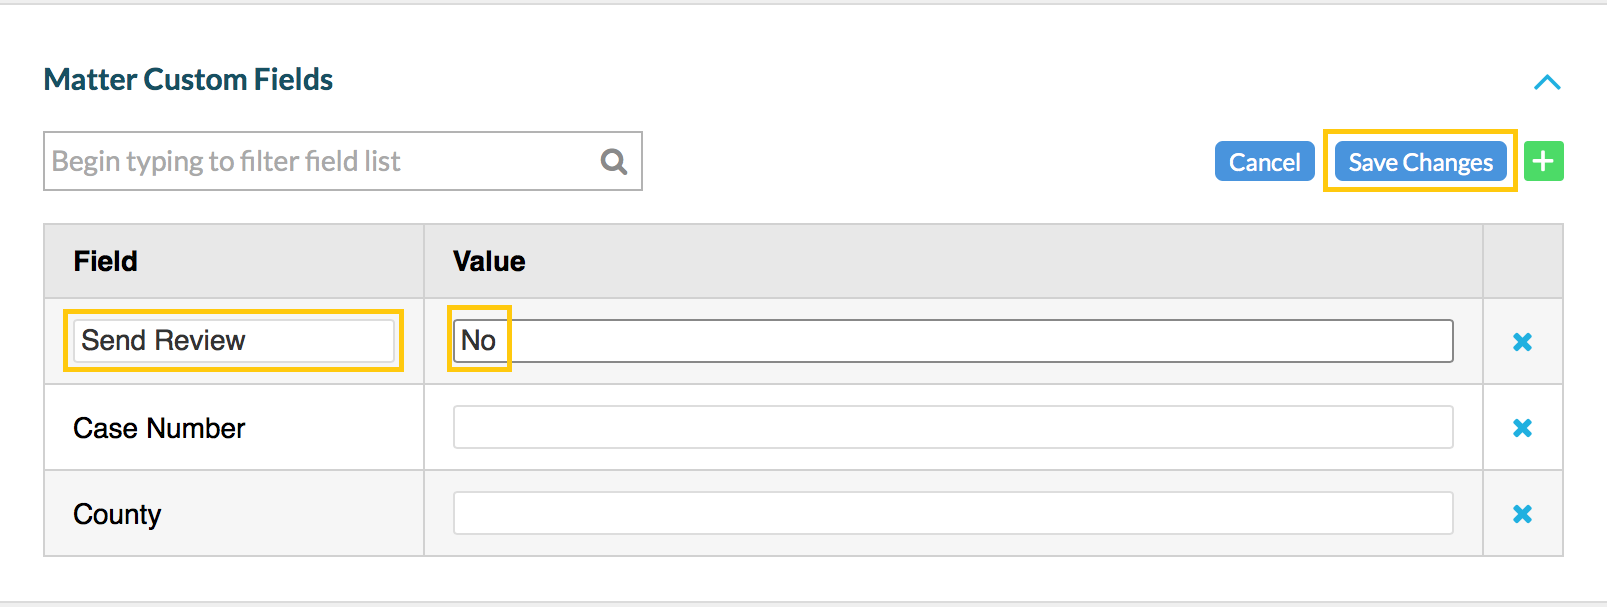
Now, input 'No' next to the 'Send Review' custom field and click on the 'Save Changes' button on the top right.
Adding a custom field to a matter
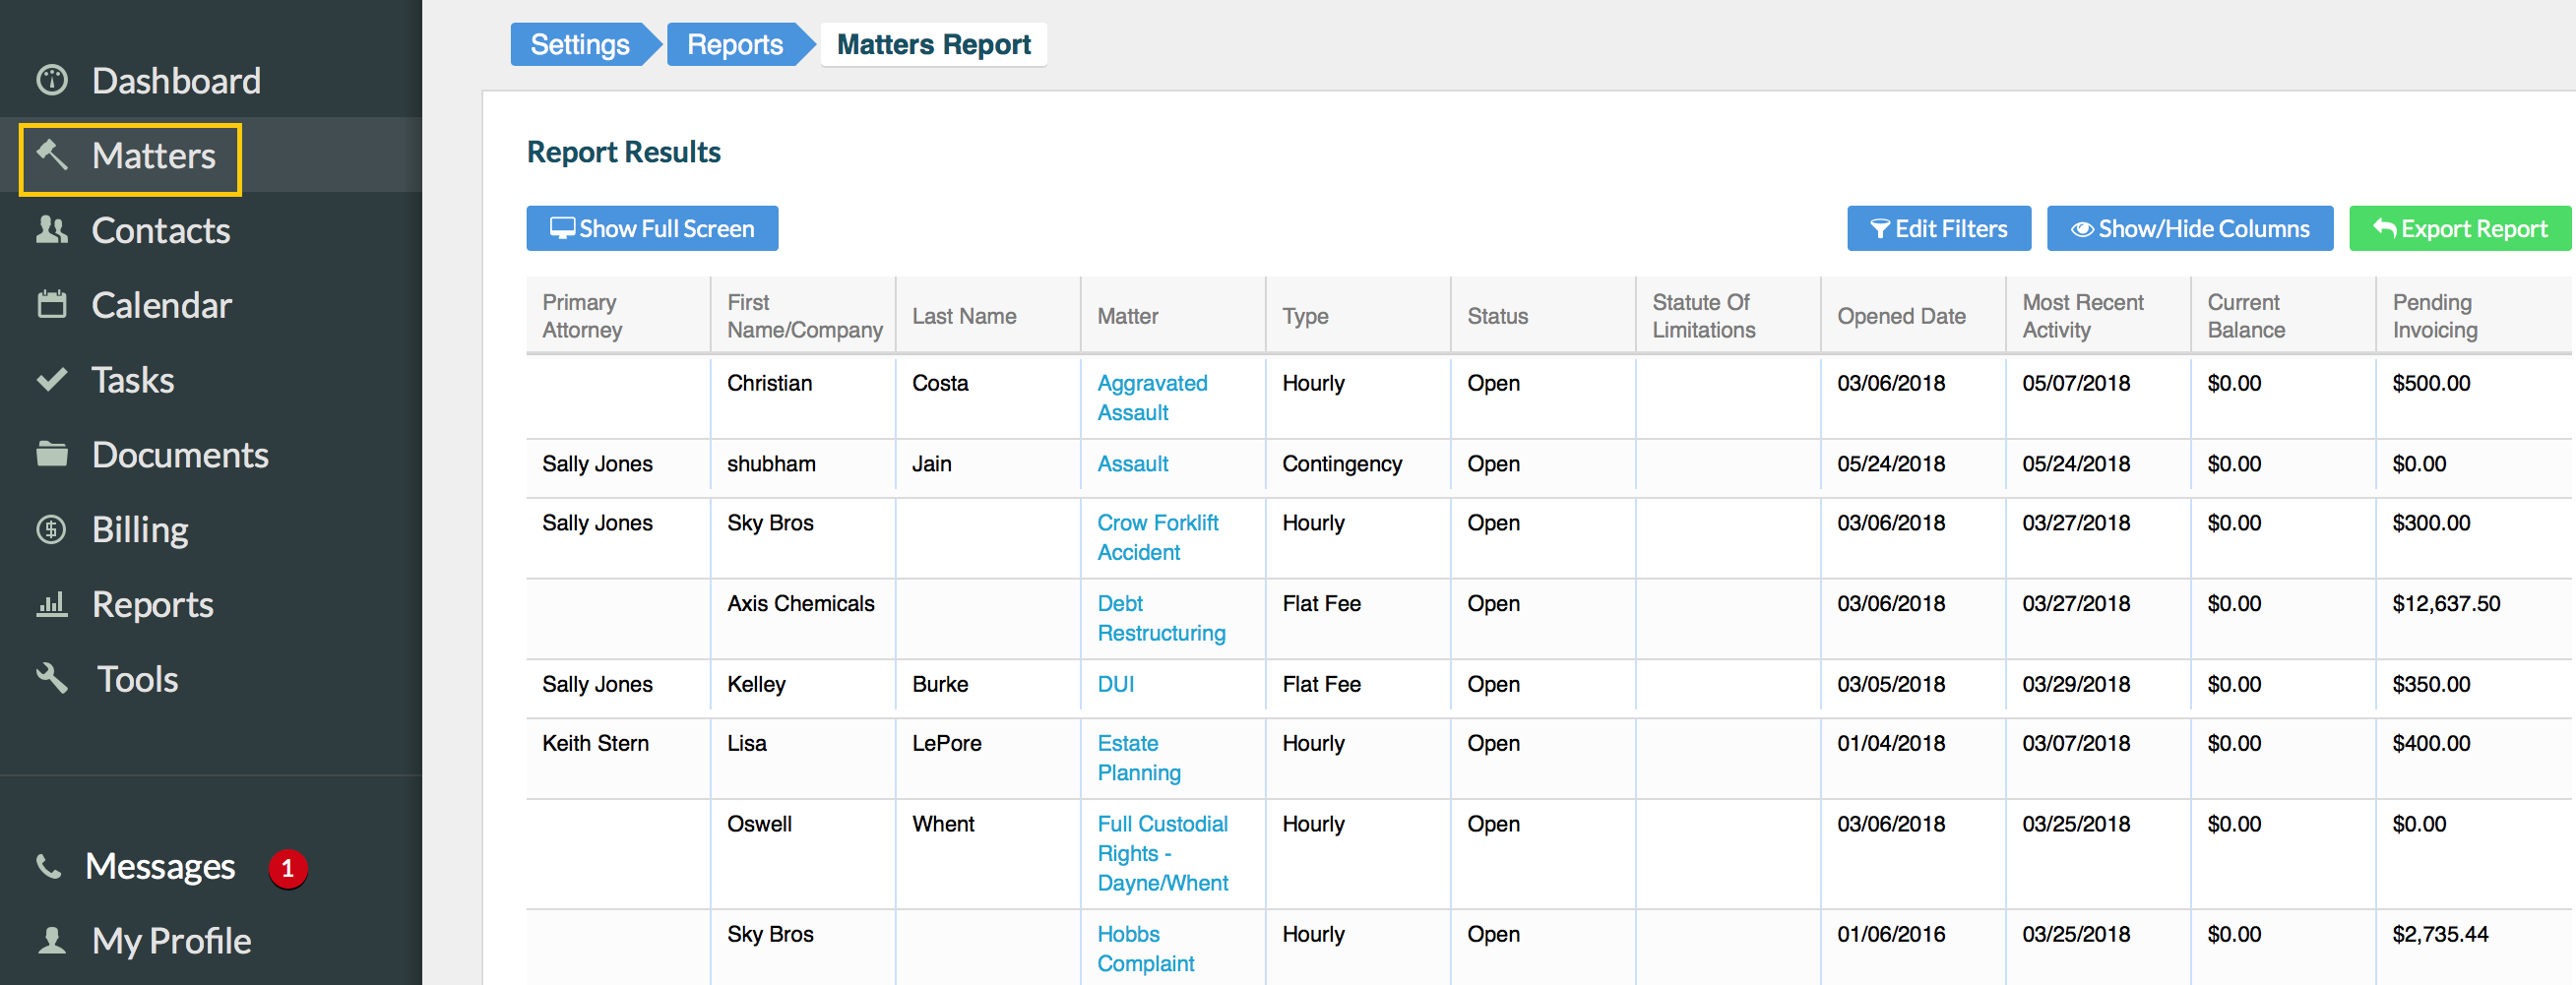
To add a custom field to a single matter, click on the 'Matters' tab on the left navigation rail of your Birdeye dashboard and click on an existing matter.
Under the 'Matter Custom Fields' header, you have the ability to add a new custom field by clicking on the 'Plus' icon on the extreme right.
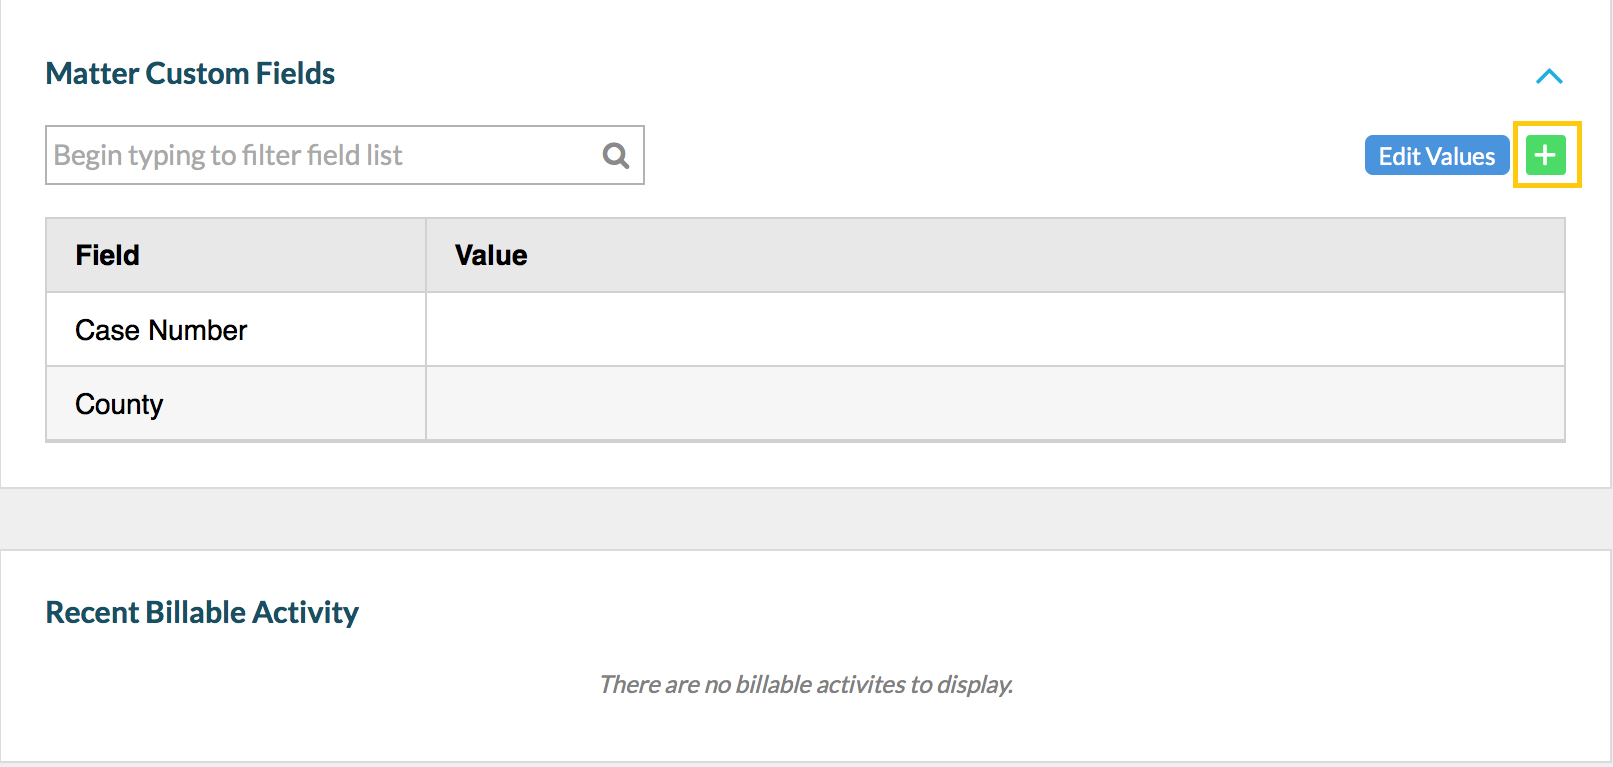
Name the new field as 'Send Review' and input 'No' as the value if you don't wish to send a review request for this matter. Once you have made the changes, click on the 'Save changes' button on the top right.
Multi-location account
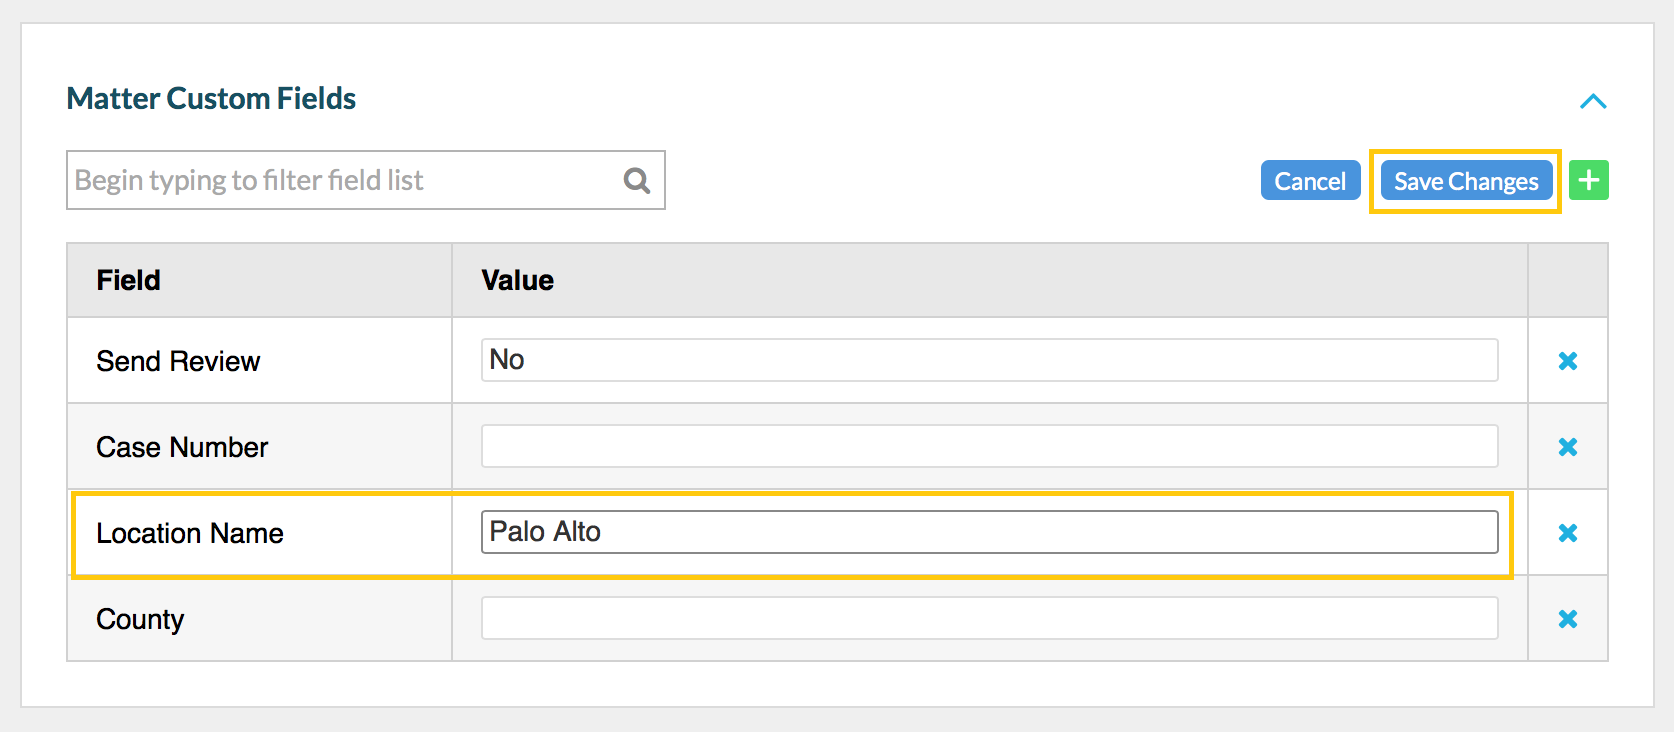
In the case of a multi-location account, you will need a location custom field to ensure matters are mapped to the right business location. To create a location custom field, enter 'Location Name' in the text box and click on the 'OK' button.
After the custom field is created, you will see a 'Location Name' option for all the matters created using the Rocket Matter account.
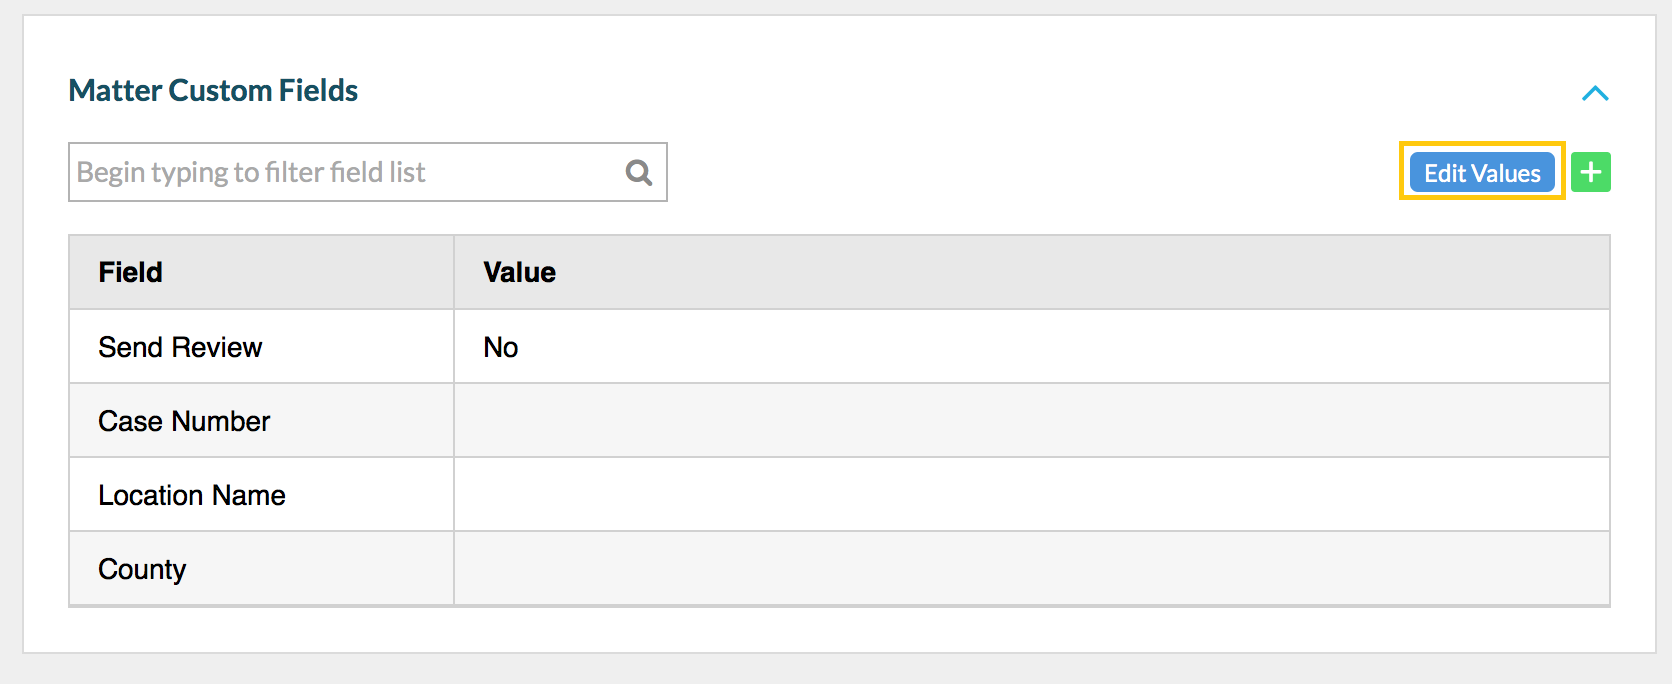
Once you are in the process of creating a matter, click on the 'Edit Values' button and enter the name of the location corresponding to the matter. After you entered the name of the location, click on the 'Save Changes' button on the top right.
.jfif)
.jfif)