How does auto-optimizing images work for social channels?
Businesses can now upload images up to 50MB in a variety of file formats when creating posts across social channels. Once uploaded, these images are automatically optimized to meet each platform's specific file size and format requirements, ensuring seamless posting without errors.
This feature streamlines the posting process by allowing users to optimize media for all channels in a single step, saving time and reducing errors caused by platform restrictions.
Auto-Optimization Triggers for the Following Criteria:
- If users publish images over 8MB across Facebook and Instagram.
- If users publish images over 5MB across LinkedIn, X (Formerly Twitter), and Google Business Profile.
- If users publish JPEG images to Google.
Auto-optimize Images
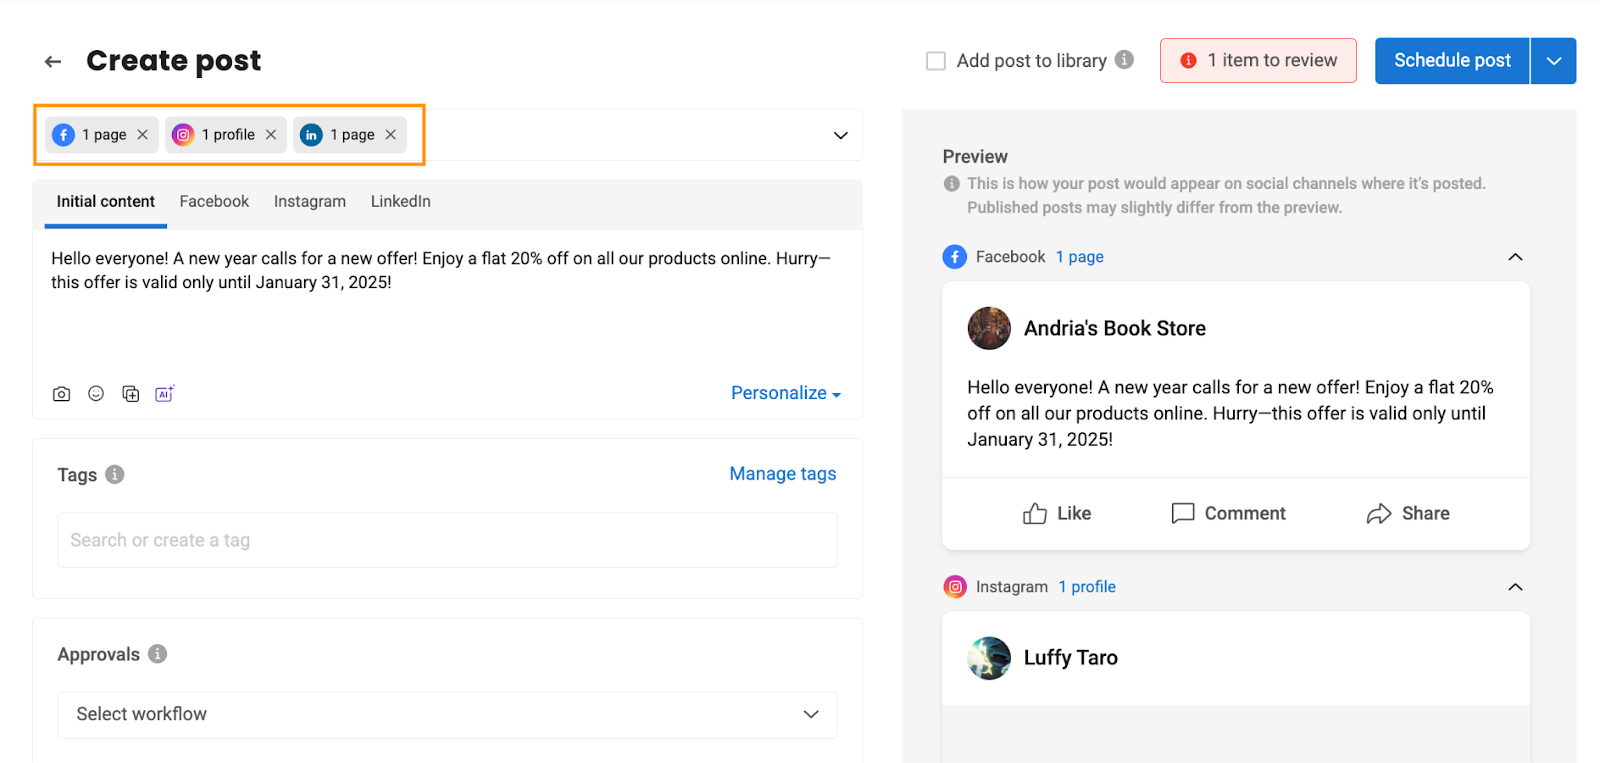
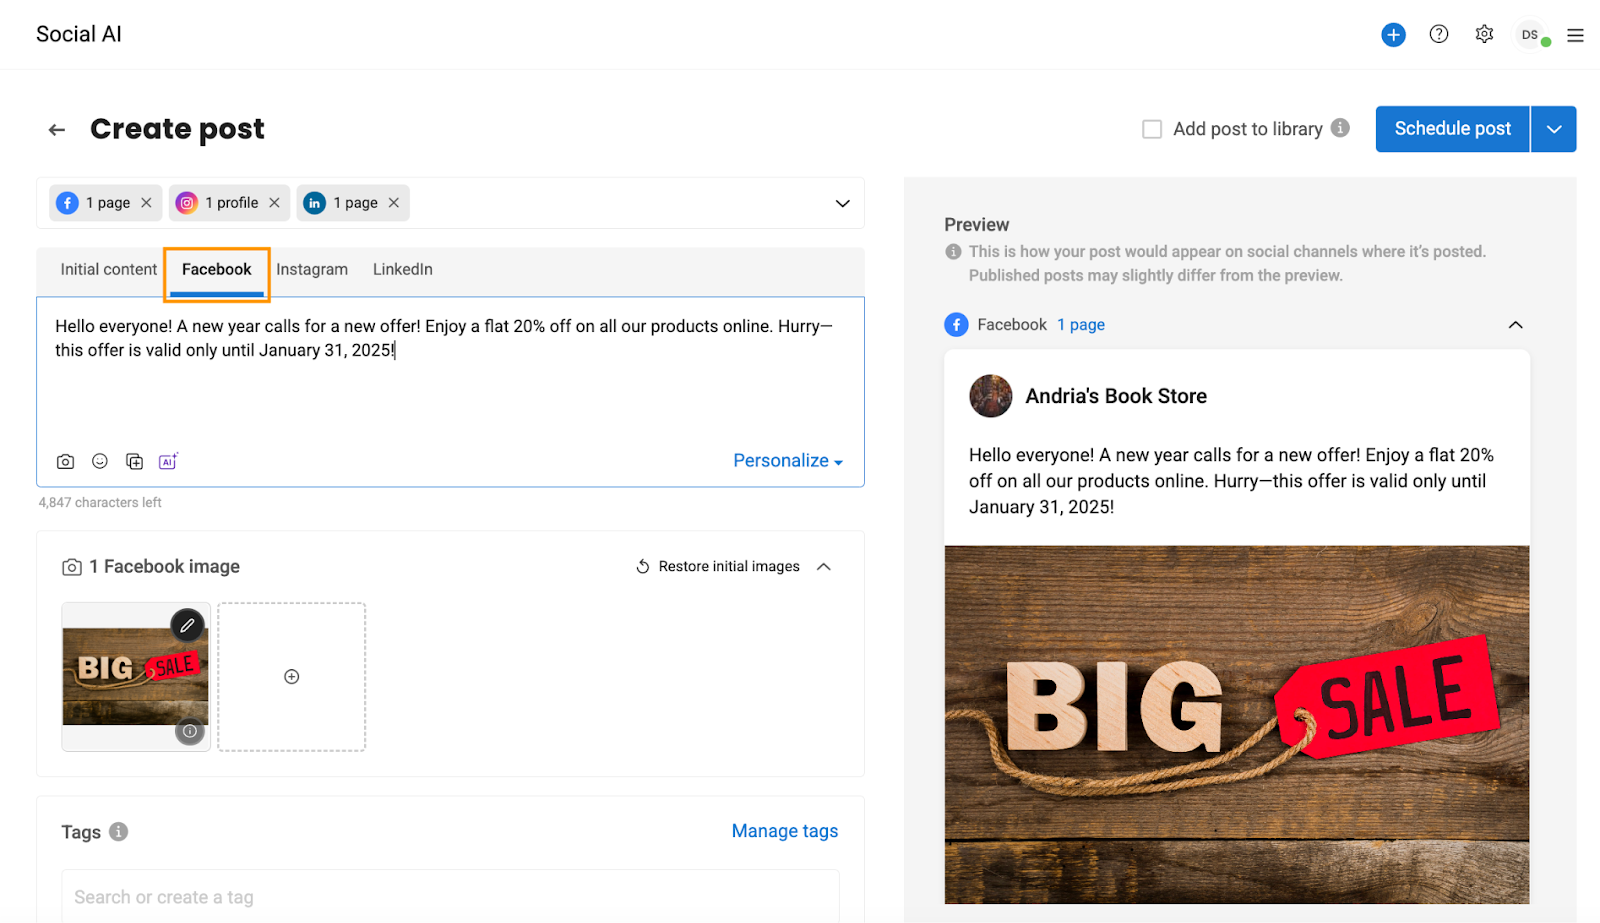
In the ‘Social’ tab, click ‘Create post,’ and select desired social channels.
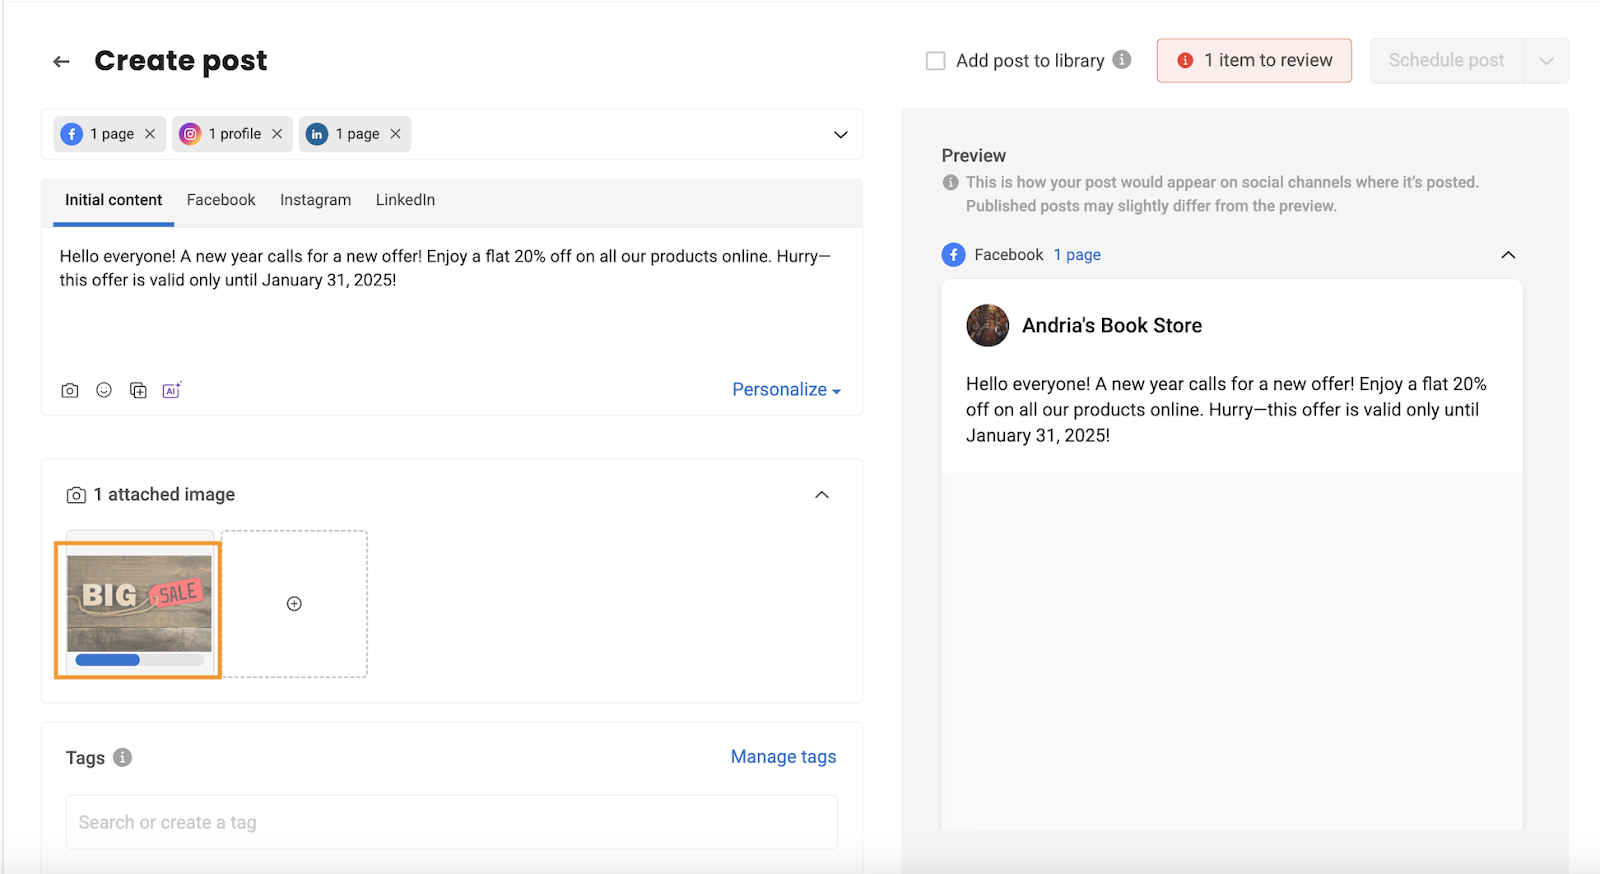
When you select an image larger than 8MB under your post's ‘Initial Content’ tab, a progress bar will appear, indicating the upload status.
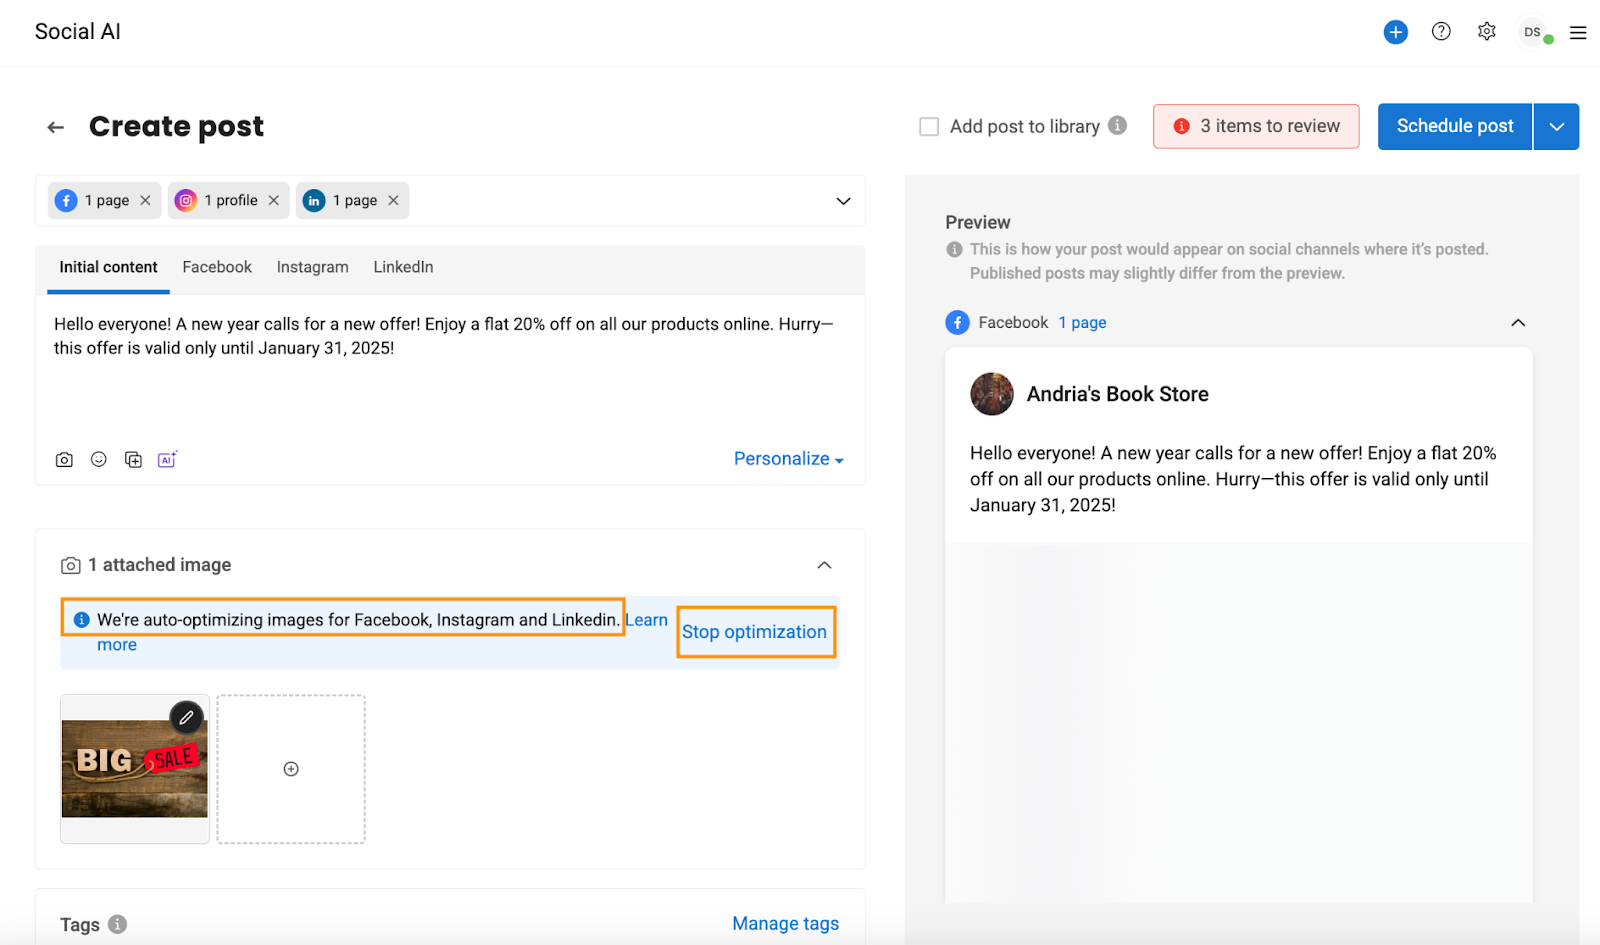
After uploading the image, a notification will appear indicating which social channels the image has been optimized for. You can also click on ‘Stop optimization’ to stop the optimization.
After the image is optimized for the selected social channels, you will receive a notification at the top of the screen.
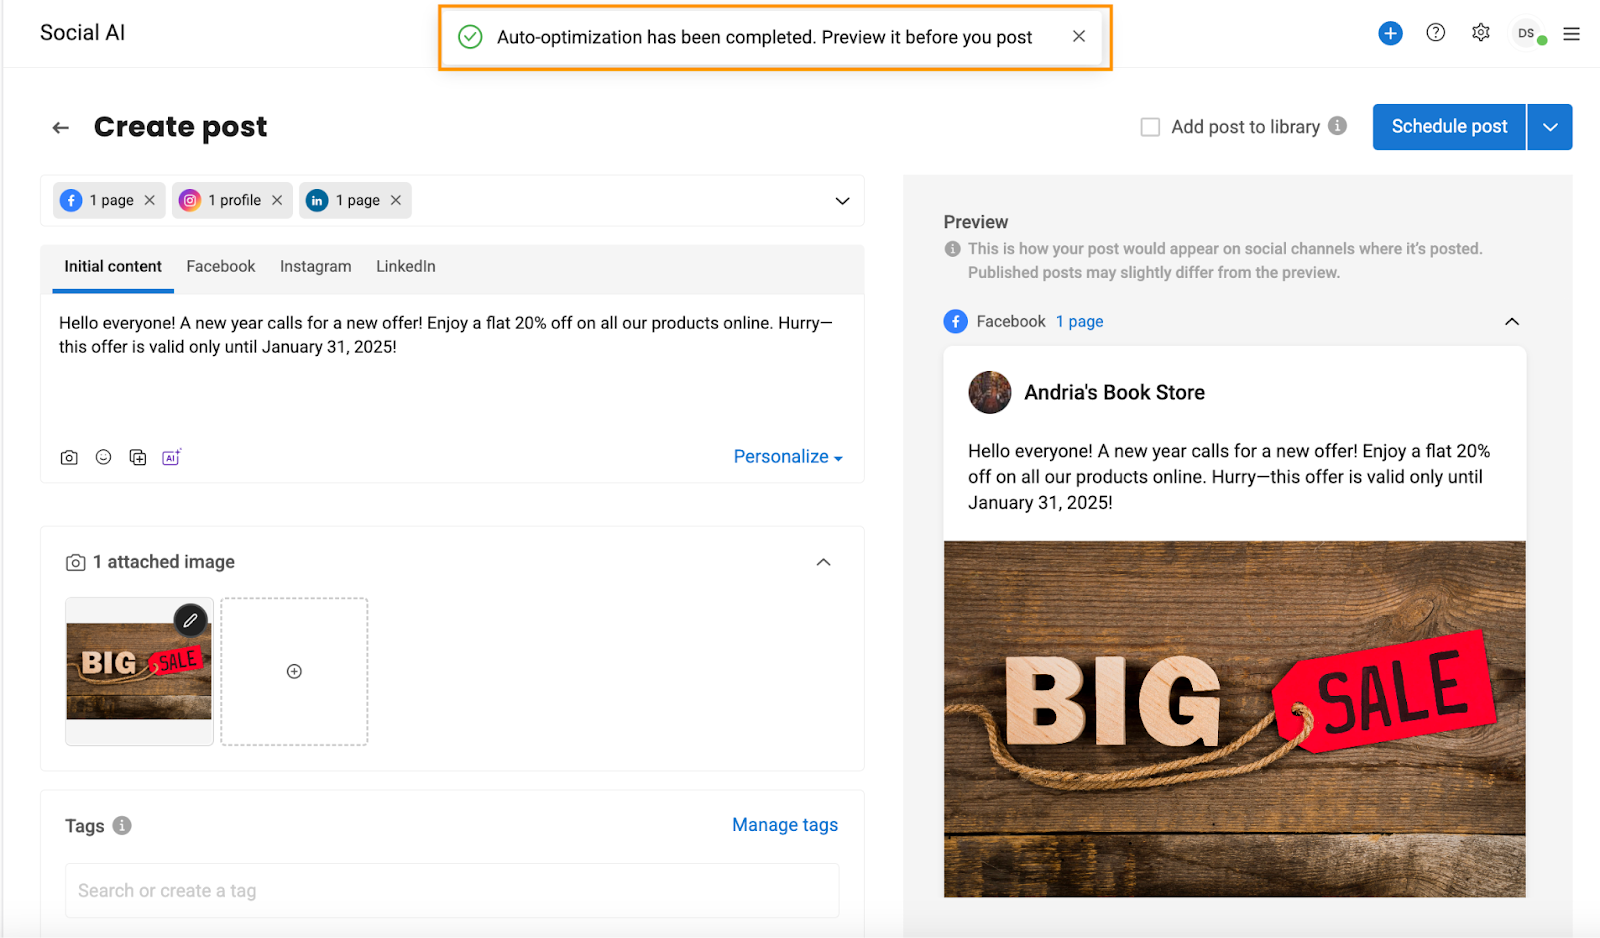
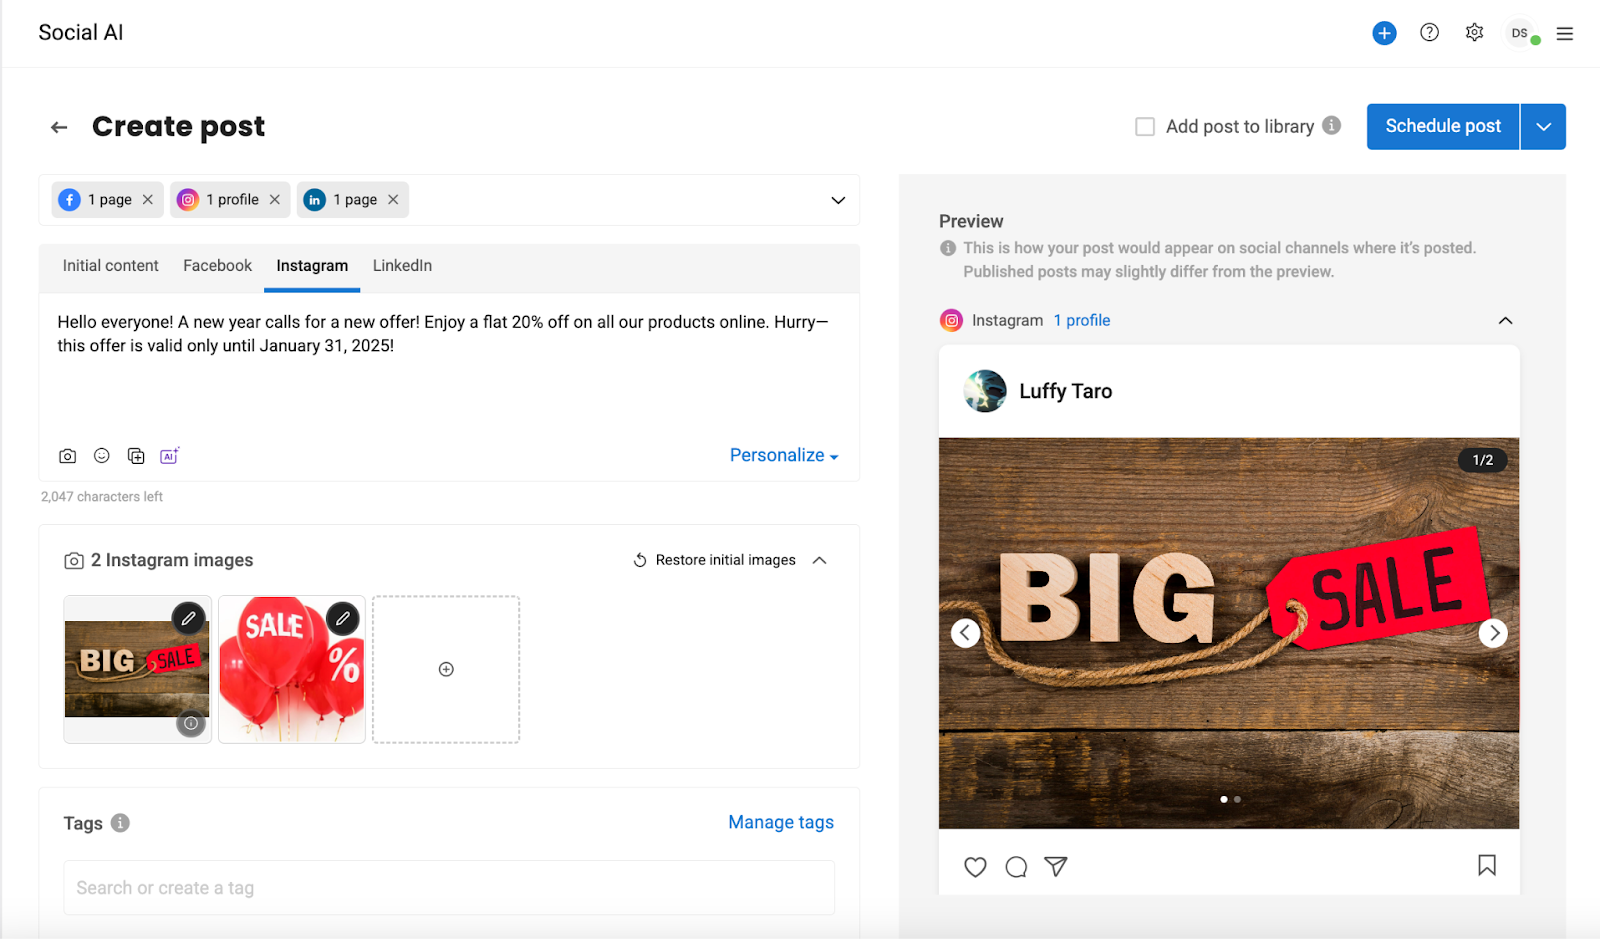
You can also navigate to the individual social channel tabs to confirm that the image has been successfully uploaded and optimized for the selected platforms.
Click ‘Restore initial images’ to undo optimizations and return images to the original specifications.

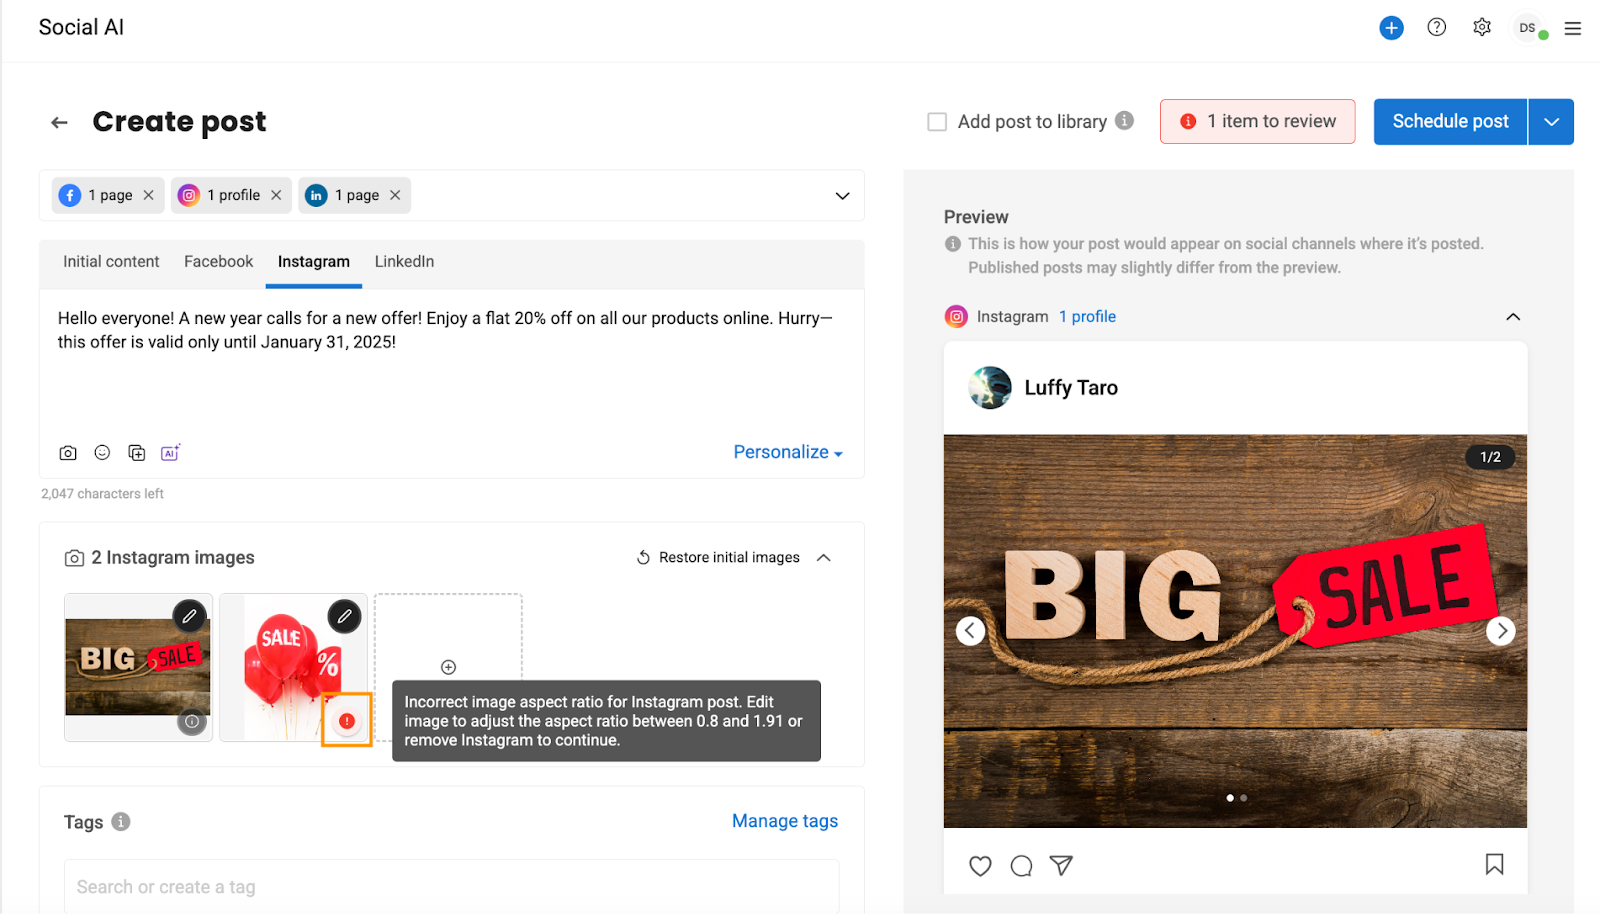
Image optimization automatically adjusts file size and type; however, aspect ratio errors will not be resolved automatically. For example, an error will be displayed if you upload an image that does not meet a specific social channel’s aspect ratio requirements.
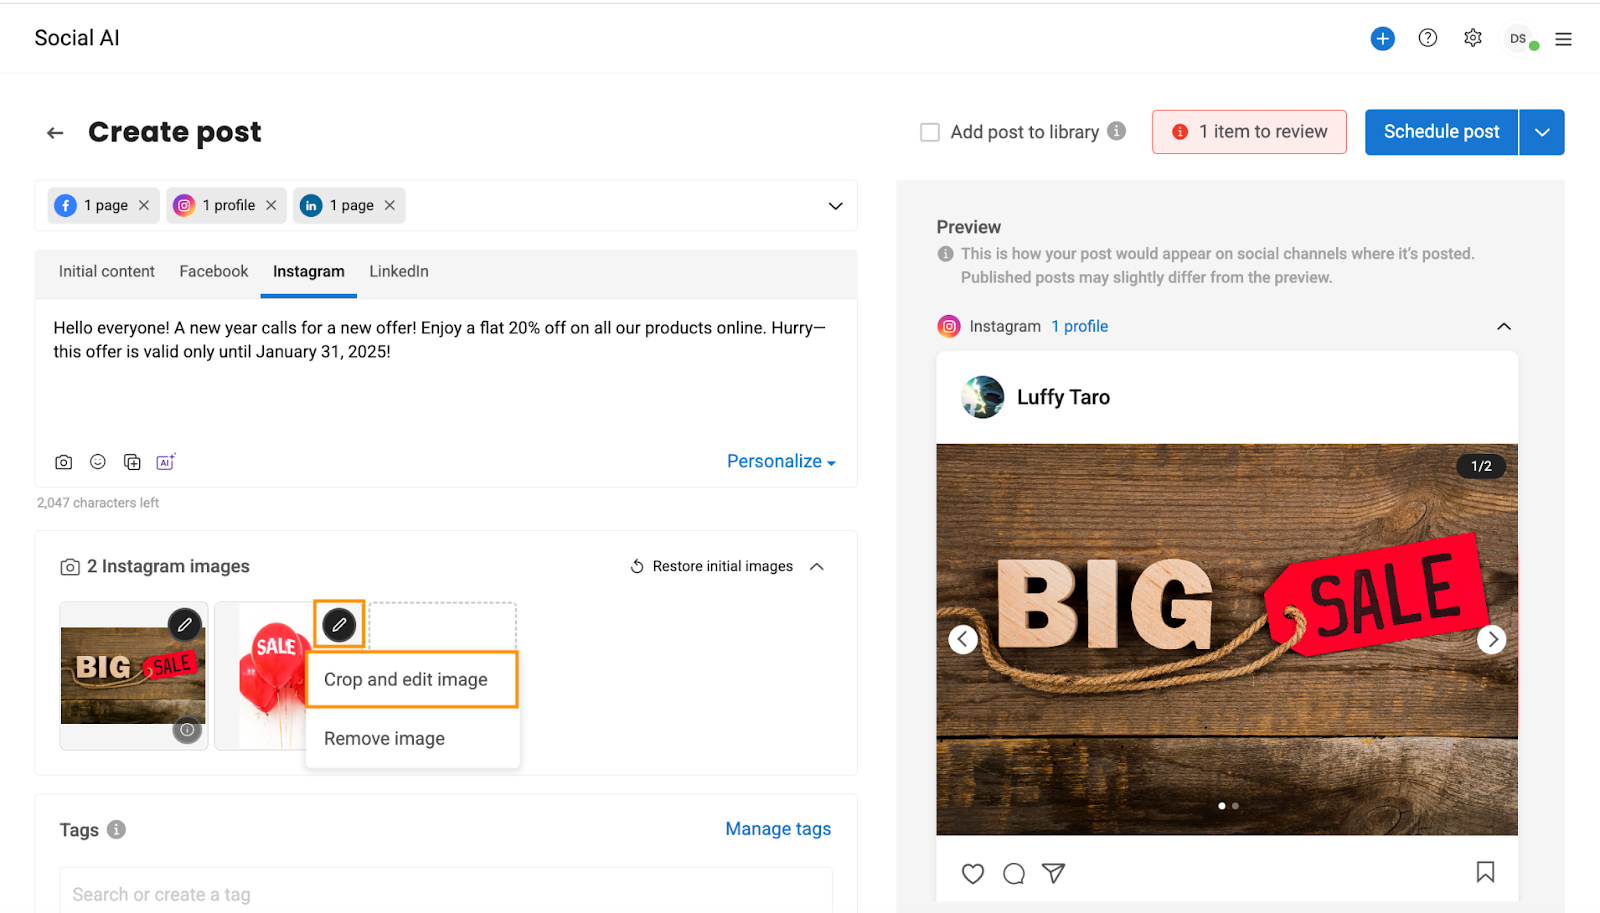
To fix the aspect ratio, click the edit icon and select ‘Crop and edit image.’
Adjust the aspect ratio in the visual editor and click ‘Save.’
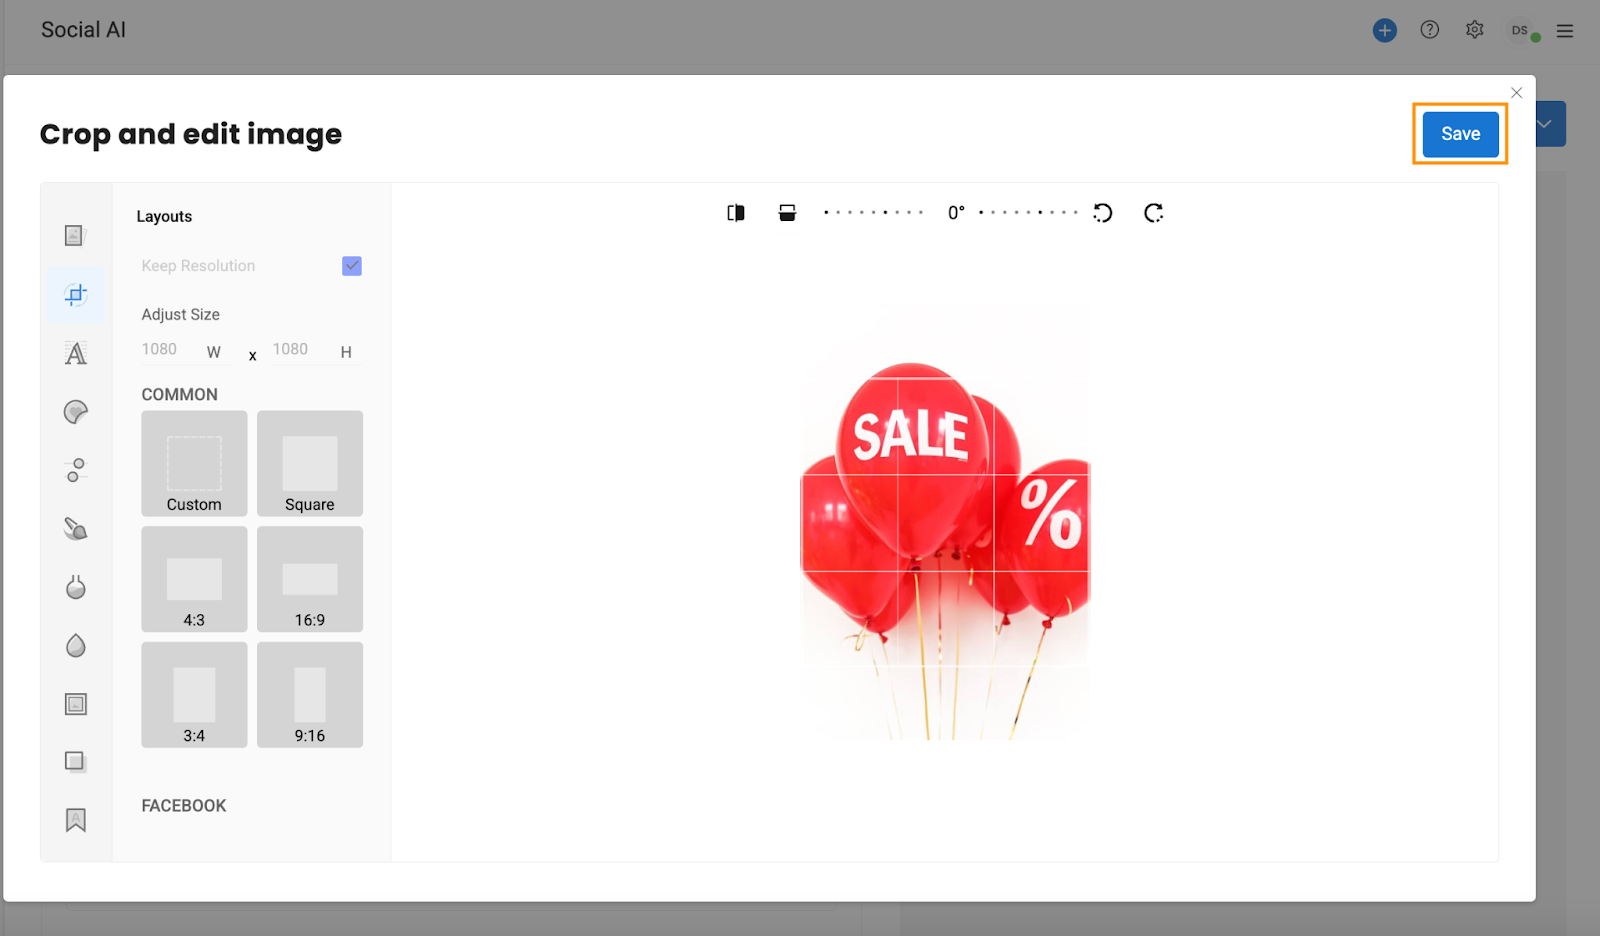
After adjusting the aspect ratio, the error icon disappears, allowing you to proceed with creating the post.
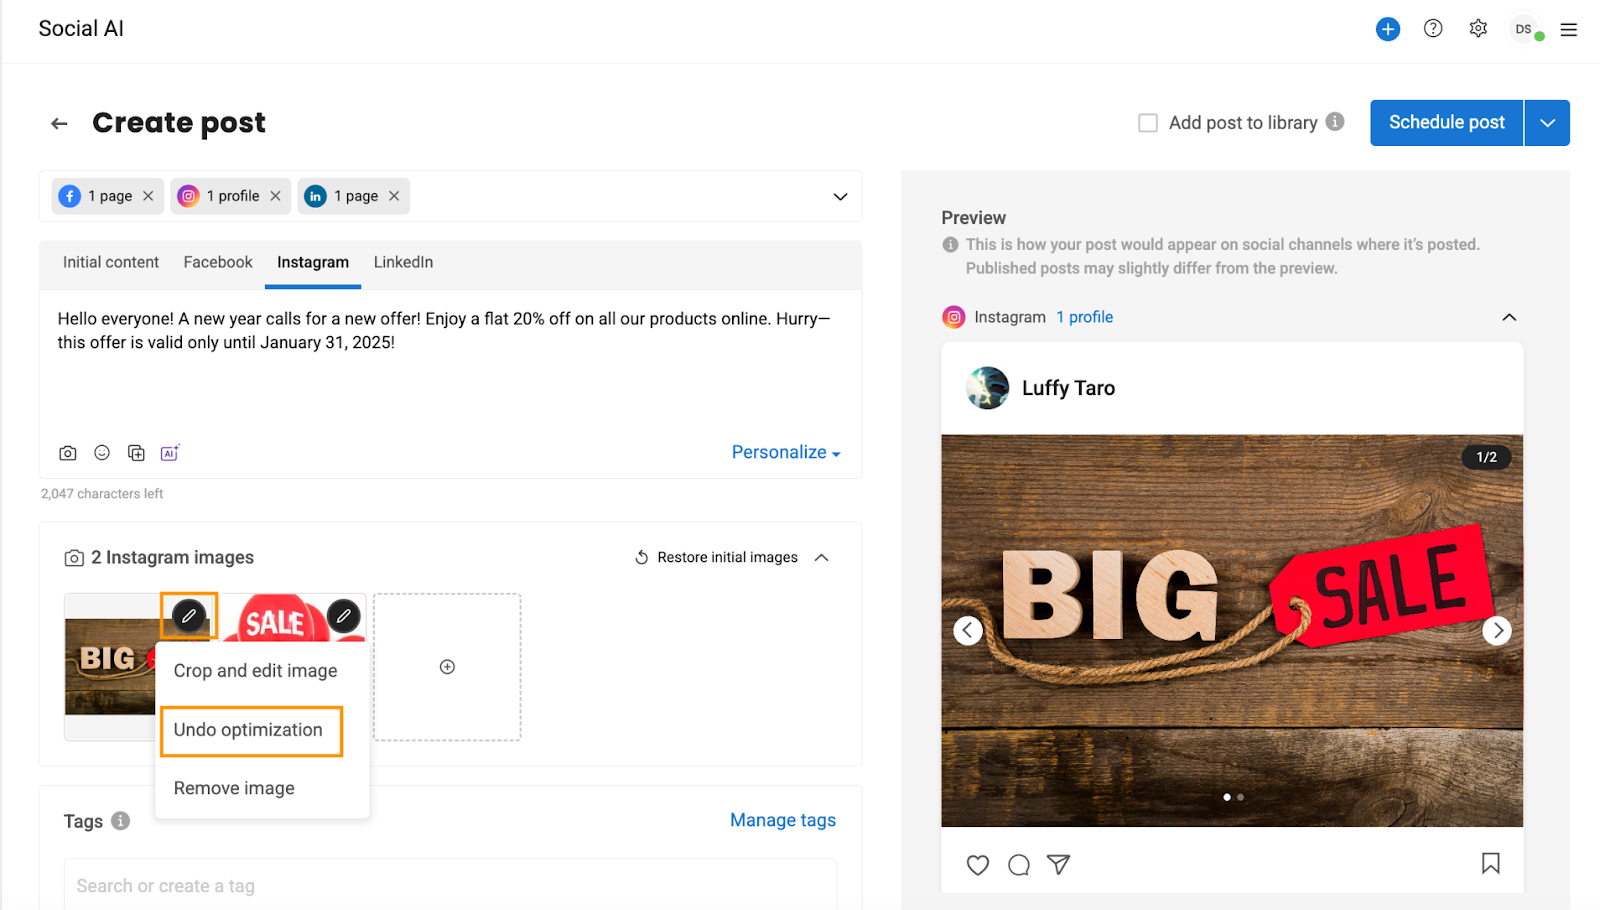
If you're not satisfied with the quality of a specific image, click the edit icon and select ‘Undo optimization’ to revert the optimization for that image alone. Alternatively, clicking ‘Restore initial images’ will undo the optimization for all images uploaded in the selected social channel tab.
Undoing the optimization will reintroduce the errors and display a notification saying, ‘Some images don’t meet the social channel’s requirements.’ You can click ‘Optimize’ to re-optimize the image, removing the error.
