How to set up advanced Appointments Analytics within Birdeye?
With Birdeye's advanced analytics integration, businesses will have the ability to track appointment events within the data layer on Google Tag Manager, Adobe Analytics, and other analytical tools capable of reading the data layers. These tools can then be integrated with any marketing or reporting platform like Facebook analytics, dashboards, etc.
This article will walk you through the various steps involved in reading the data layer events in Google Tag Manager.
To learn more about Google Tag Manager and the data layer, read the following articles:
Article Title |
Link |
What is a data layer? |
|
How to set up Google Tag Manager? |
The following events are tracked in the data layer:
| Events | Description |
Appointment booking form viewed |
Whenever the appointment widget is opened |
Appointment type is selected |
On selection of any appointment type |
Provider is selected |
On selection of any provider |
Date Select |
On clicking any date from the calendar. Only when a user selects a date |
Time Select |
On clicking any time from the calendar. |
Month Change |
On changing month |
Next clicked |
After selecting the time, when the Next button is clicked |
| Booked for someone else |
On clicking "Someone else", the booking is done |
Booked for myself |
When a booking is made for myself |
Name is filled |
When a name is filled |
Phone number is filled |
When a phone number is filled |
Email is filled |
When an email is filled |
Gender is selected |
When gender is selected |
Date of birth is selected |
When DOB is selected |
Change booking |
When the "Change booking" button is clicked |
Patient name filled |
When the patient's name is filled |
Patient date of birth is selected |
When the patient's DOB is filled |
Map maximized |
When the map is maximized |
Book appointment |
On booking the appointment |
Add to gcal |
Addition to Gcal after appointment booking |
Add to Outlook |
Addition to Outlook after appointment booking |
Add to iCal |
Addition to iCal after appointment booking |
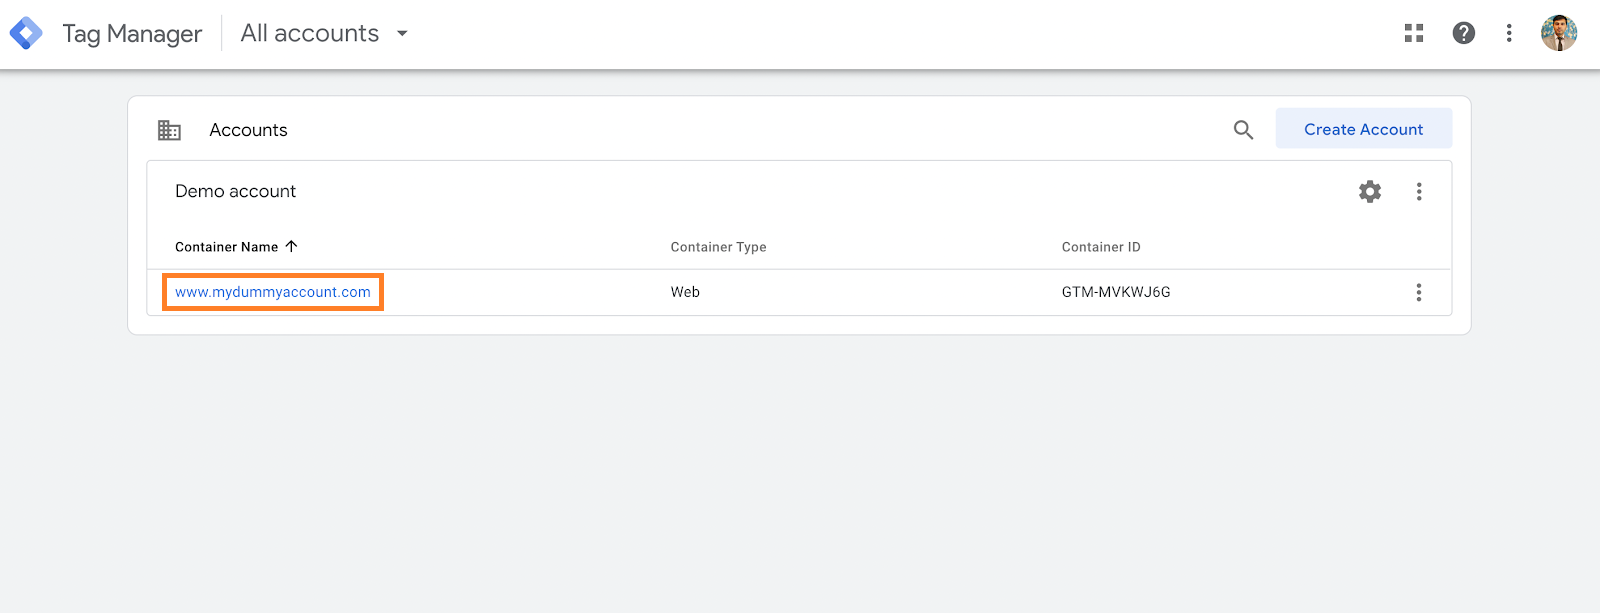
To track appointment events in Google Tag Manager, sign in to Google Tag Manager as an administrator. Select the container name that is currently installed on your website.
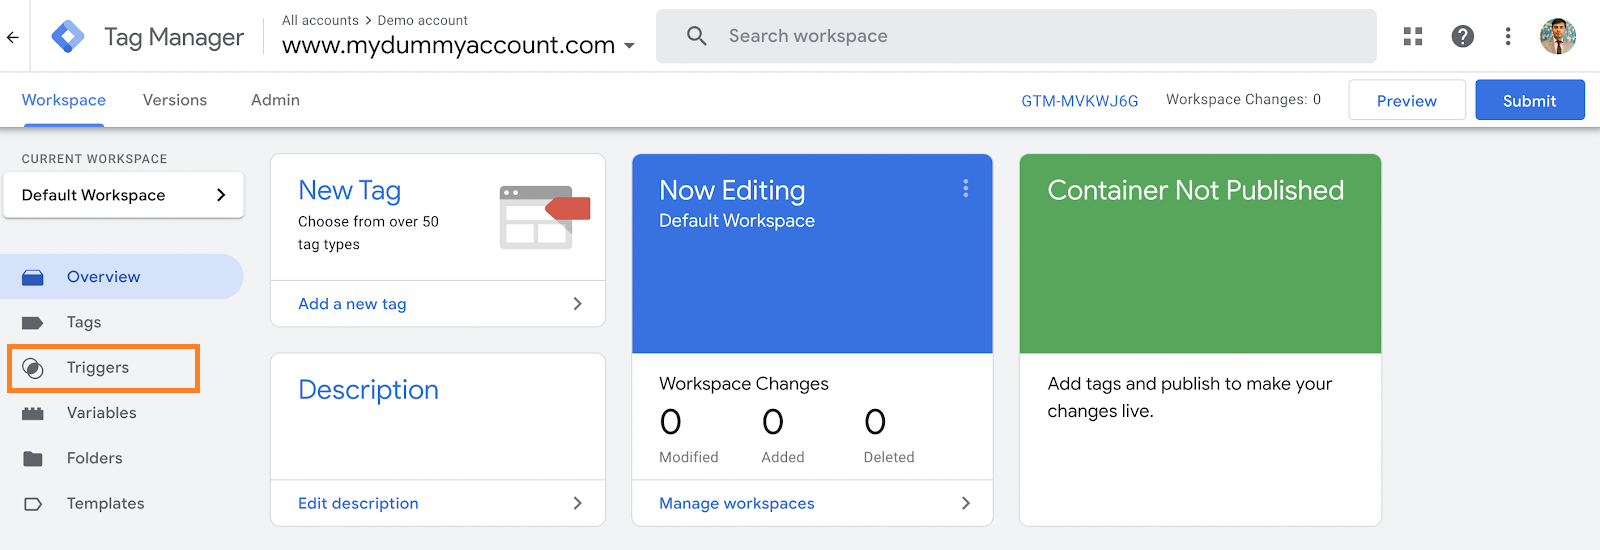
Go to the 'Triggers' tab.
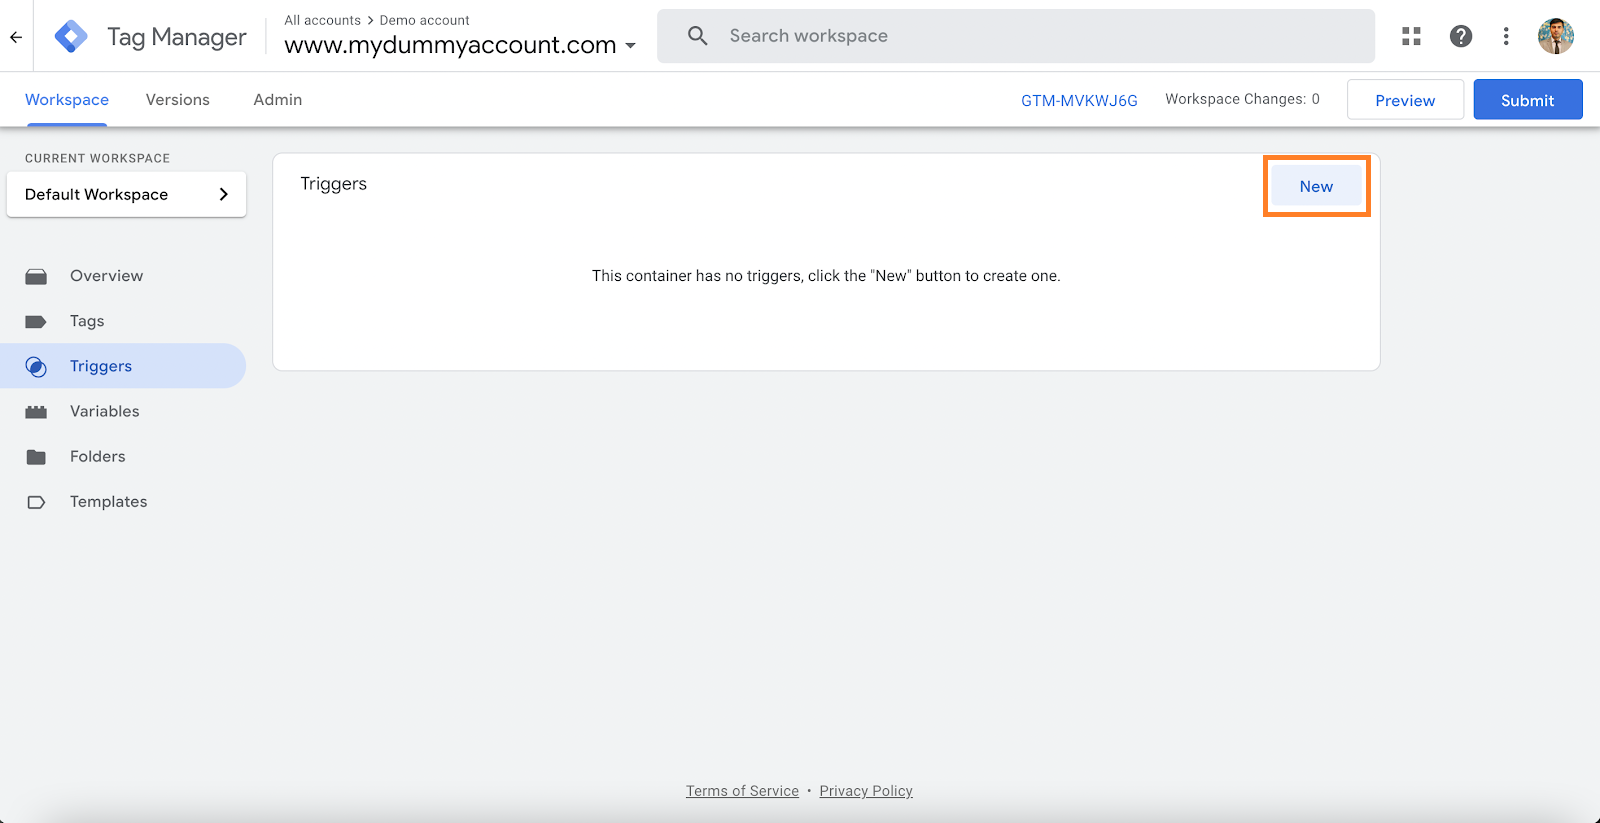
Click on the 'New' button.
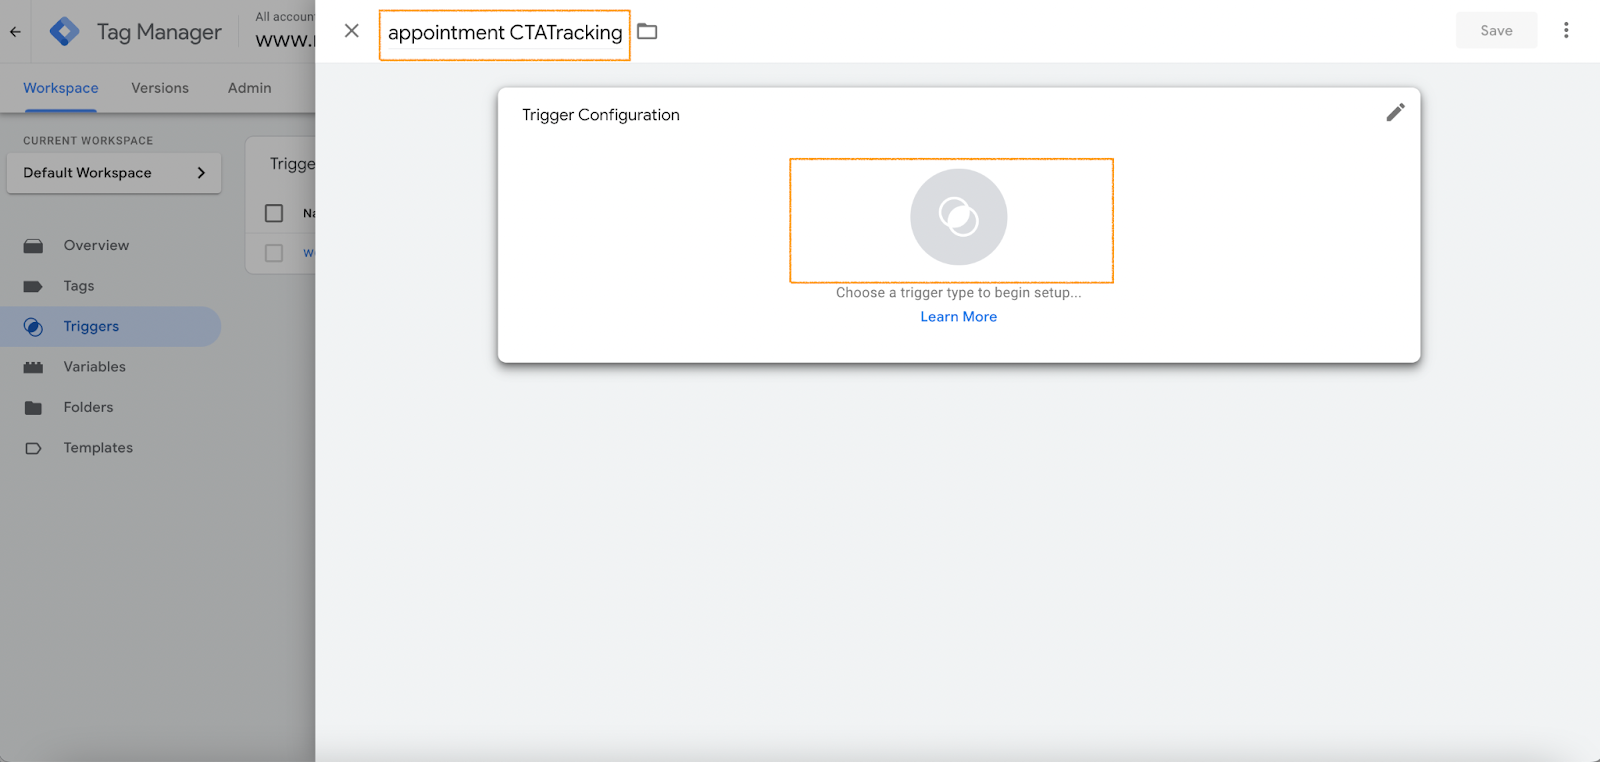
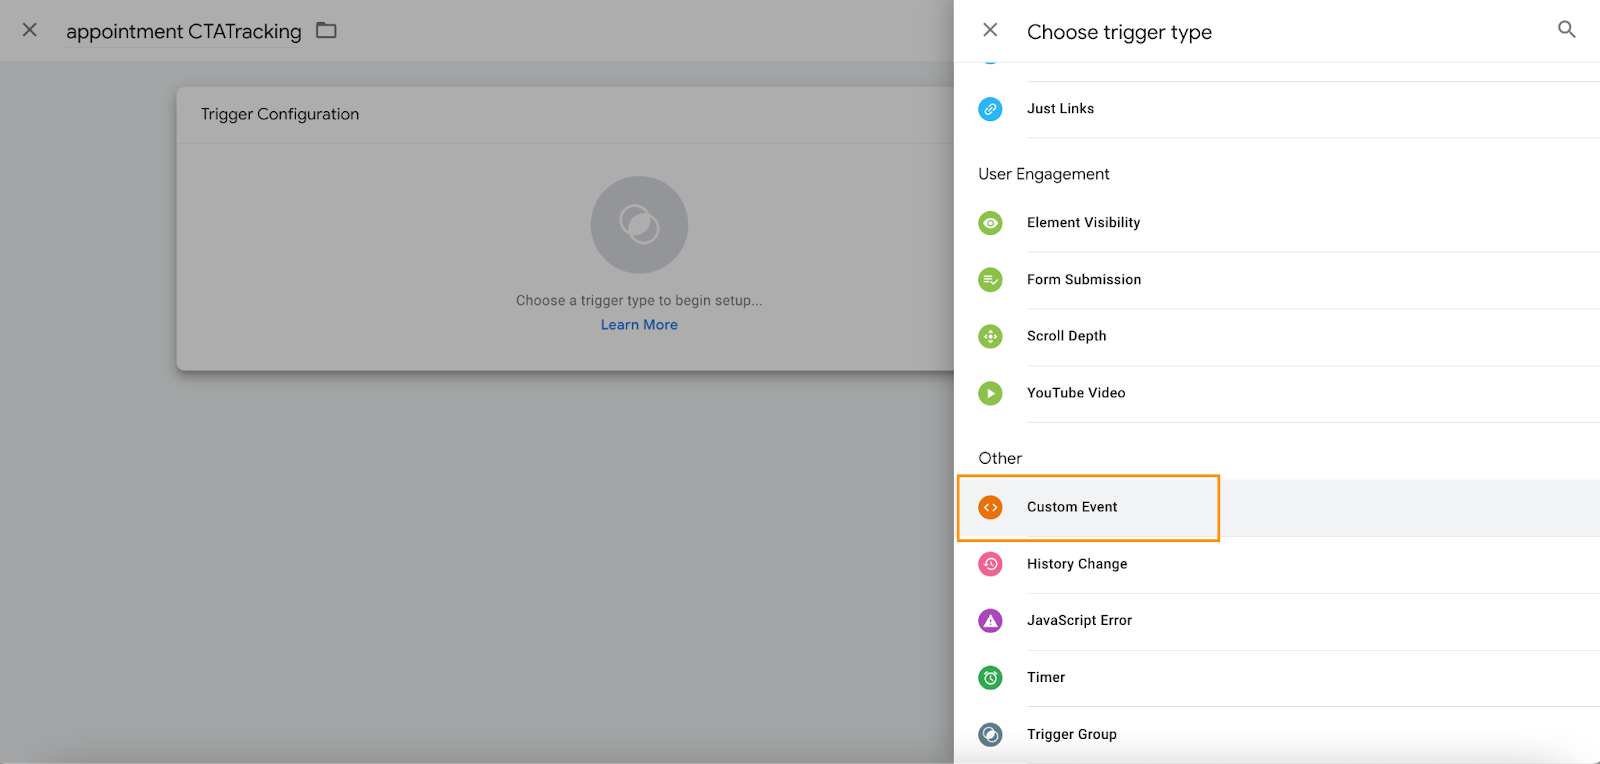
Name the trigger, 'appointment CTATracking,' and click on 'Trigger Configuration.'
Select the 'Custom Event' option.
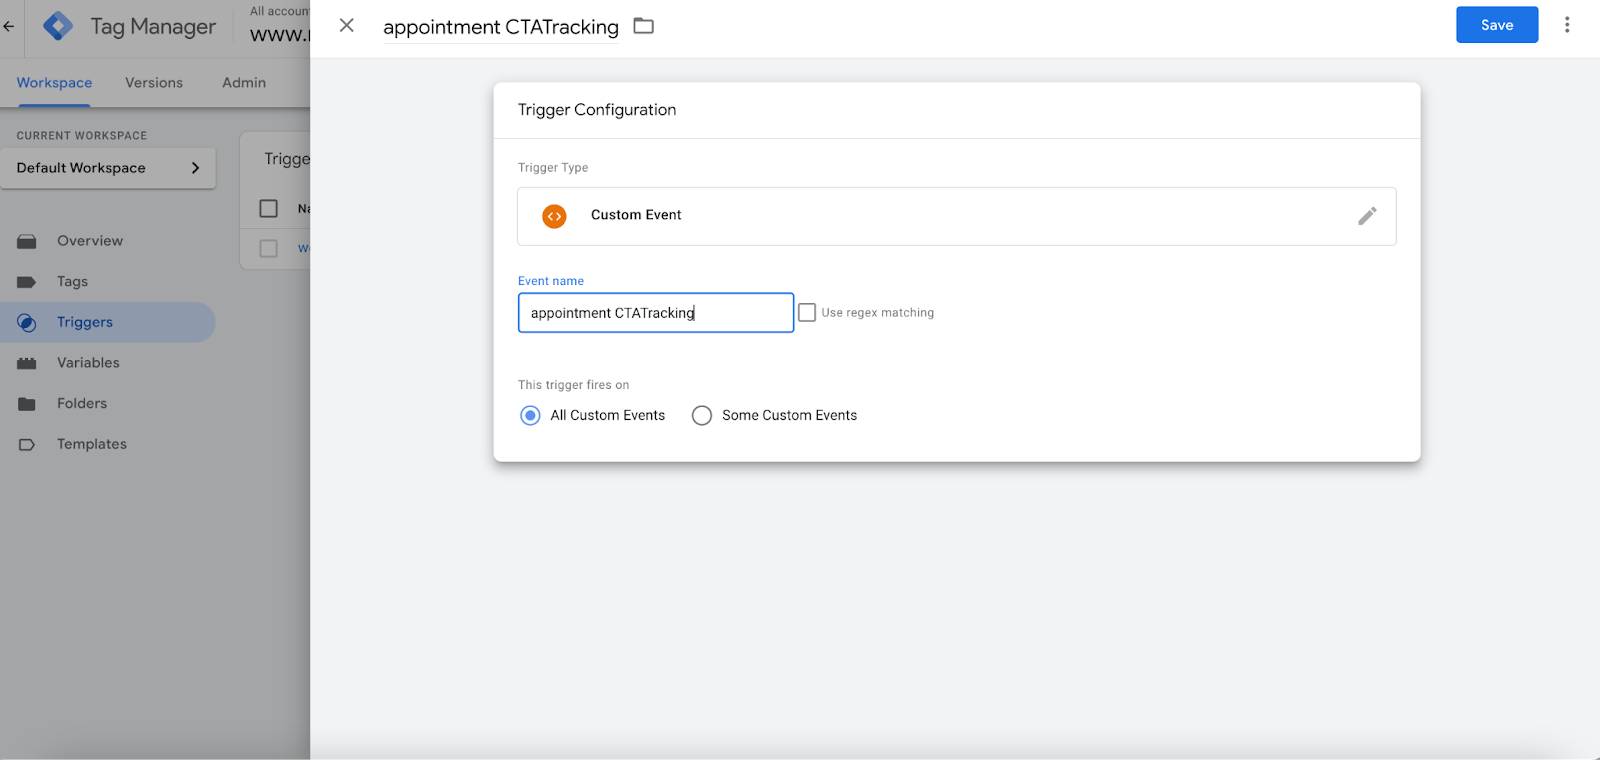
Name the event's 'appointment CTATracking.' Then select 'All Custom Events' to choose when to trigger the event and click on the 'Save' button.
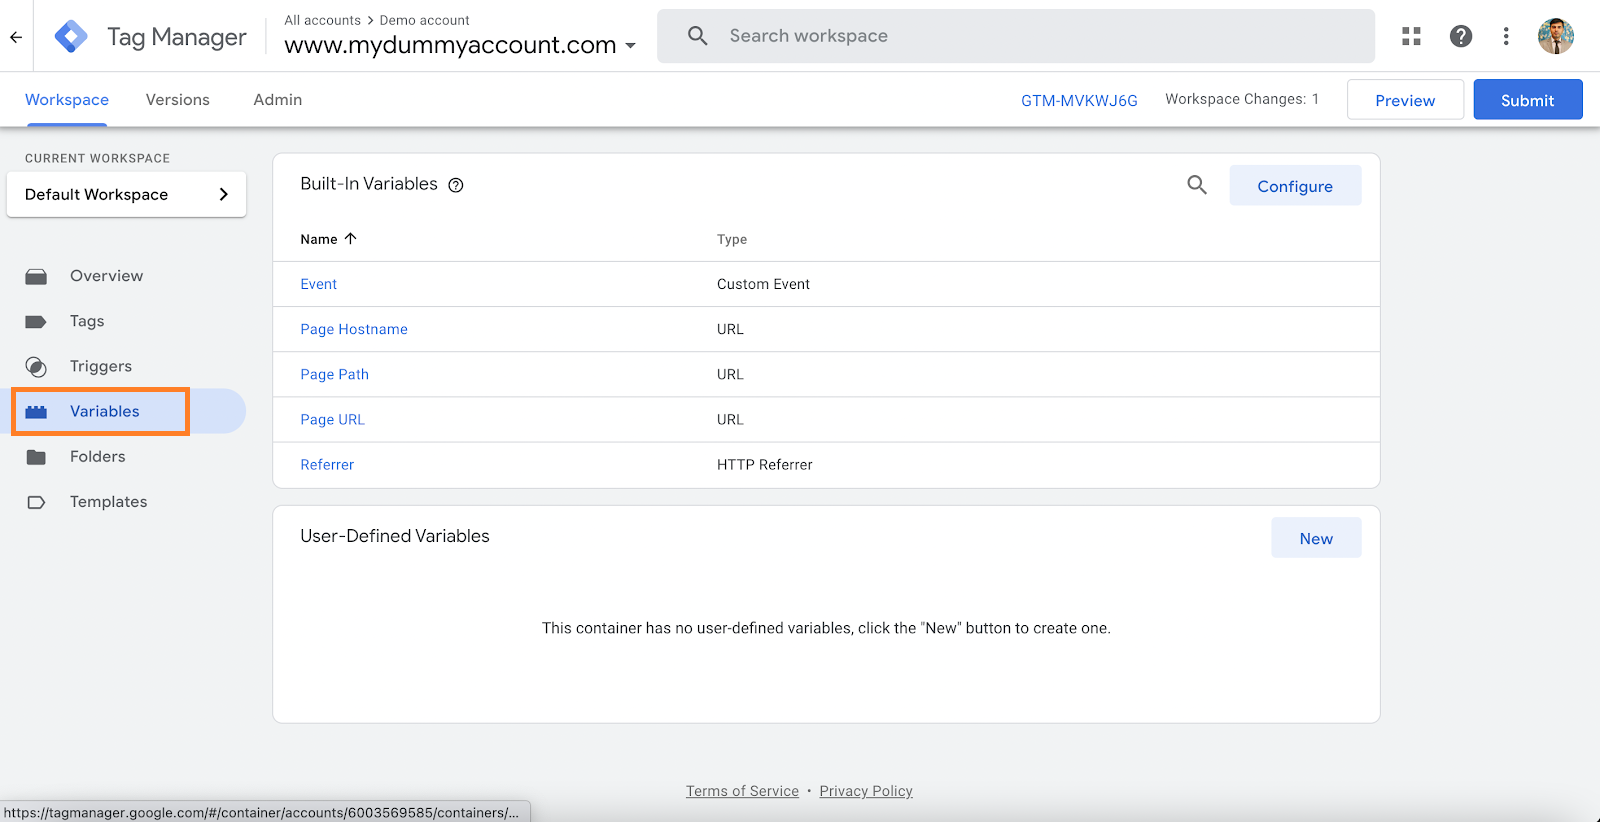
Go to the 'Variables' tab on the left.
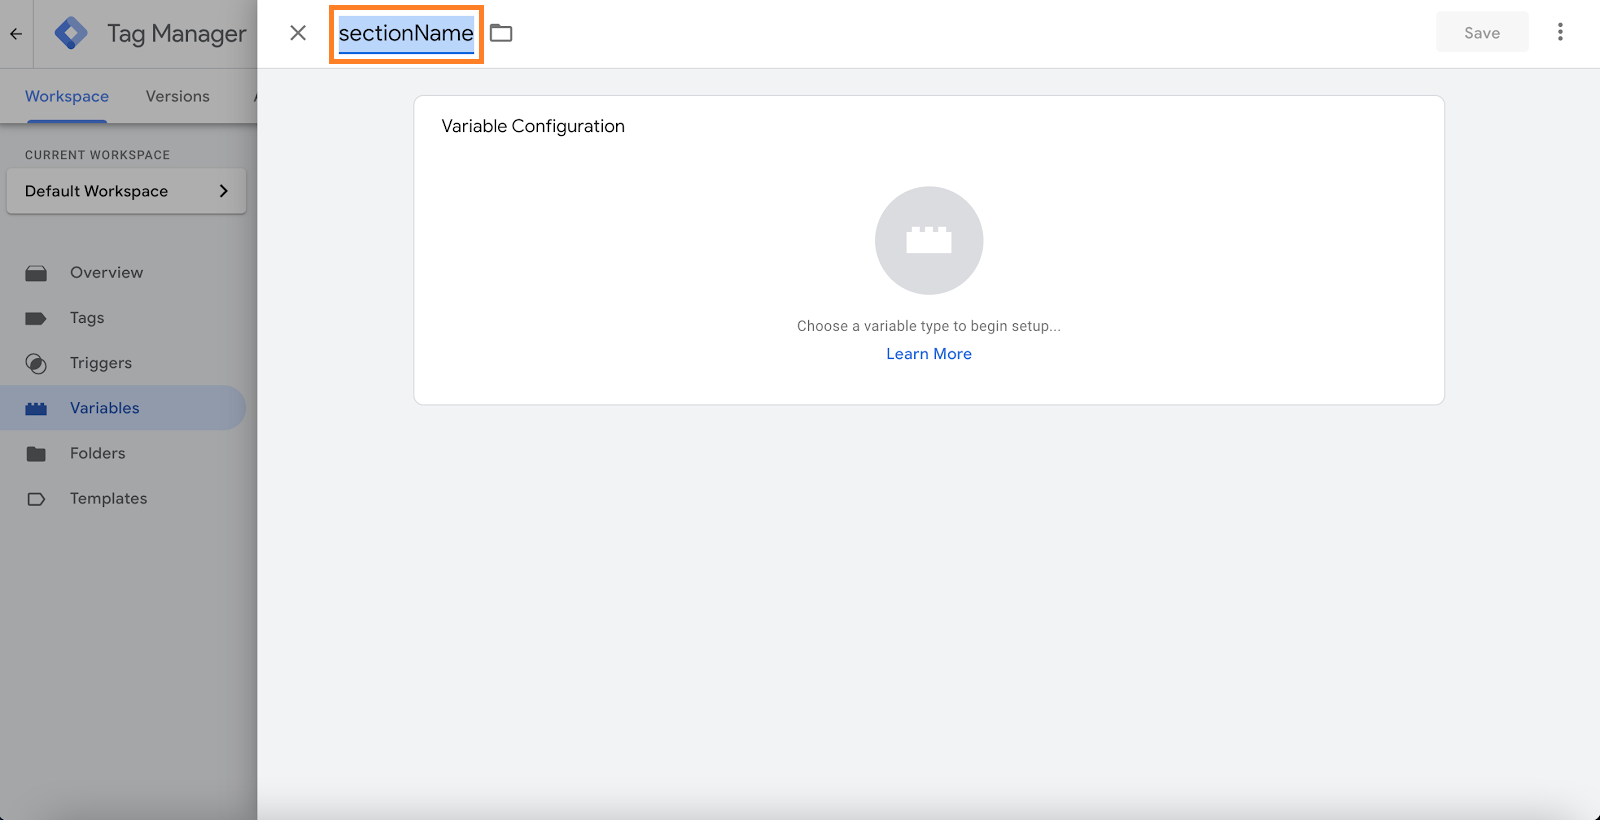
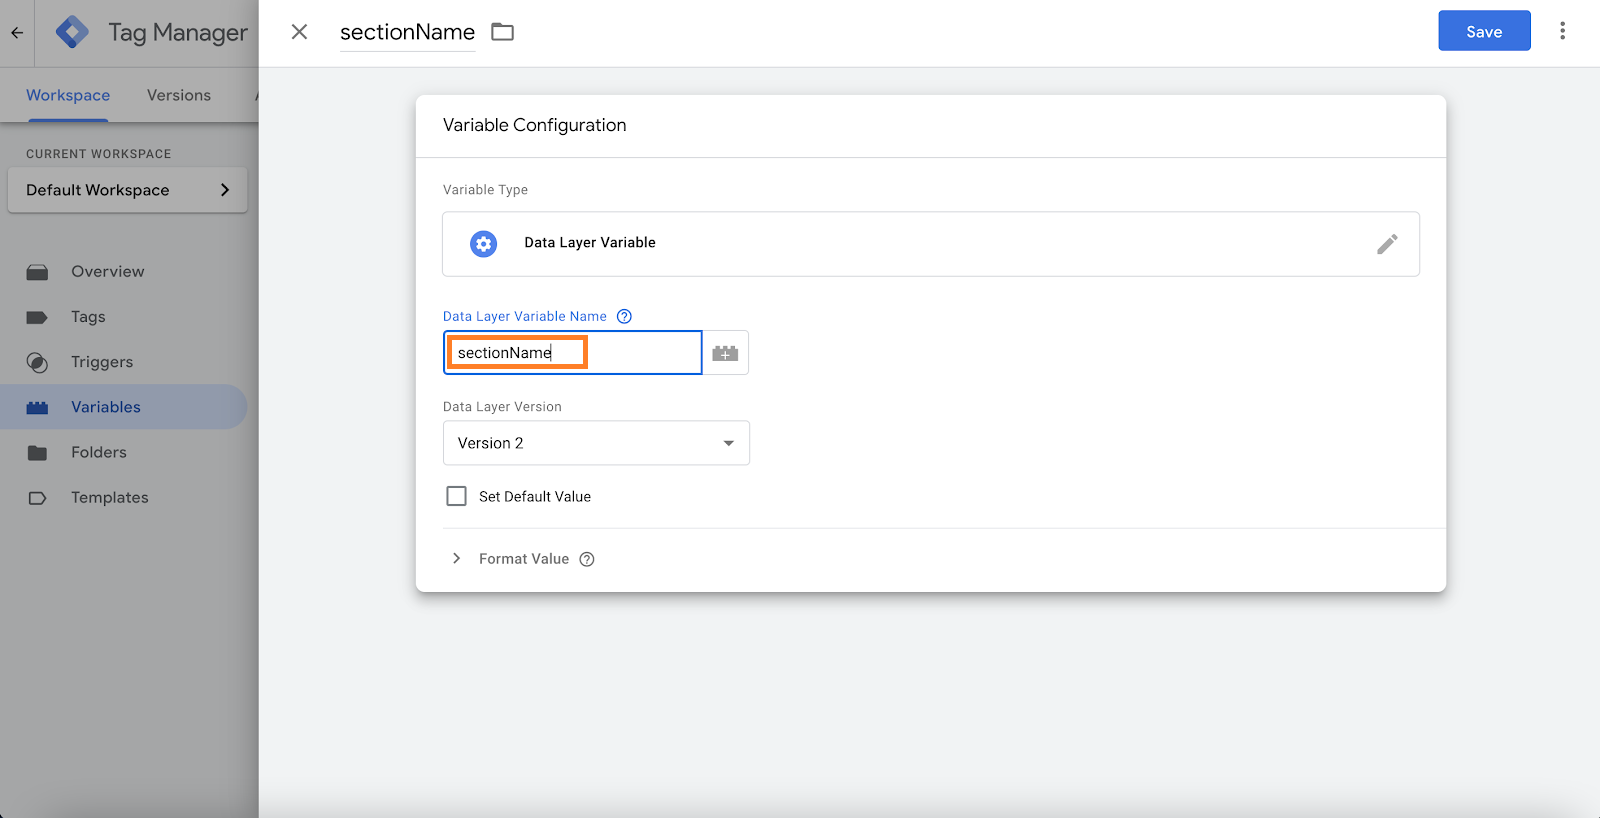
In the 'User-defined Variables' section, click 'New' and name the variable as 'sectionName.'
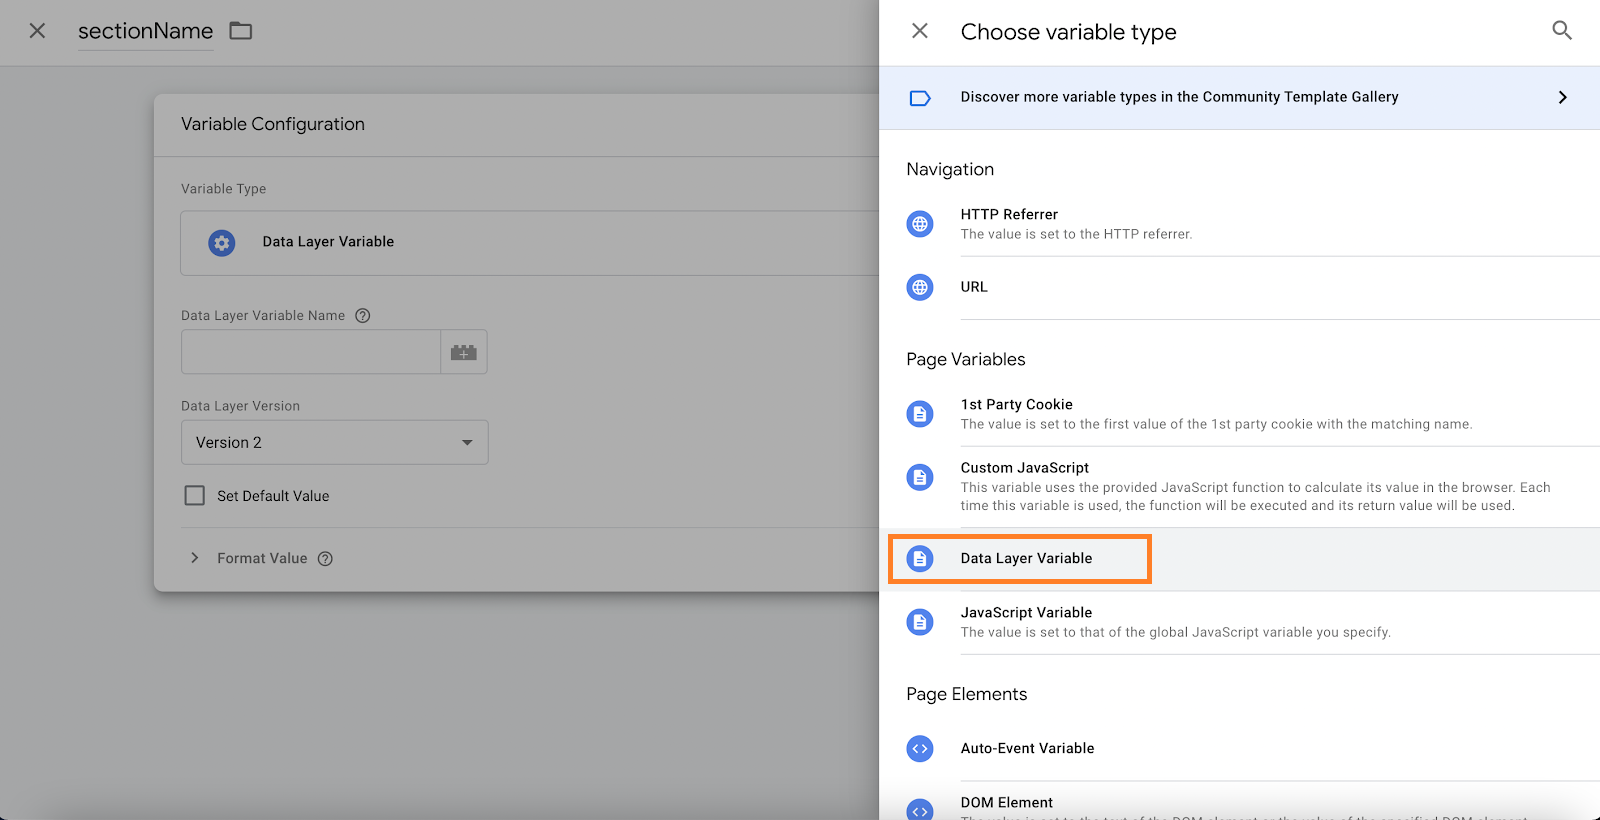
Now, go to 'Variable Configuration' and select the 'Data Layer Variable' option.
Name the data layer variable 'sectionName' and click the 'Save' button.
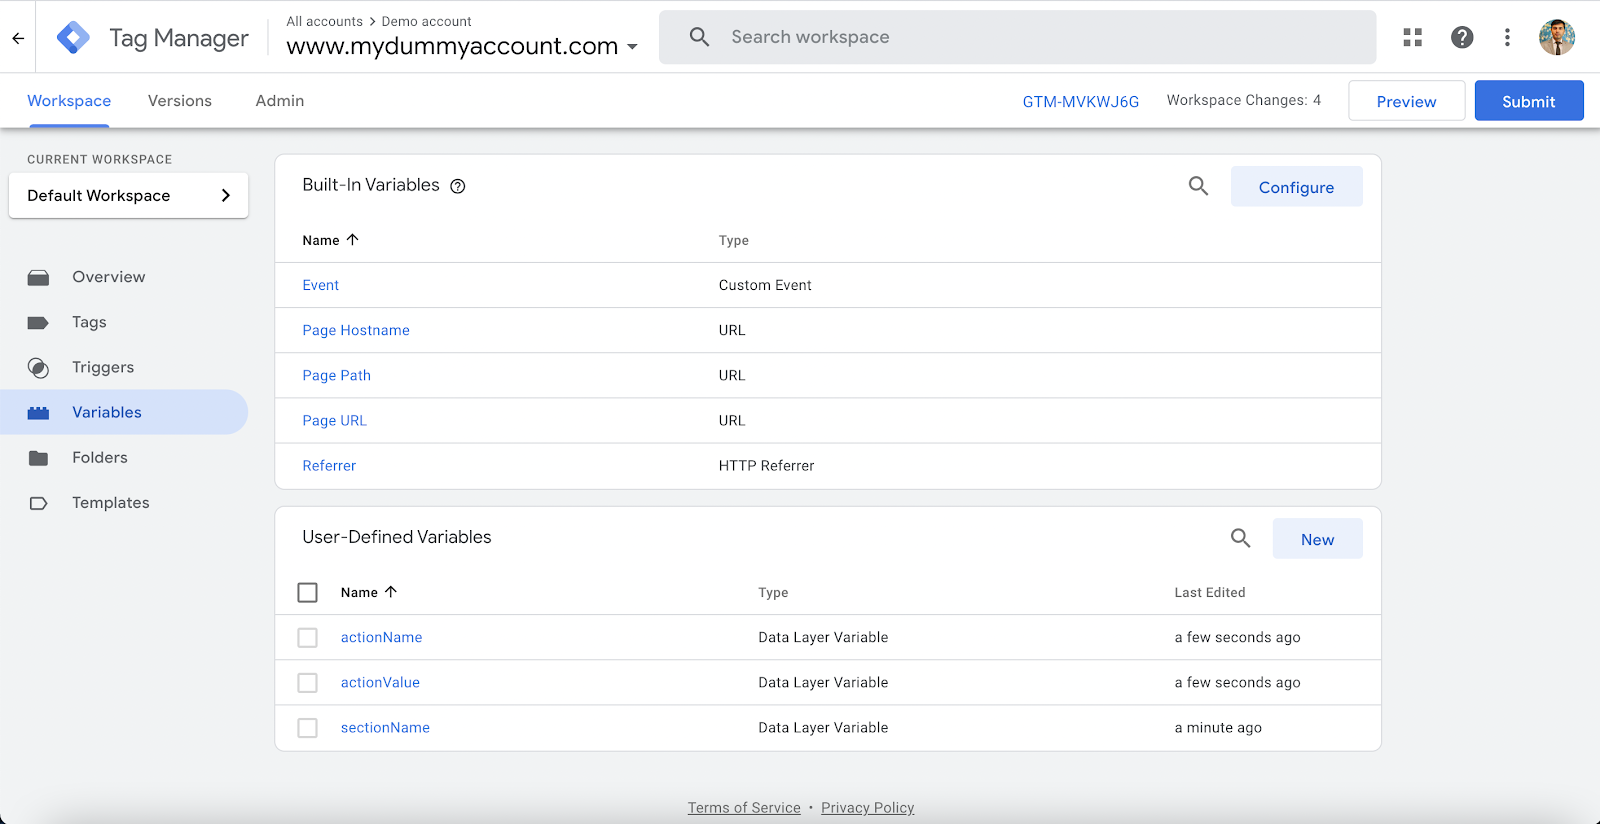
Similarly, create 2 more variables with the following details:
Sr. No. |
Variable name |
Data layer variable name |
| 1 | actionName |
actionName |
| 2 | actionValue |
actionValue |
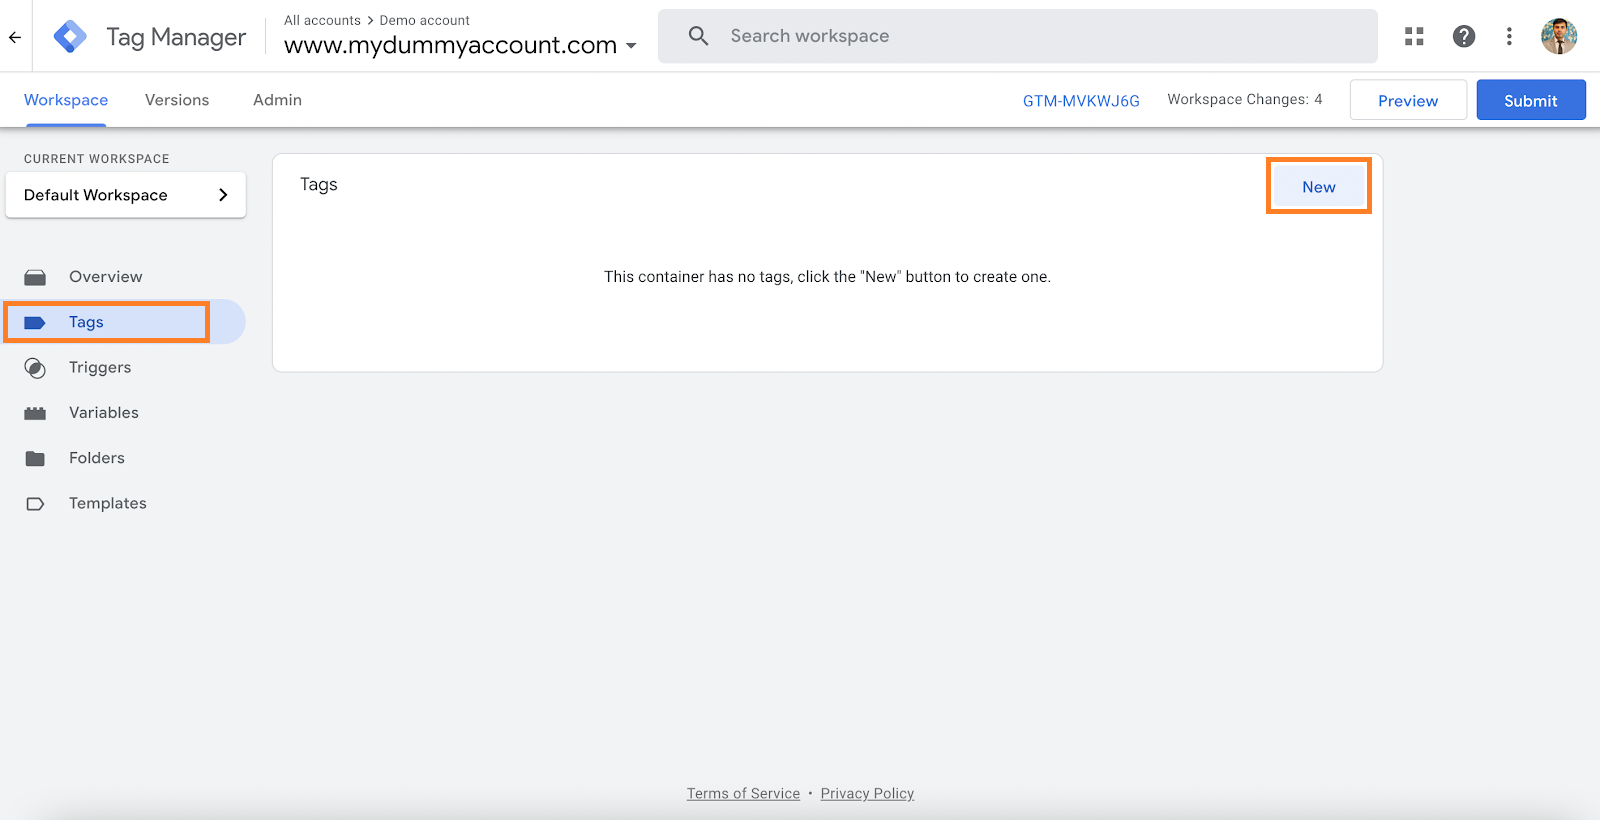
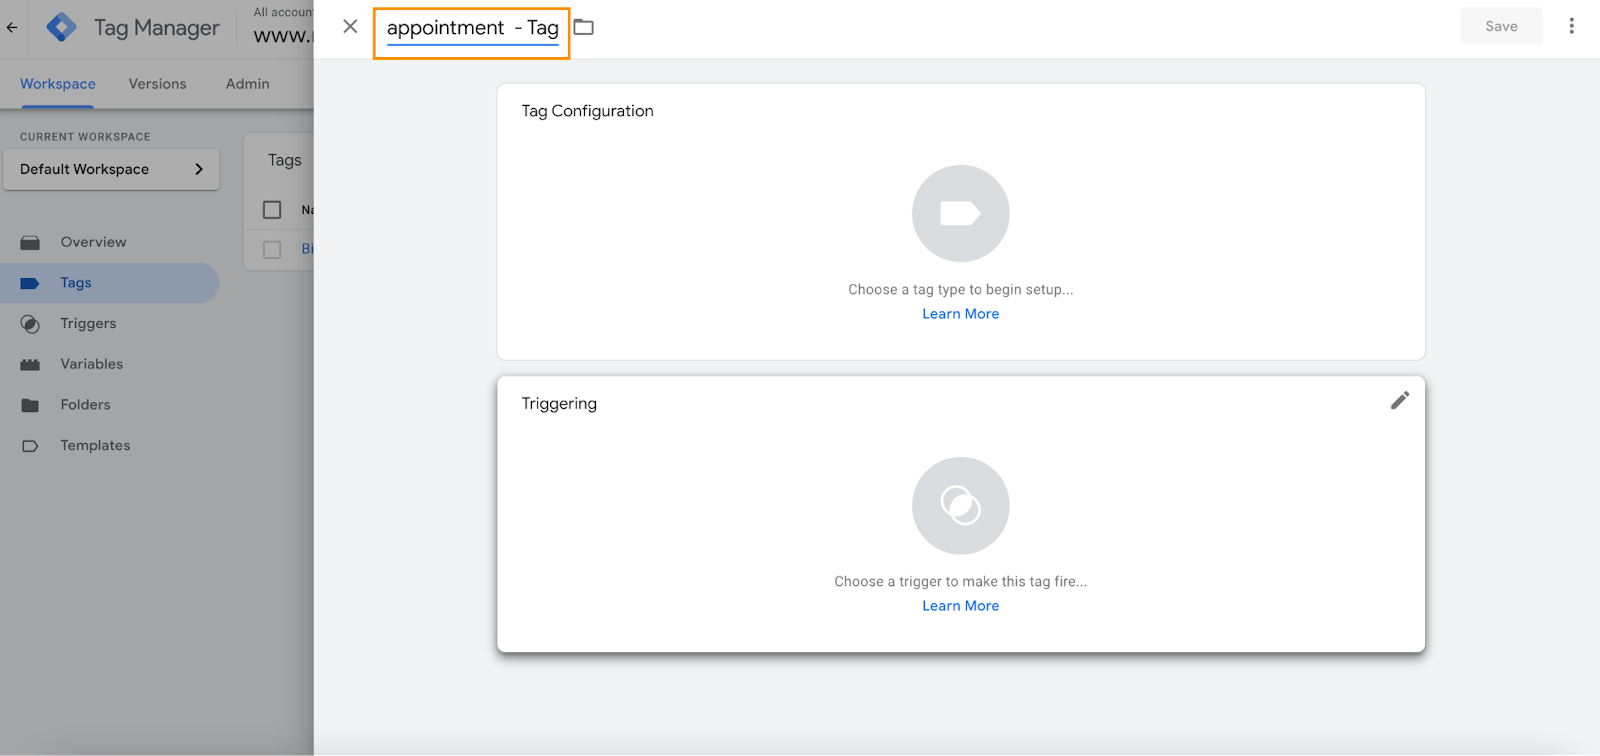
Go to the 'Tags' tab on the left and click the 'New' button.
Name the tag 'appointment - Tag' (this name can be anything as per your preference).
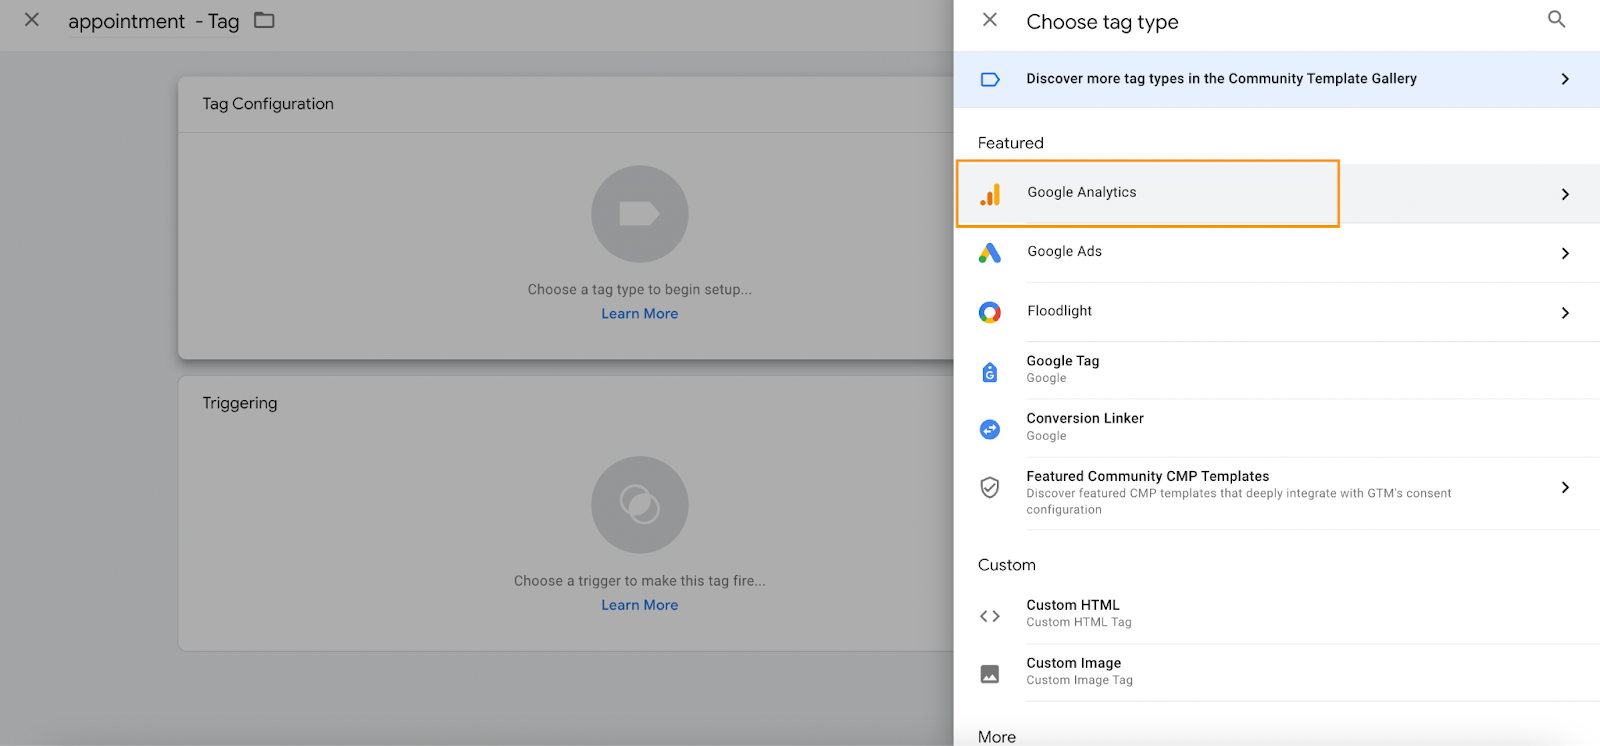
Click 'Tag Configuration' and select a tag type (for example, Google Analytics: Universal Analytics or Google Ads Conversion Tracking). We are using Google Analytics as an example.
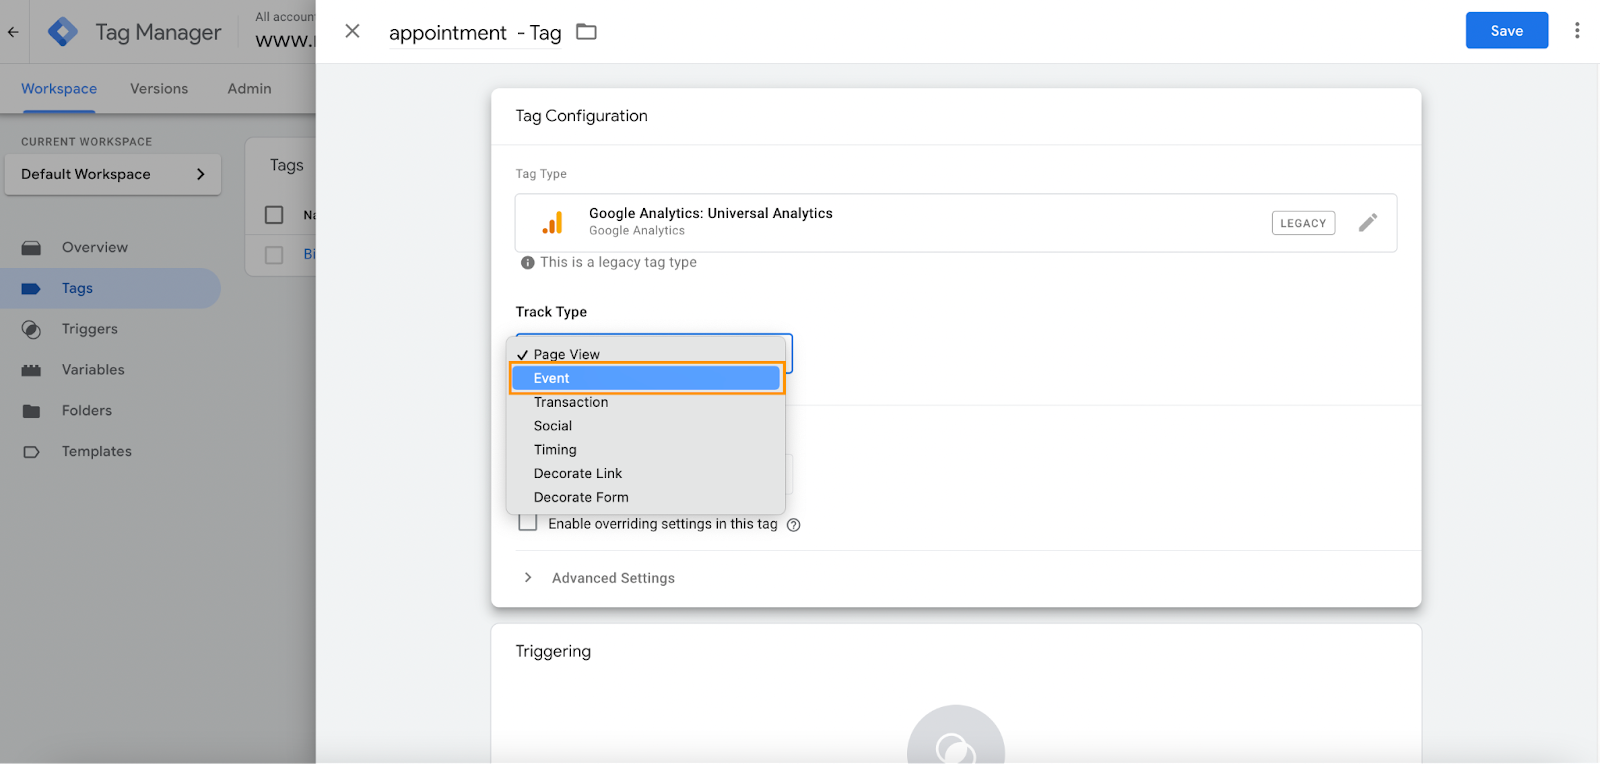
Select 'Event' as the 'Tag Type.'
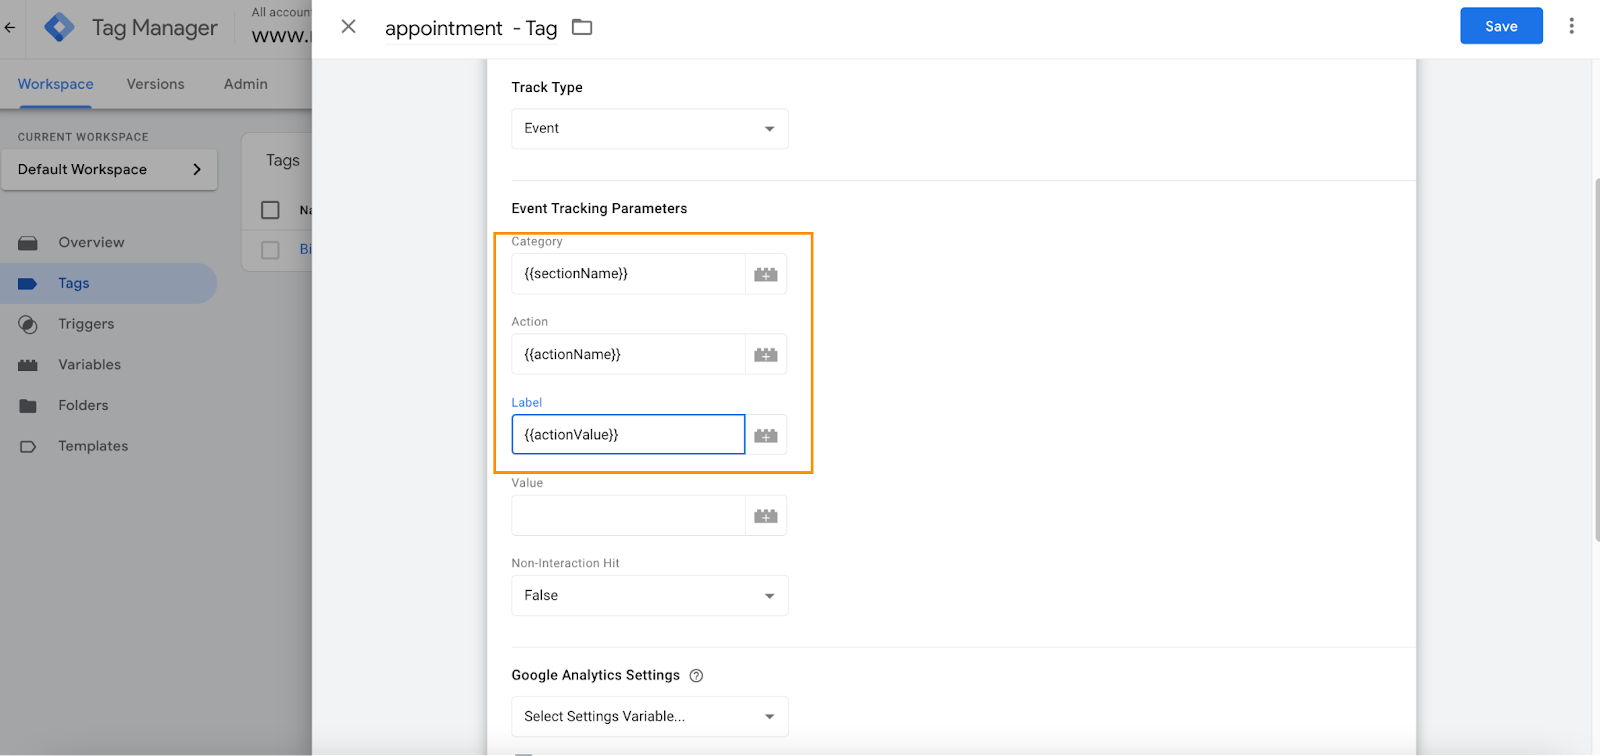
Now fill in the following values in the respective fields:
Field name |
Value |
Category |
{{sectionName}} |
Action |
{{actionName}} |
Label |
{{actionValue}} |
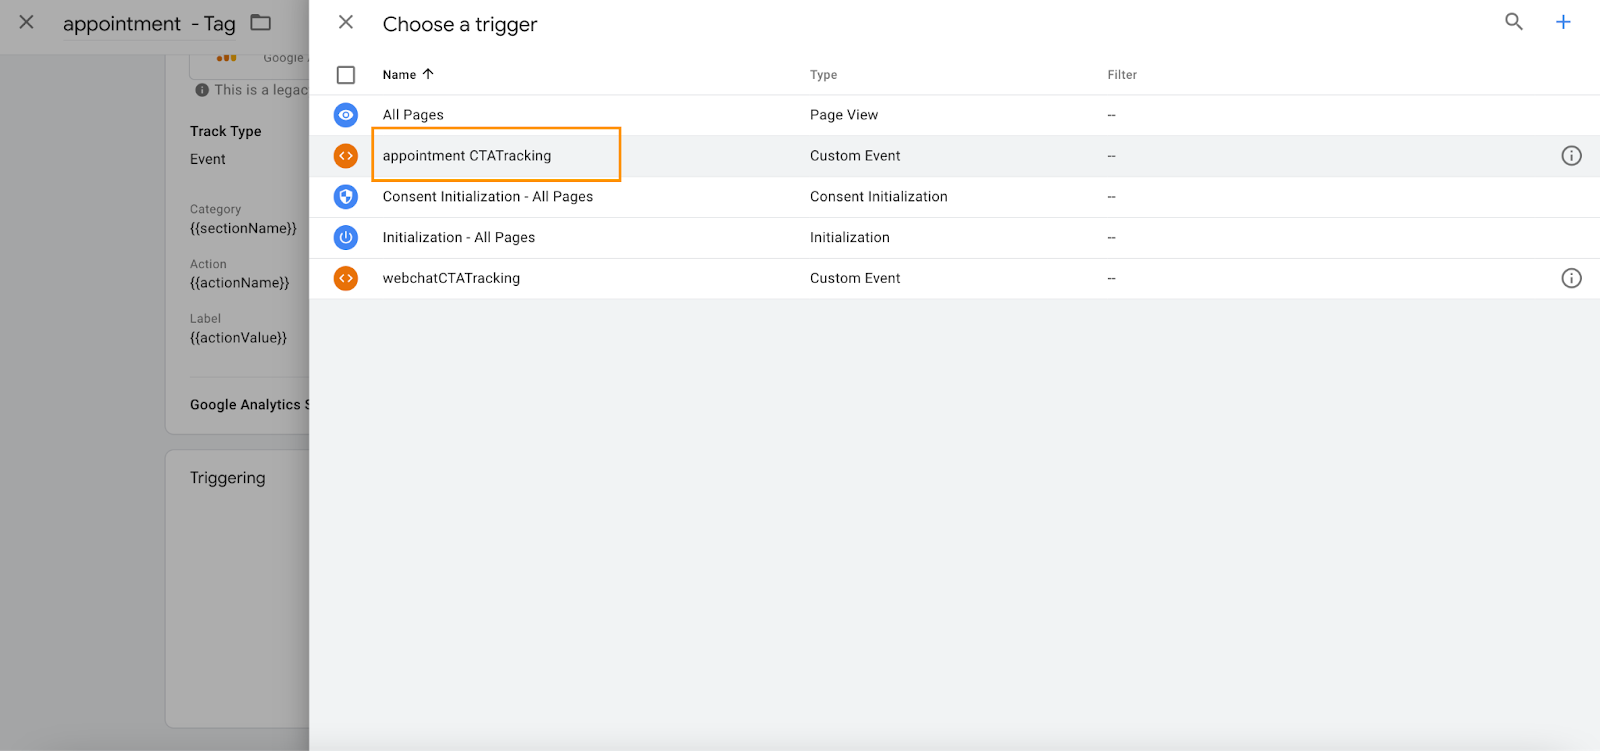
Now, click 'Triggering' and select the 'appointment CTATracking' trigger. Save the settings now.
Publish these changes within the Google tag manager.
Now, you will be able to track the appointment events. The tag configuration may vary based on which platform you are integrating it with and may require more information. Get in touch with your marketing manager or agency to set that up.
