Integrating Birdeye with drchrono

drchrono offers an integrated electronic health record (EHR), practice management and medical billing platform. The platform is available for users on iPhone, iPad, and web. Integrating drchrono with Birdeye will automate the process of sending out review requests to patients on a daily basis.
Birdeye allows you to fetch data from your CRM using a predefined trigger. Here is the supported trigger for drchrono:
|
Trigger Name |
Trigger Description |
| Dr Chrono Appointments Trigger |
This trigger is used to fetch customer data based on the completed appointments. |
| Appointment Writeback |
This trigger updates appointments created via the Birdeye widget (Writeback in PMS). It's required for scheduling. |
Contact Sync Trigger |
Contact Sync trigger is used to sync all contacts created on a daily basis from CRM to Birdeye. |
Appointment Reminder Trigger |
This trigger is used to cancel appointments. |
Once drchrono is integrated with Birdeye, Birdeye will pull patient data for the appointments that were completed on the previous day. Birdeye collects the first name, last name, email address and phone number of your patients and automatically sends them review requests.
Before the initial setup, the authorizing user for the drchrono account needs to grant FOUR required permissions for Birdeye to successfully fetch patient data.
How to grant permissions within your drchrono account
To grant permissions for data transfer, hover over the 'Account' tab on the panel and from the drop-down menu click on the 'Staff Permissions' button.
.jpg)
Once on the 'Permissions Administration' page, click on the 'Staff' section. Now, click on the 'View' button which appears next to the authorizing user.
.jpg)
To edit permissions for the authorizing user, click on the 'Edit Permissions' button on the bottom right.
.jpg)
Now, check the box which appears next to the four required permissions - Access Billing, Show Billing Tab, Access Clinical Notes, Manage Patients - and click on the 'Save Permissions' button to save your selection.
.jpg)
Once the required permissions have been granted, you can now proceed with initial integration setup. To set up the initial part of the integration with Birdeye, please reach out to the Birdeye technical support team @ 1-800-561-3357 Ext. 3 or email them at - support@birdeye.com. Birdeye technical support team would need your drchrono office ID to successfully setup the integration.
To locate the office ID in your drchrono account, follow the steps detailed below:
Navigate to drchrono.com and 'Log In' to your drchrono account.

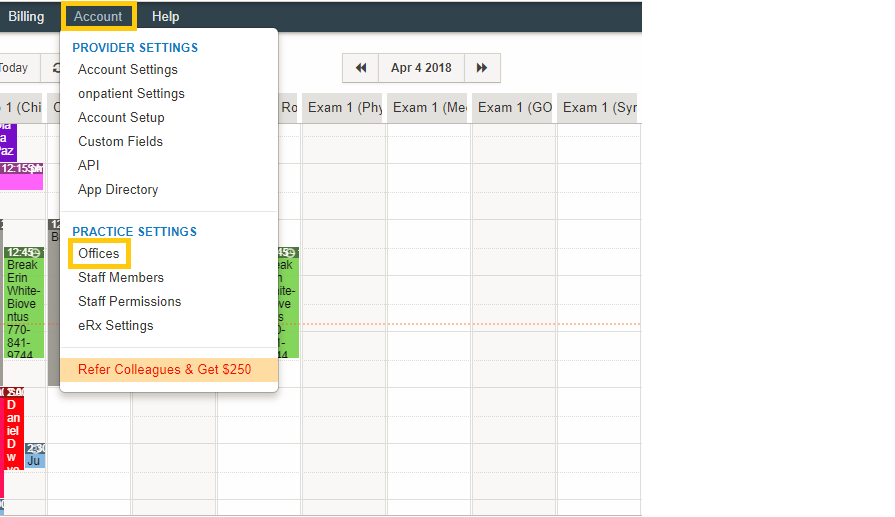
Once you have logged in to your drchrono account, hover over the 'Account' tab on the top panel, and from the drop-down menu click on the 'Offices' button.

Now, you will see a list of all the active offices associated with your drchrono account. To locate office ID for any office, click on the 'Edit' button next to the name of the office.
.jpg)
After you click on the 'Edit' button, an office ID will appear in the address bar. In this case, the office ID for drchrono will be '26631'.
.jpg)
After the initial integration is set up by the Birdeye technical support team, you need to log in to your Birdeye account to complete the rest of the integration process.
To complete the process, click on the 'Settings' tab located on the left navigation rail of your Birdeye dashboard. On the bottom of the 'Settings' page, click on the 'Authorize drchrono' button under the CRM integrations header.
.jpg)
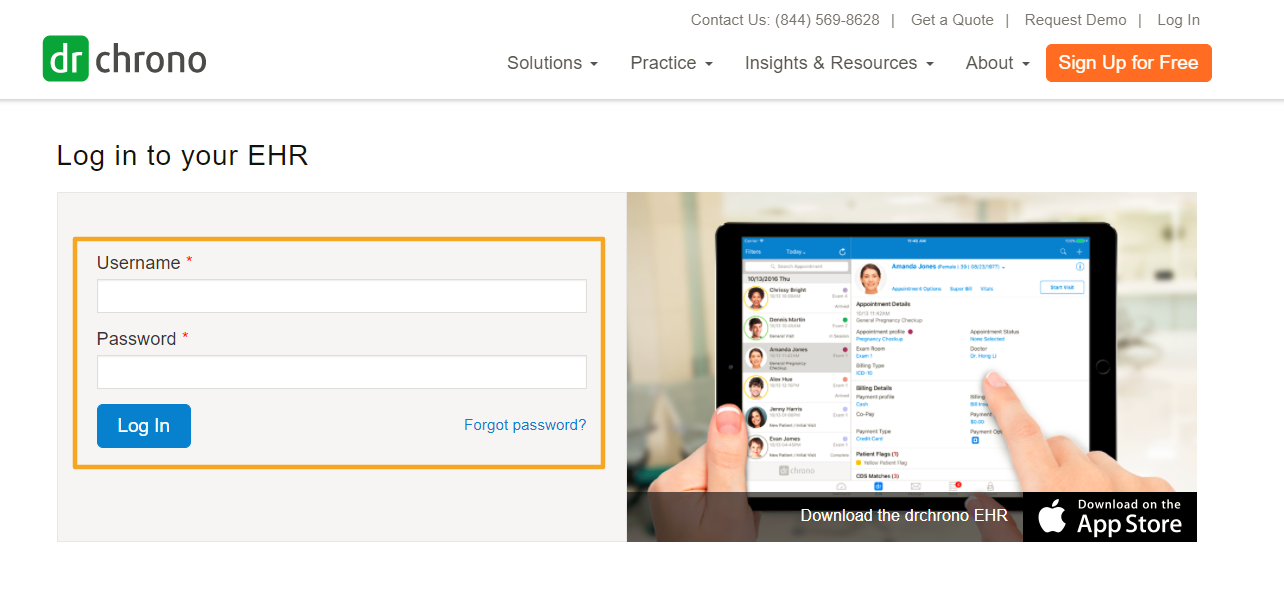
After you click on the authorization button, you will be redirected to the drchrono website. Enter the username and password associated with your drchrono account and click on the 'Log In' button.
.jpg)
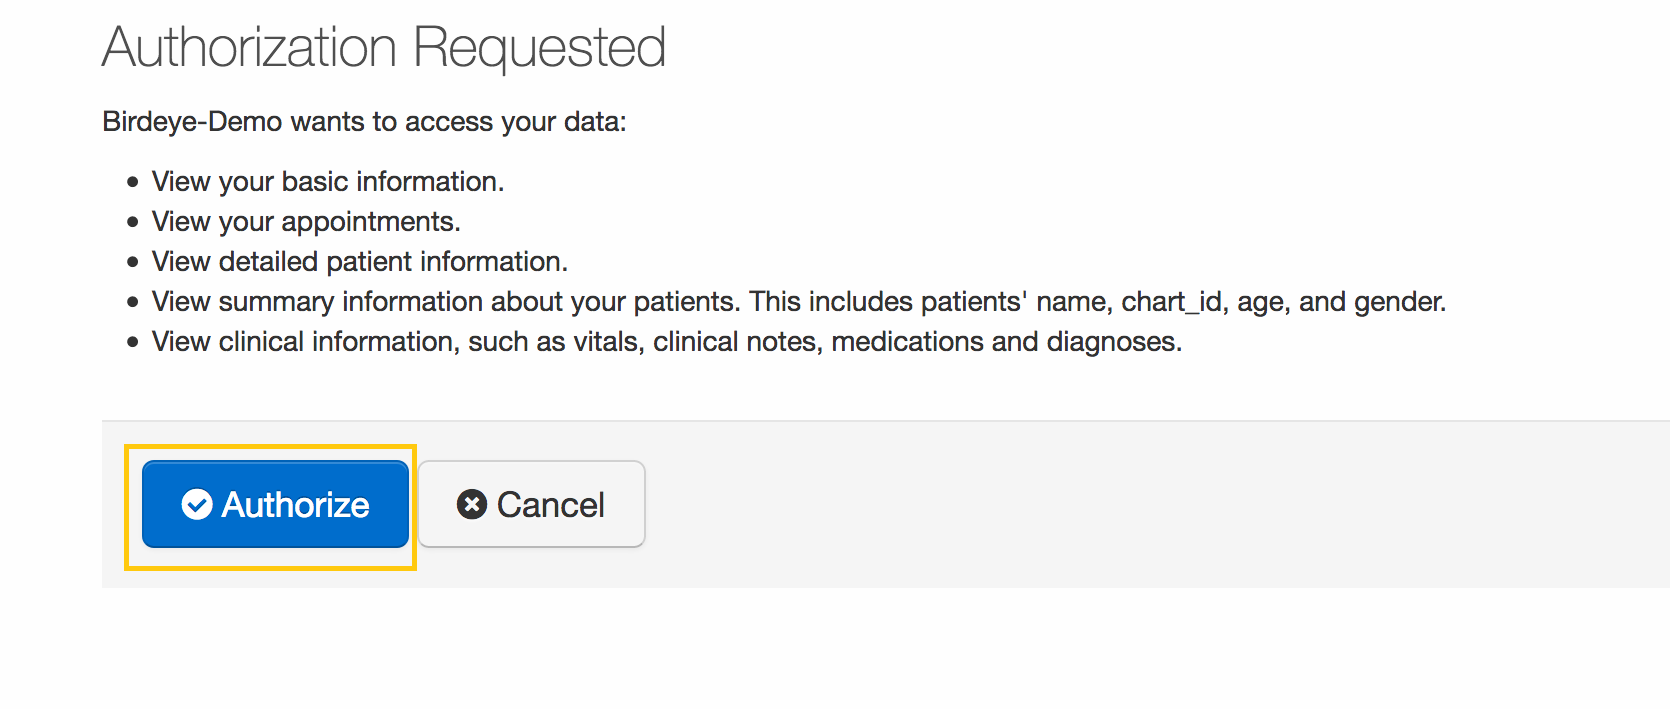
Once you have signed in to your drchrono account, Birdeye will ask for certain permissions to obtain patient data from your drchrono account. Click on 'Authorize' button at the bottom to complete the integration process.

After the access has been granted, you will be redirected to the Birdeye dashboard and a 'Successfully authorized' message will appear right next to drchrono.
.jpg)