How do I setup Chatbot FAQs within my account?
Instantly respond to all frequently asked questions by your website visitors. Instantly automate your website visitors queries by simply uploading your Chatbot FAQs on Birdeye.
To set up custom FAQs, click on the 'Settings' icon at the top right of your dashboard. Then, select the 'FAQs' option under 'Business Info.'
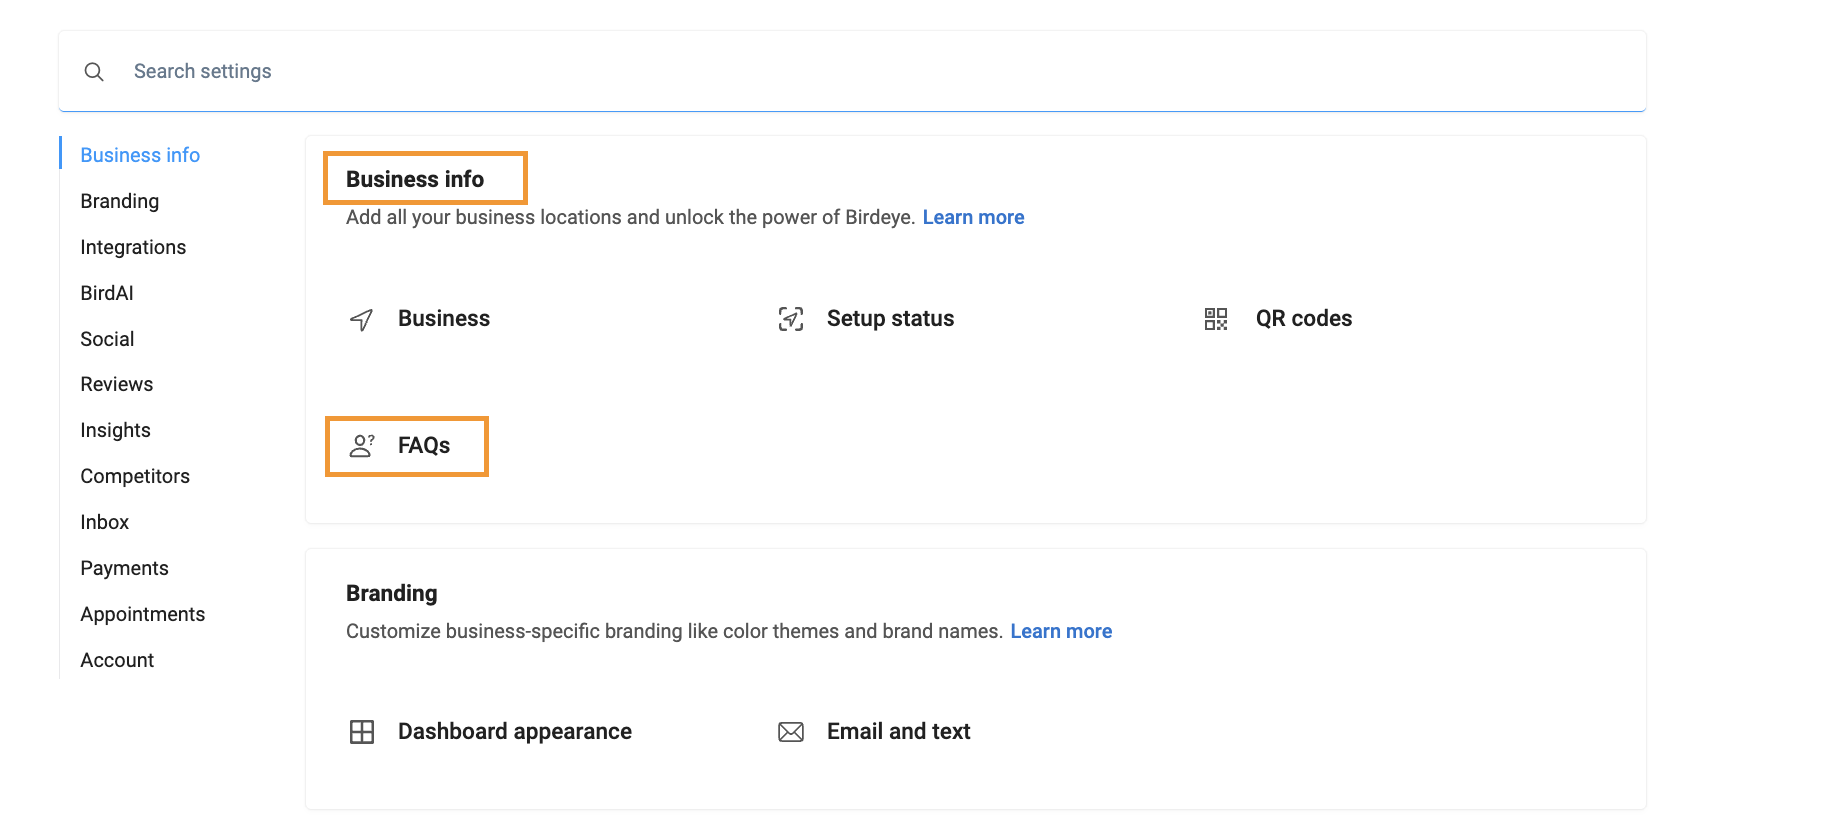
On the new page, you will be able to add single and multiple FAQs.
ADDING A SINGLE QUESTION
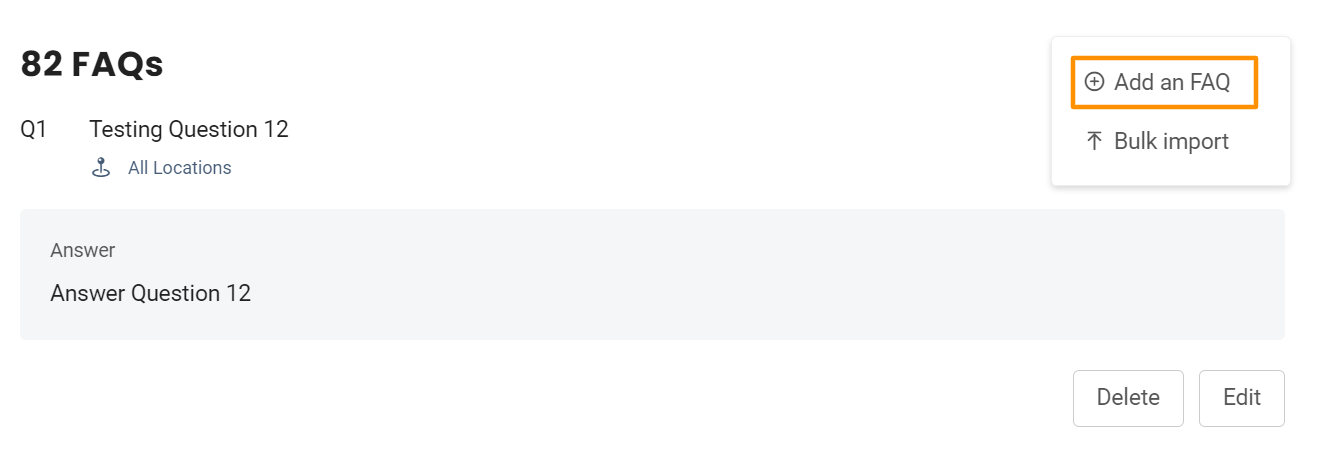
To add a single question, select the 'Add FAQs' option. Then click on the 'Add an FAQ' button.
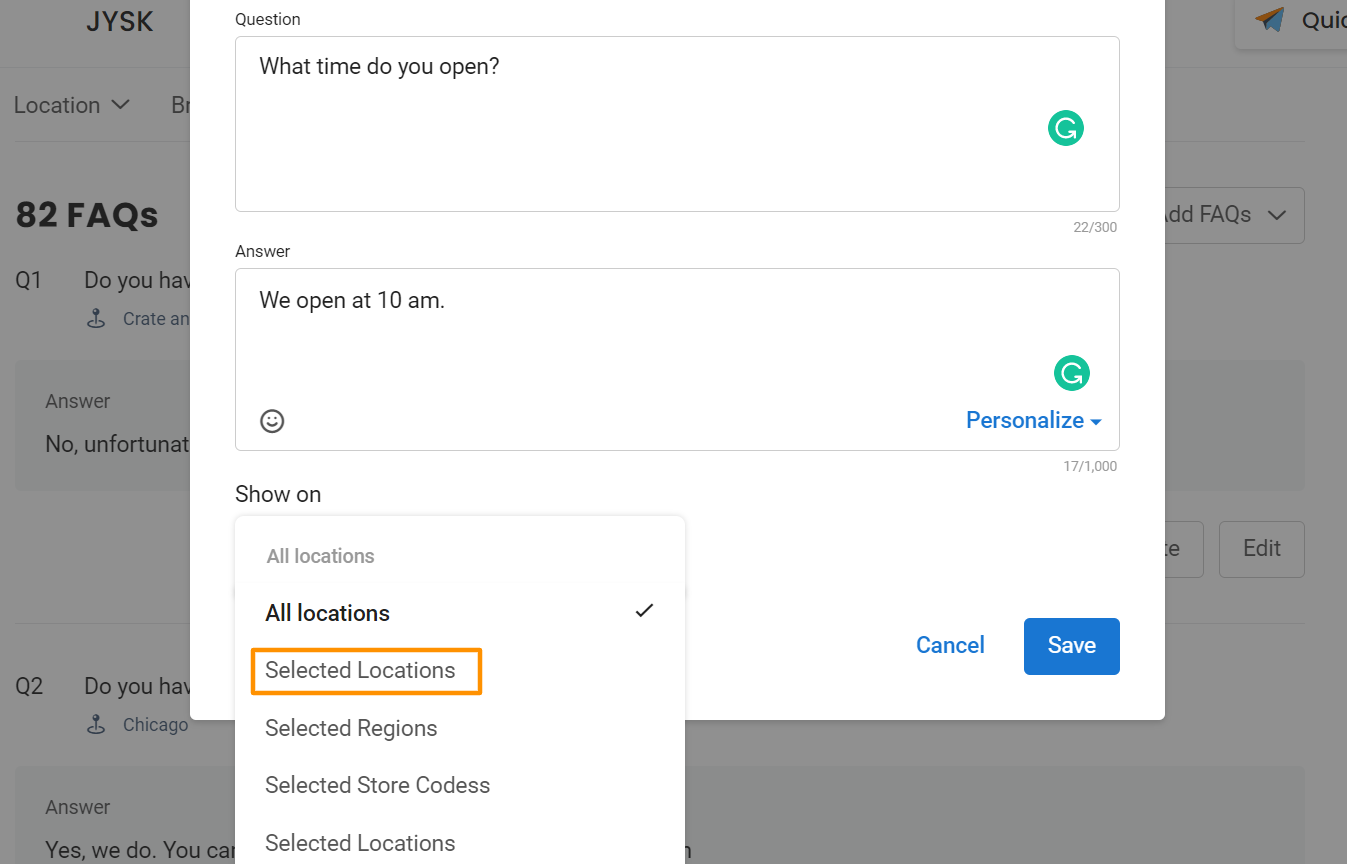
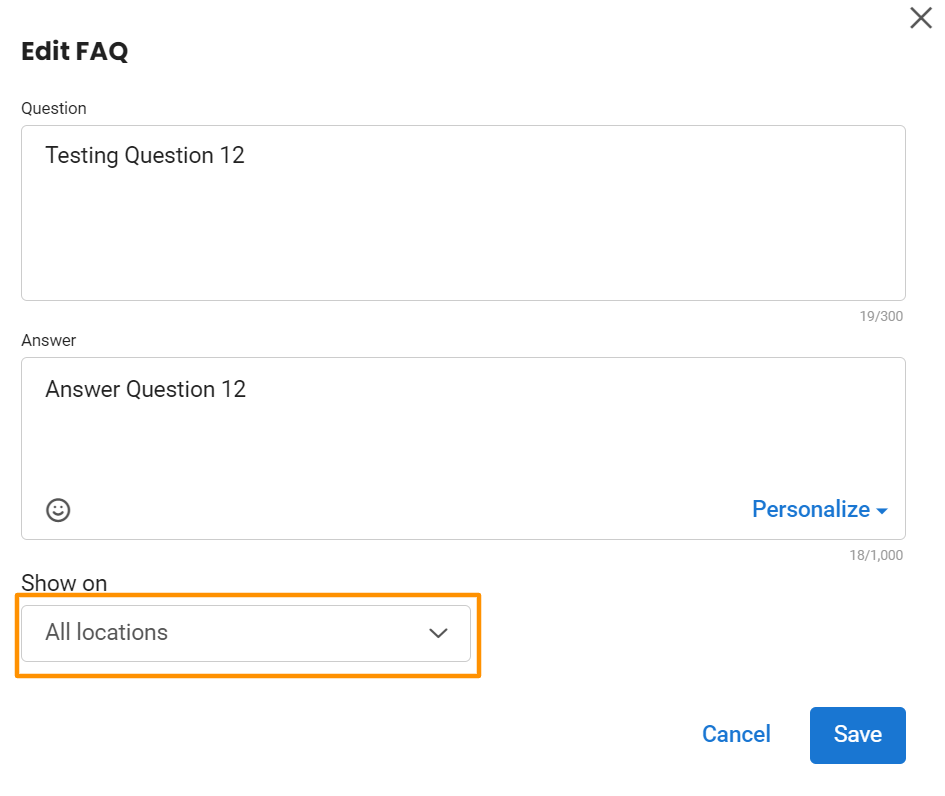
When a window pops up, enter the question and the answer to the question. For a multi-location account you can select either 'All Locations' or 'Selected Locations.'
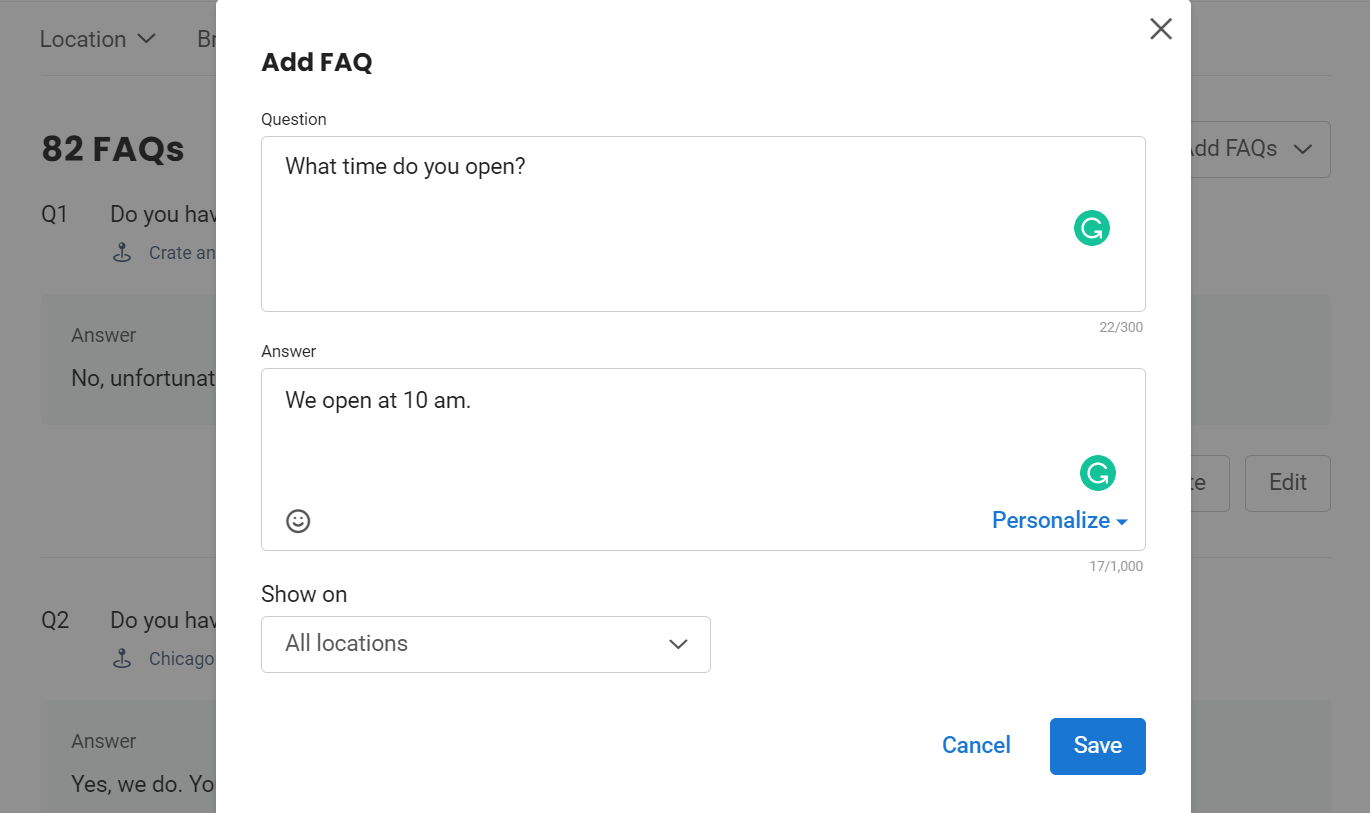
By default, this question will be applied on all the locations. To select the locations manually, click on the 'All Locations' drop-down menu under 'Show on' and click on the 'Selected Locations' option.
ADDING A PERSONALIZED QUESTION
The users can utilize tokens to personalize answers. These personalized tokens can be used to reflect your business name, phone number, address, and other properties.
USING A SECURITY PERSONALIZED TOKEN
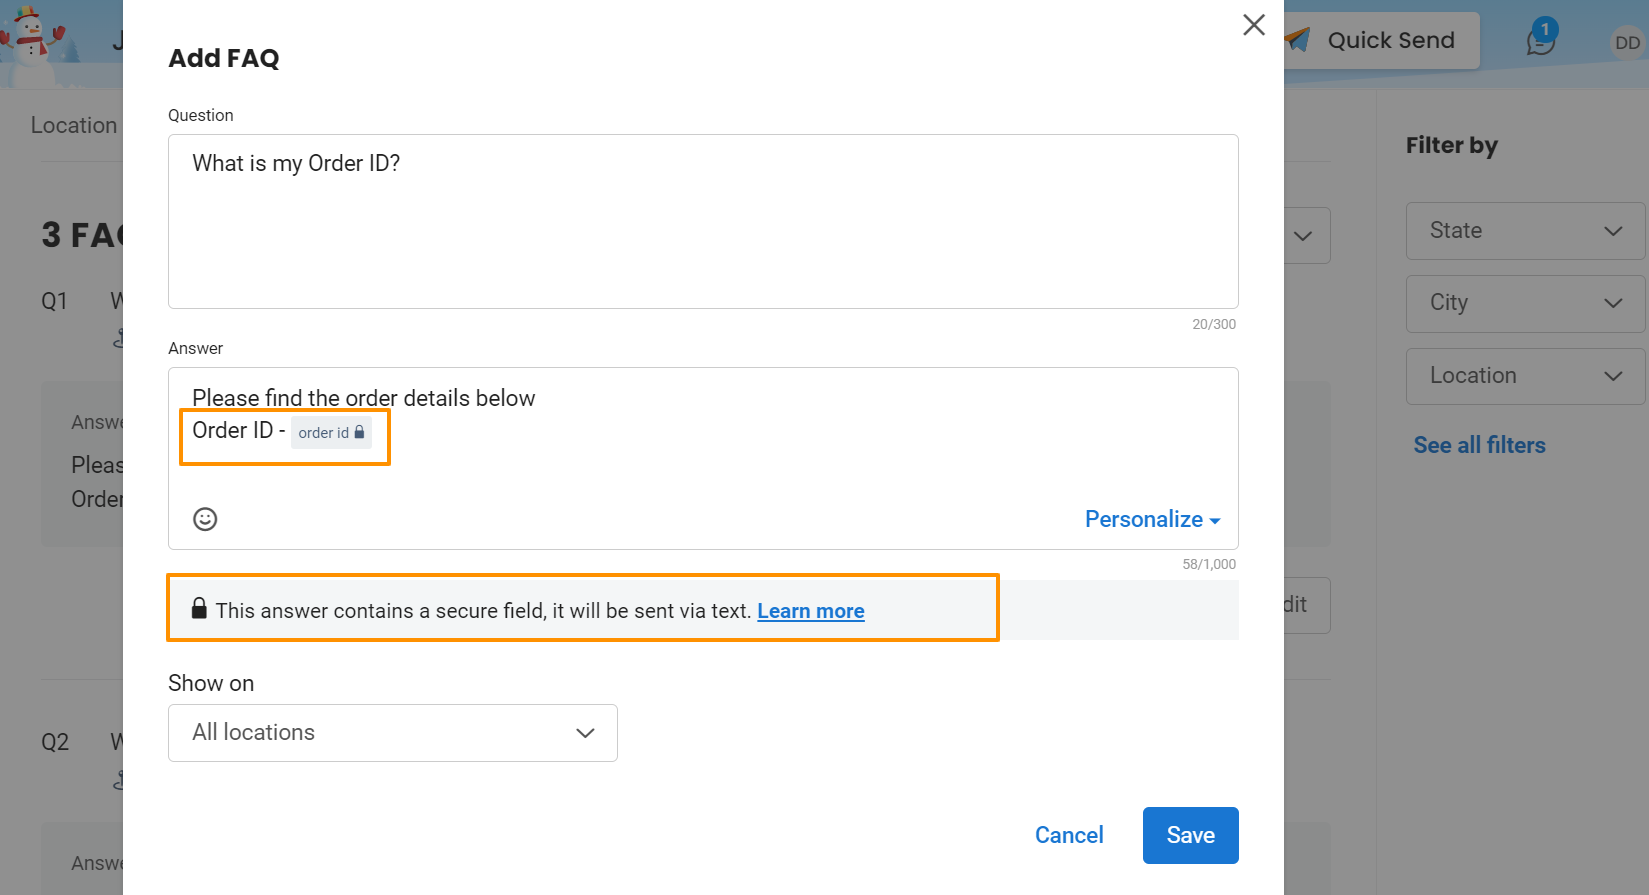
Robin will ensure to protect the information and will not display the secured information on the webchat and the information will be delivered via text.
To learn more on how to create a custom secure field, read the help article: How to create and manage custom fields?
The answers are only secured by virtue of secure field usage that was created in the 'Contacts' tab. The answers get marked as secure automatically if a secure custom field is used in the answer.
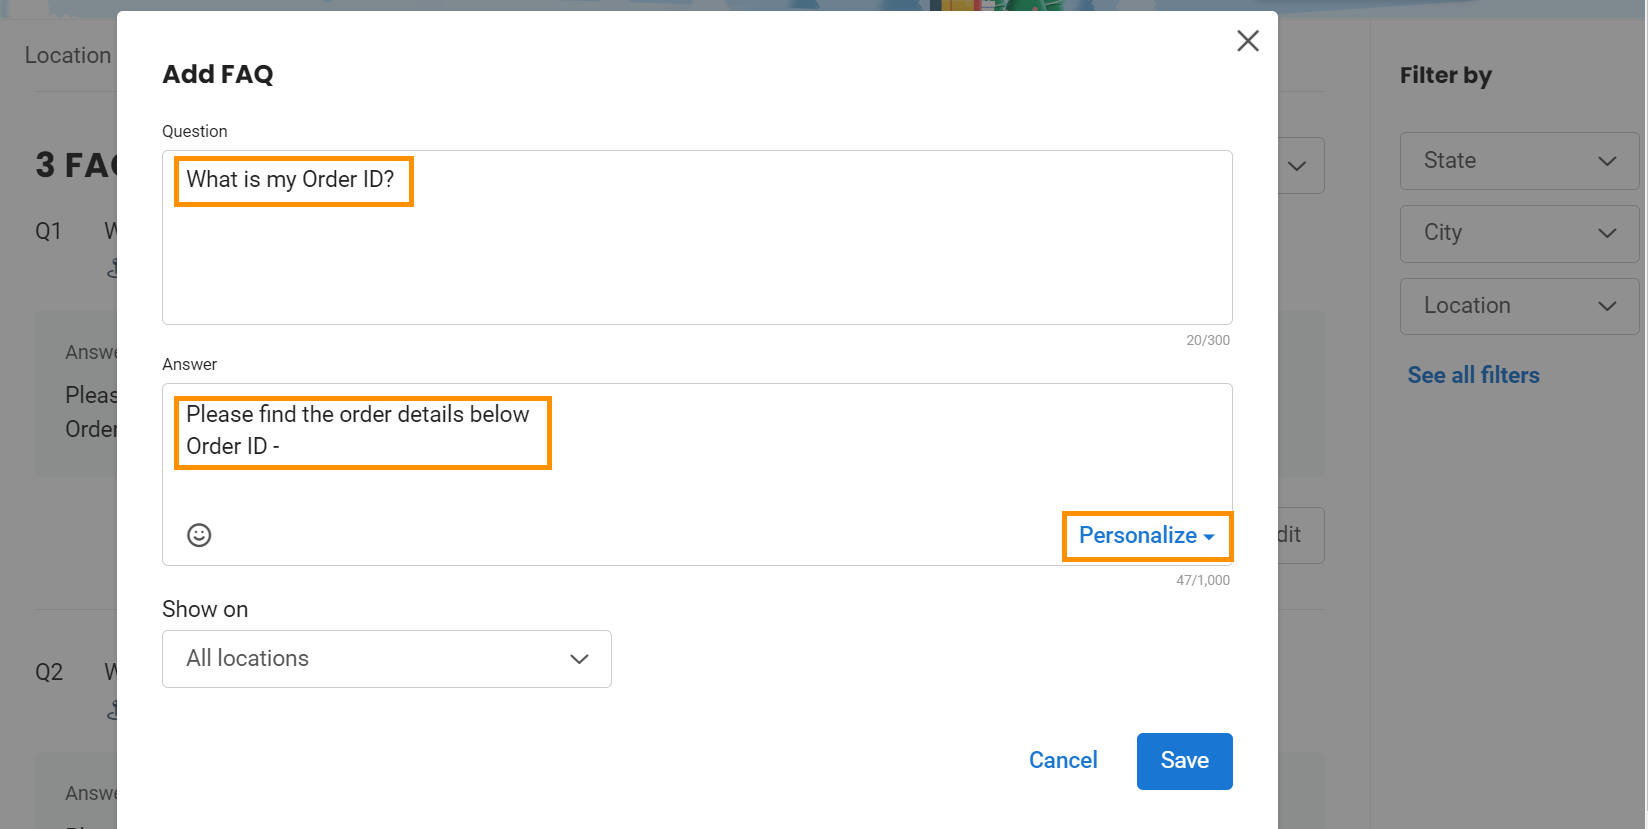
Upload a question whose answer will have secure field usage. For instance, the user created 'order id' as a secure field under the 'Contacts' tab.
Click on 'Personalize.'
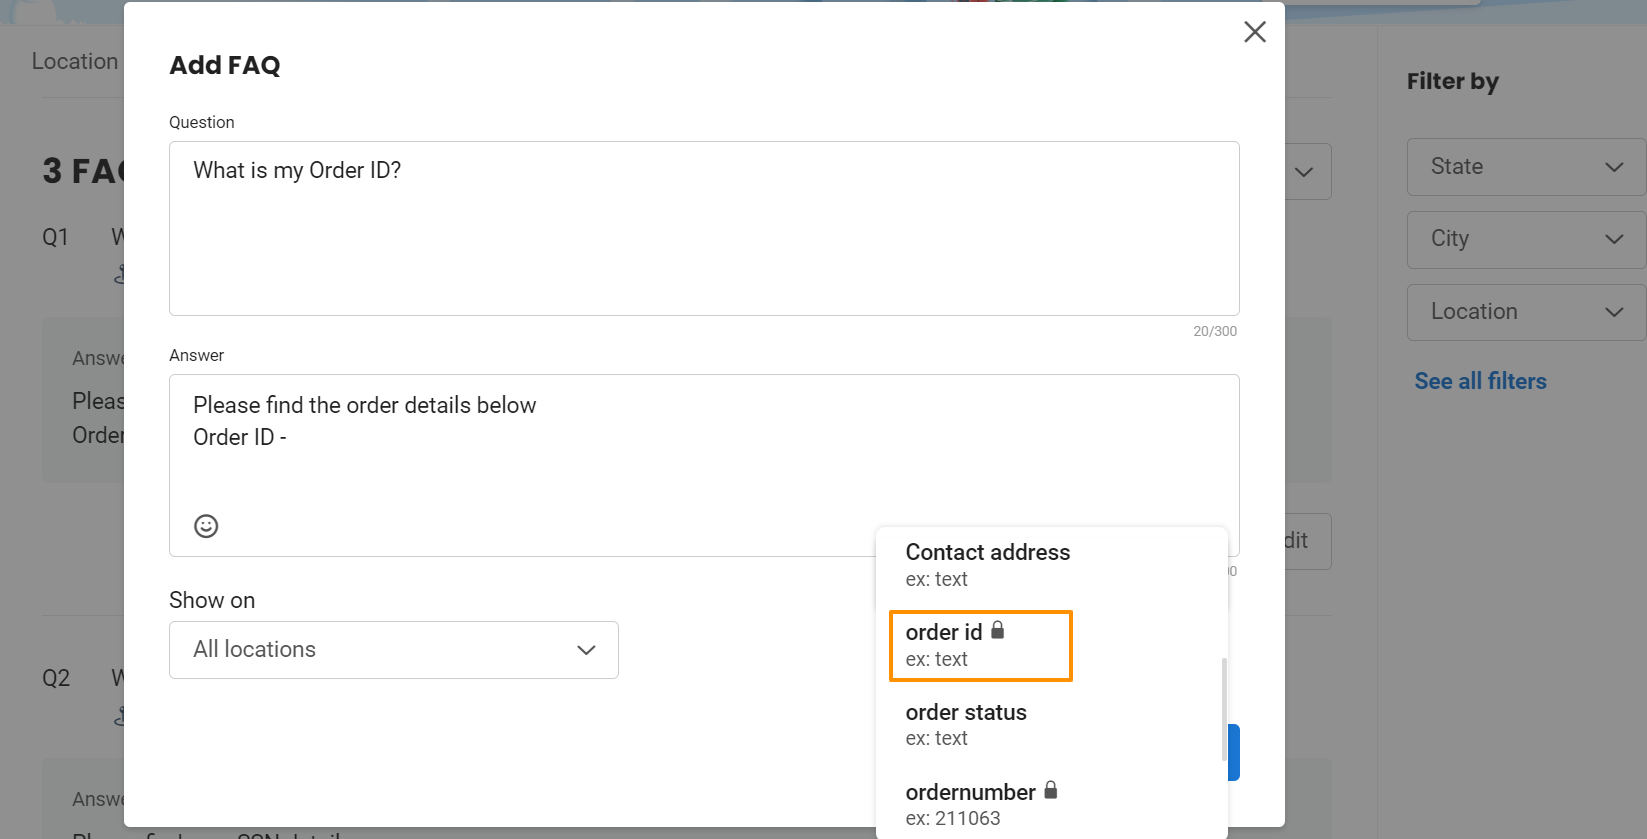
Select 'order id' from the drop-down list. Since the user already created the custom secure field for 'order id' under the 'Contacts' tab, this will reflect under the 'Personalize' drop-down list.
On selecting 'order id', the user will notice the order id has been locked and secured.
ADDING MULTIPLE QUESTIONS
To upload multiple questions, click on the 'Bulk import' button.
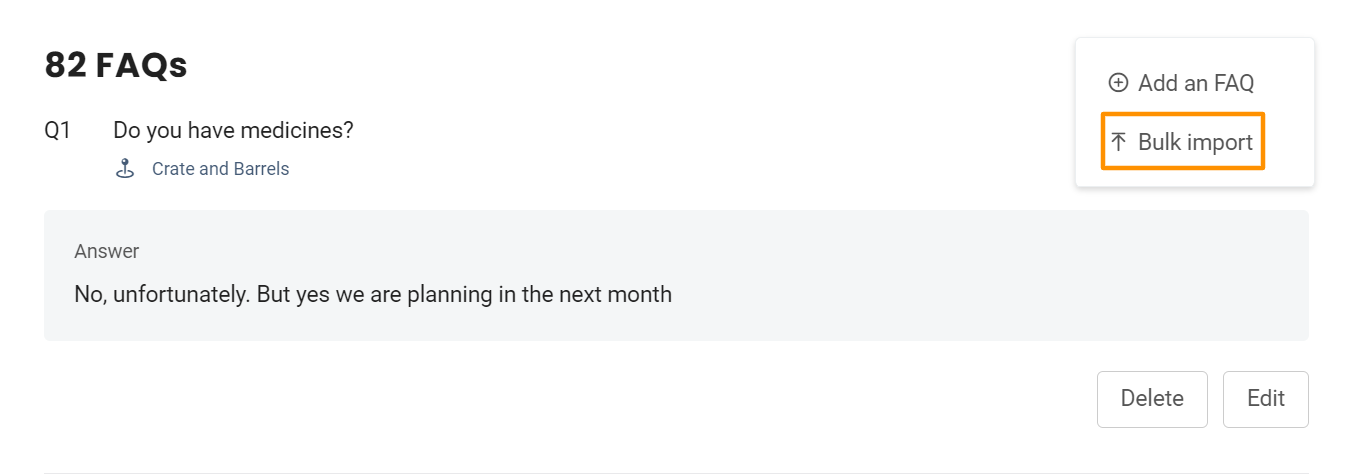
On the next screen, you need to perform three steps:
Upload - Upload multiple questions in Excel sheet.
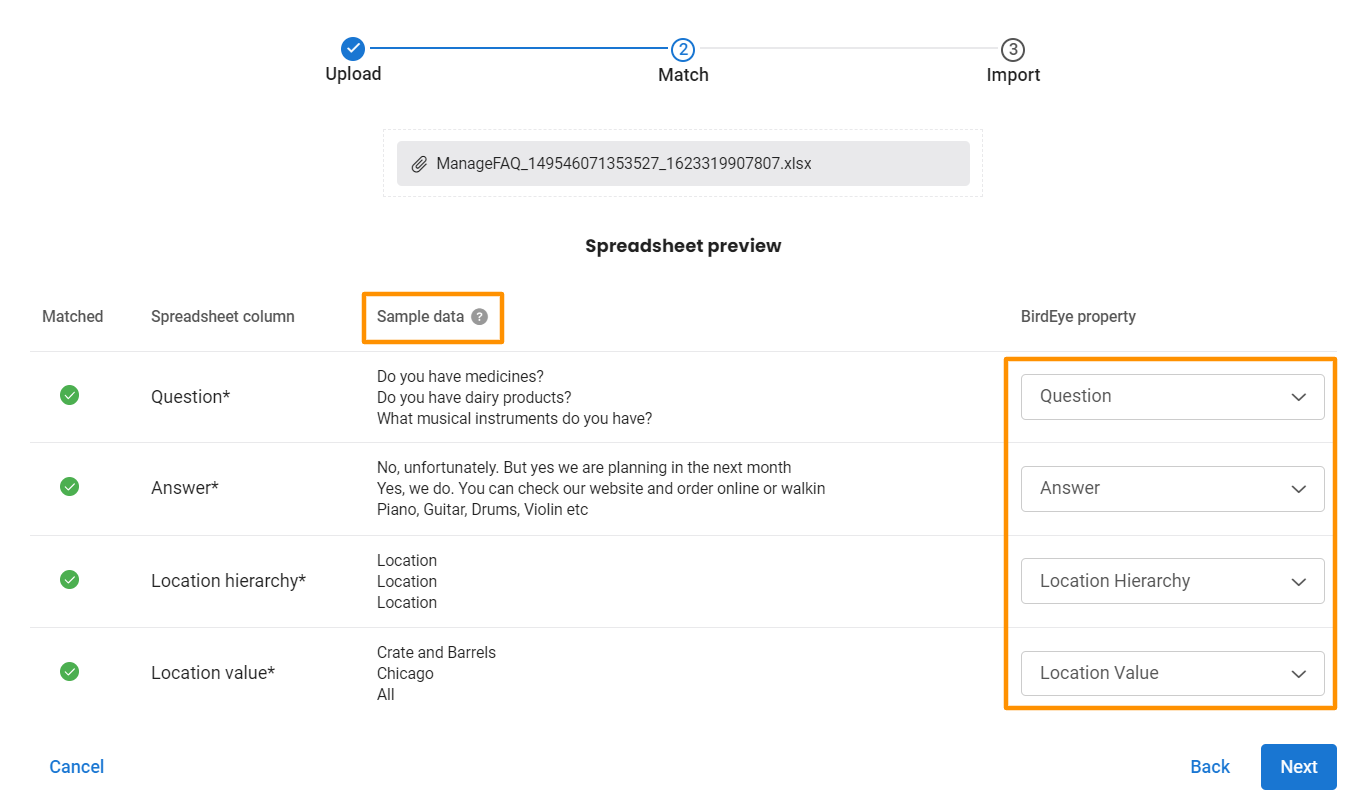
Match - Match the questions with specific properties.
Import - Import all the questions to your Birdeye account.
To begin, click on the 'sample spreadsheet' button and download a spreadsheet template.
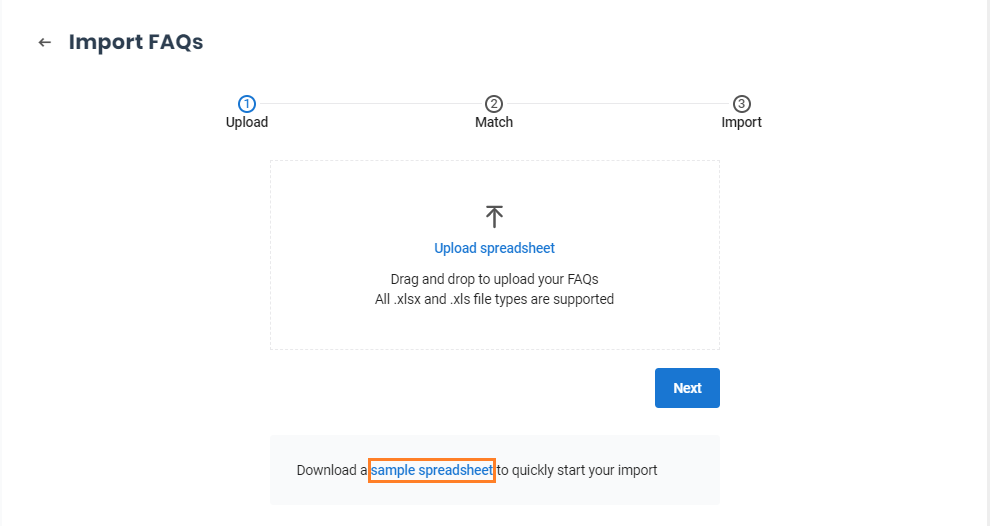
Open the Excel file and enter the details for the required fields.

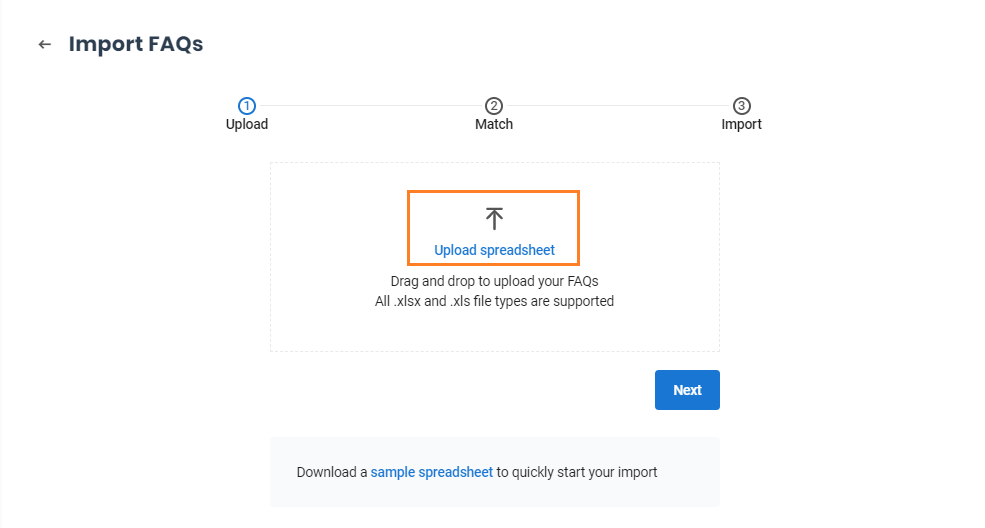
Now, save the file and upload it by clicking on the 'Upload spreadsheet' button.
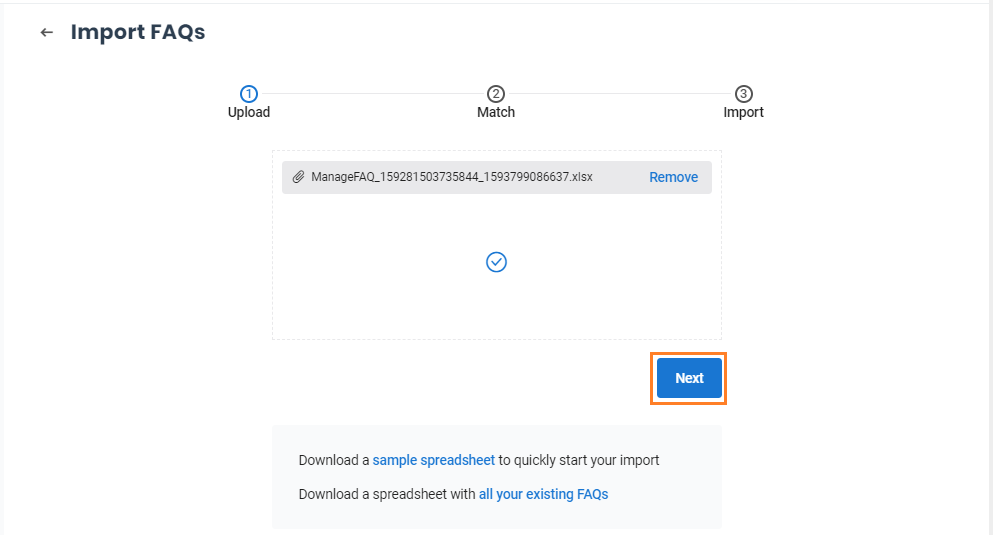
Wait until the file is completely uploaded. Then click on the 'Next' button.
Birdeye will now automatically map the data under different columns with their respective properties. The data entered under the 'Question,' 'Answer,’ and 'Location' columns will appear under 'Sample data.' If some information is not mapped automatically, you can manually map it with the respective property by clicking on the corresponding drop-down menu.
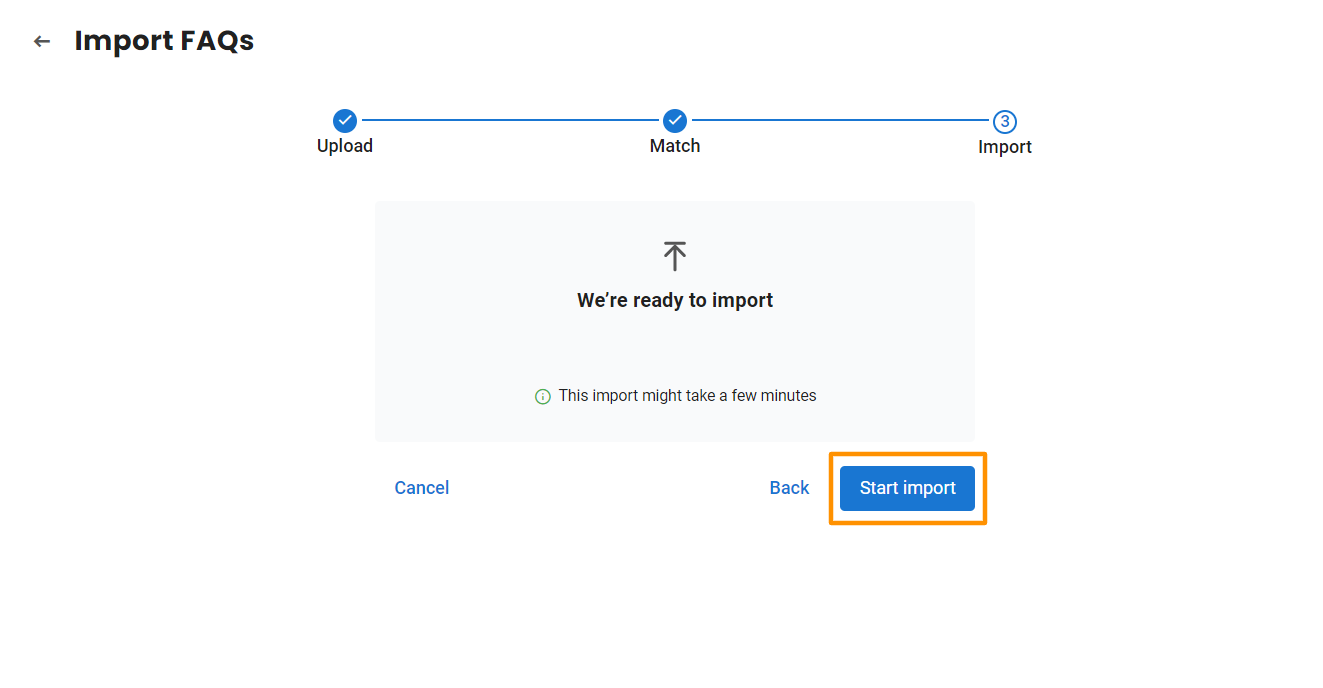
On the next screen, the data will be ready for import on Birdeye. Click on the 'Start import' button at the bottom to start the import process.
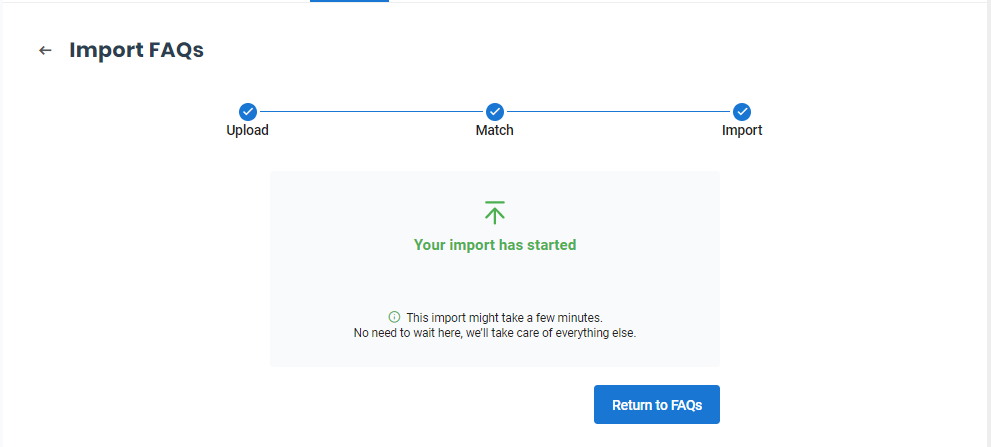
The import process will begin now. Wait until the process is complete.
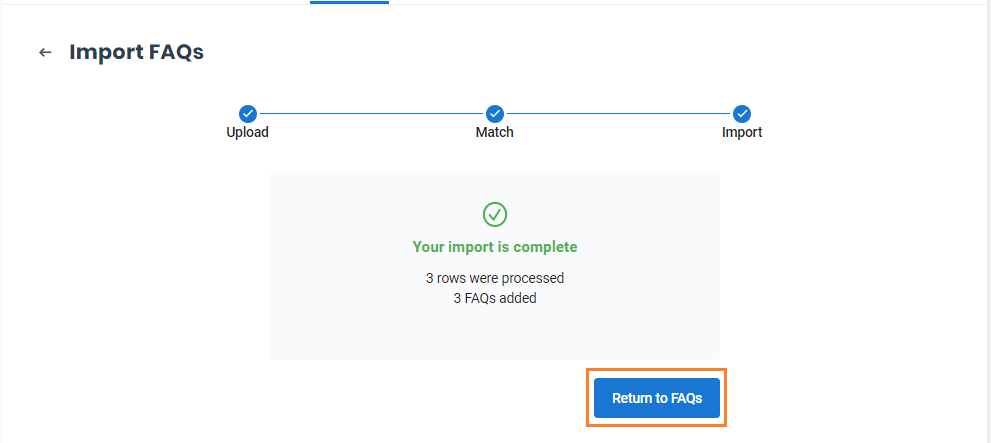
If the data is successfully imported, you will view a success notification with the number of 'Rows imported,' 'FAQs added,' and 'FAQs updated.' Click on the 'Return to FAQs' button to visit the FAQs page.
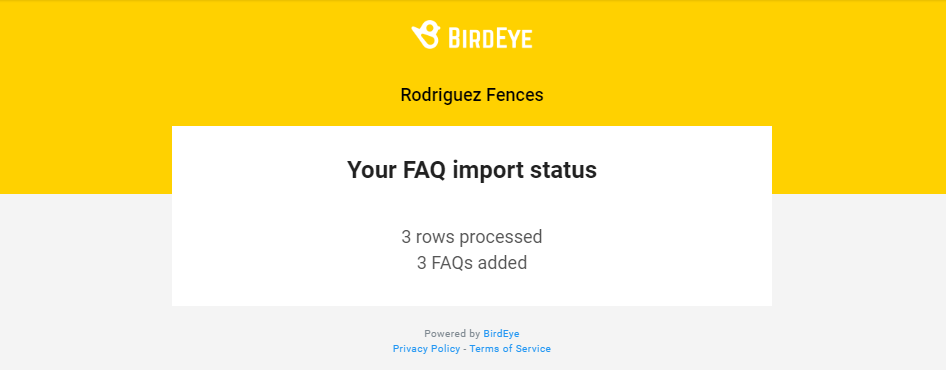
After the file is successfully uploaded, you will also get an email notification with the upload details.
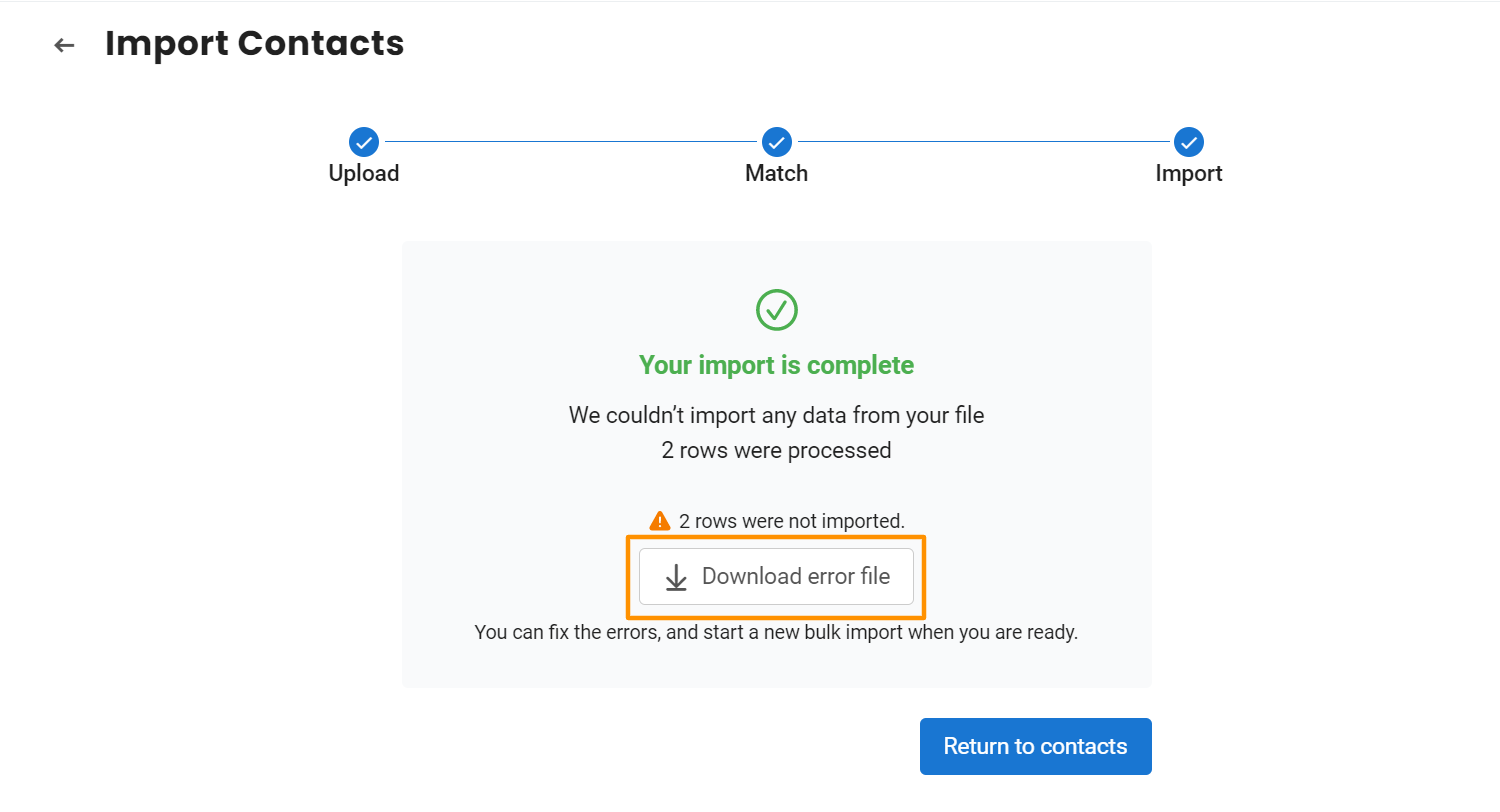
If there is an error, you will view the error details in an error log file. Click on the 'Download error file' button to download the file.
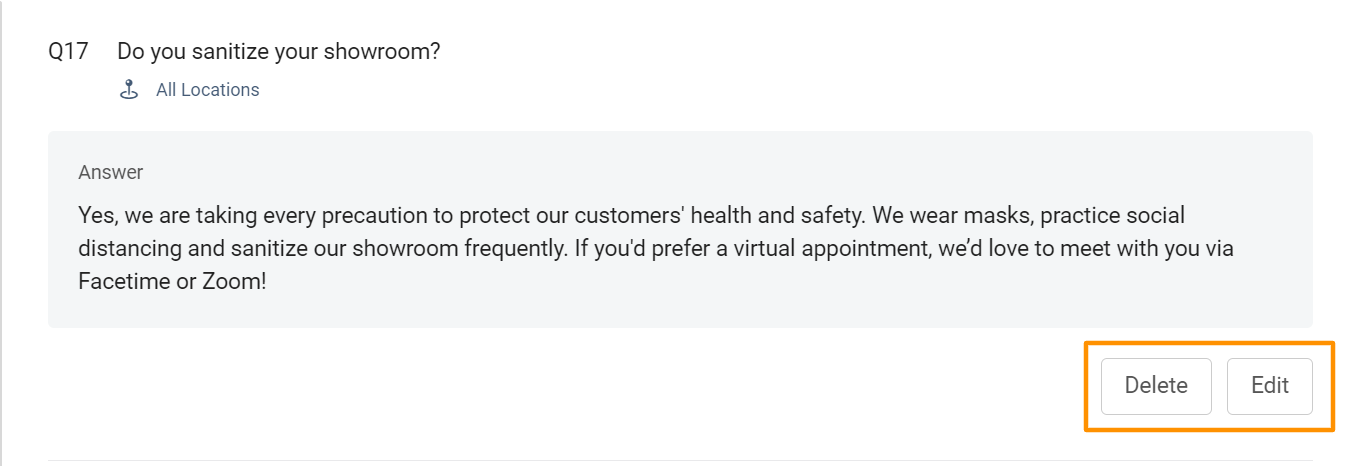
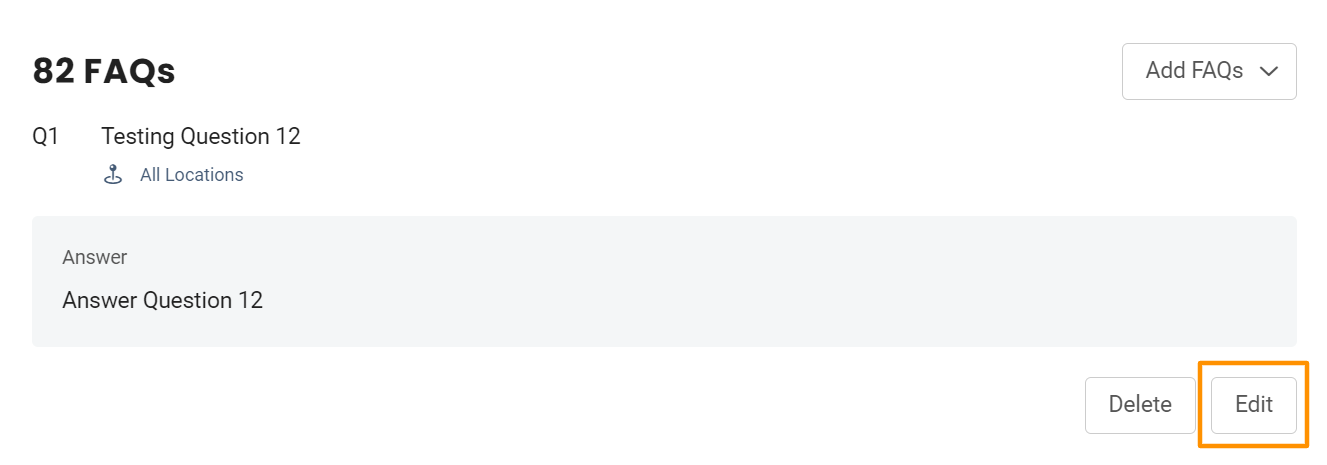
On the new page, a success message appears at the top, and you can view all the FAQs. Here you can add, edit and delete the FAQs. If you are using a multi-location account, you can also view the number of locations under every question.
ADDING MORE FAQs
To add more FAQs, click on the 'Add FAQs' drop-down menu.
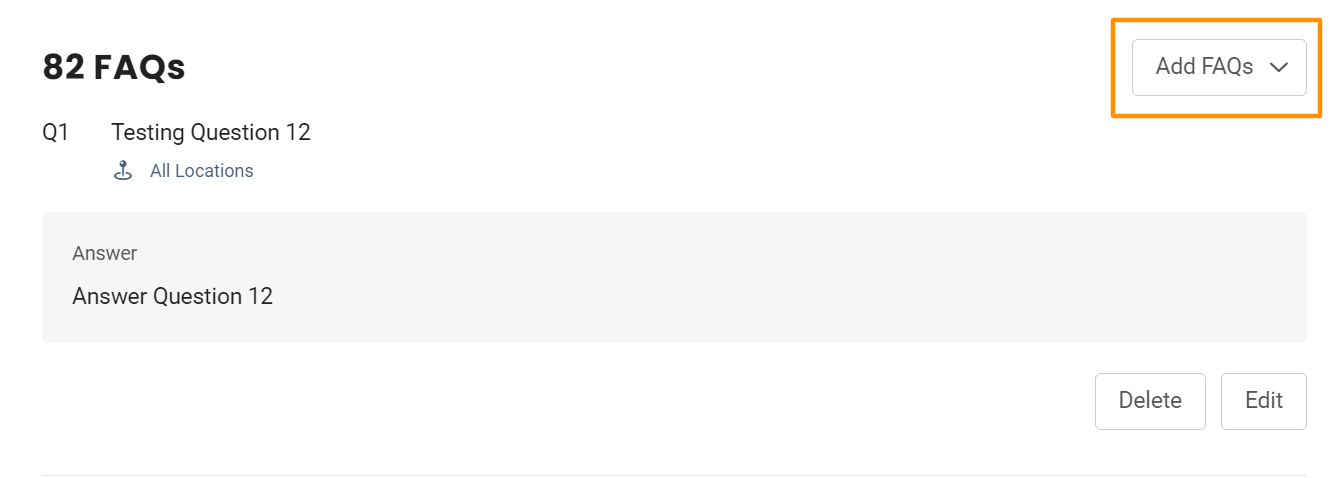
Choose whether you want to add a single FAQ or multiple FAQs and follow the same steps described above.

EDITING AN FAQ
To edit an FAQ, click on the corresponding 'Edit' button.
When the 'Edit FAQ' screen pops-up, make the changes you want and save the settings.
DELETING AN FAQ
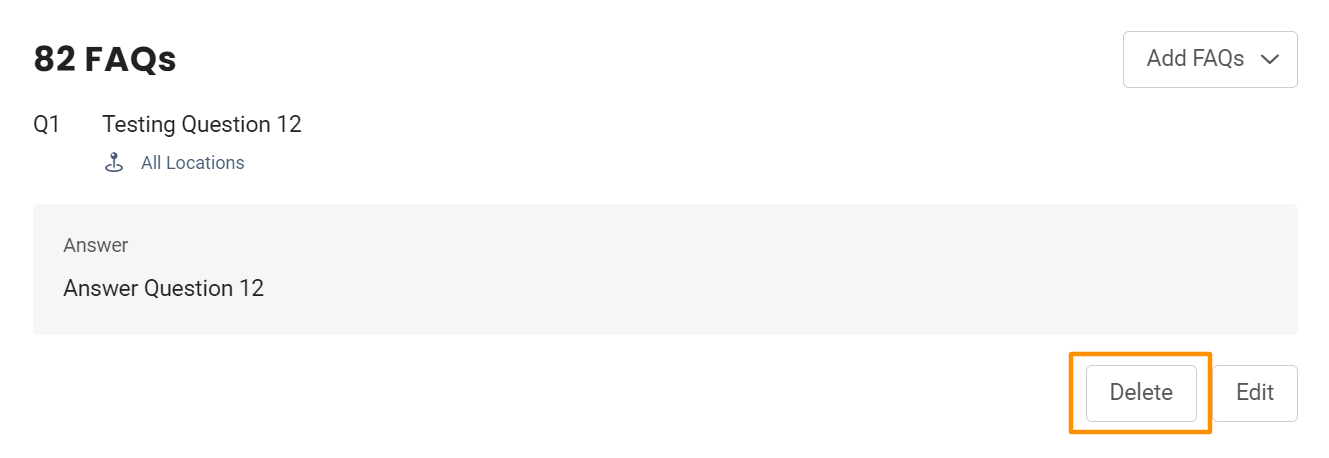
To delete an FAQ, click on the corresponding 'Delete' button.
